Welcome to our DIY Crafts series! DIY Crafts is focused on crafts that we have done, crafts that we will do and crafts that others have done that we feel deserve the “Craft Spotlight”. We invite you to check back often as we share these projects with you. You can view all of the DIY Crafts by visiting our DIY and Arts & Crafts section.
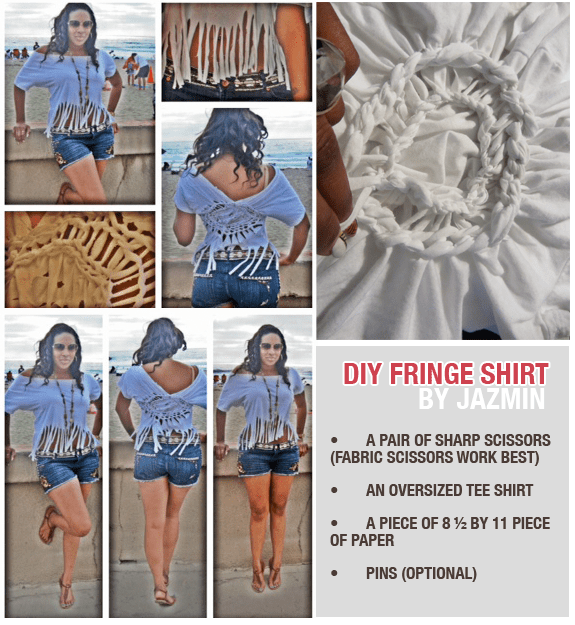
You’ll need:
A pair of sharp scissors (fabric scissors work best)
An oversized tee shirt (I recommend going 1 to 2 sizes larger than your normal size if using a women’s t-shirt or 1 size bigger if using a men’s t-shirt)
A piece of 8 by 11 piece of paper
Pins (optional)
Directions:
Start by folding the back half of the shirt in half, lengthwise. Be sure not to include front of the shirt.
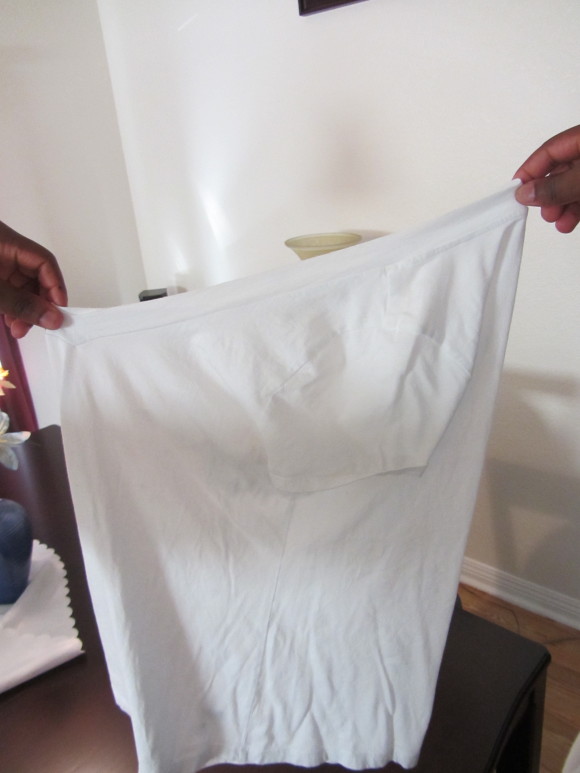
Next take your piece of paper and fold from top to edge, to create shape of diamond. Cut off excess bottom portion.
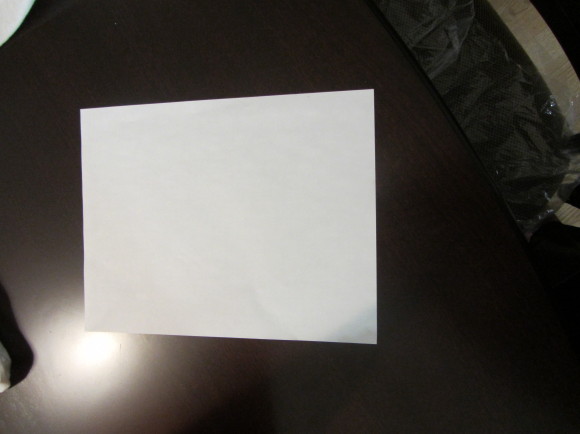
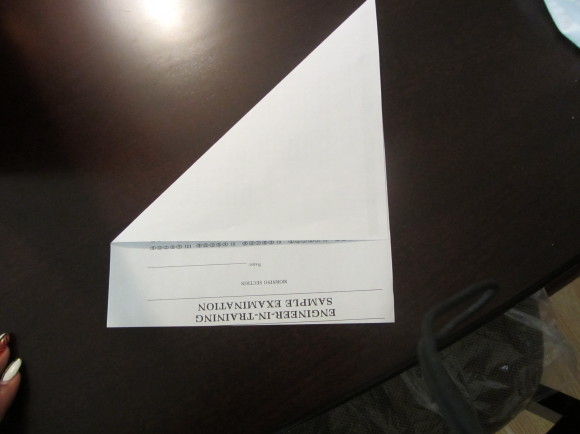
Take half diamond shape & place flat edge flesh with edge of t-shirt. You may want to put 2-3 pins in place to keep diamond in place. Or I took light colored chalk that washes away easily and traced the shape onto the shirt.
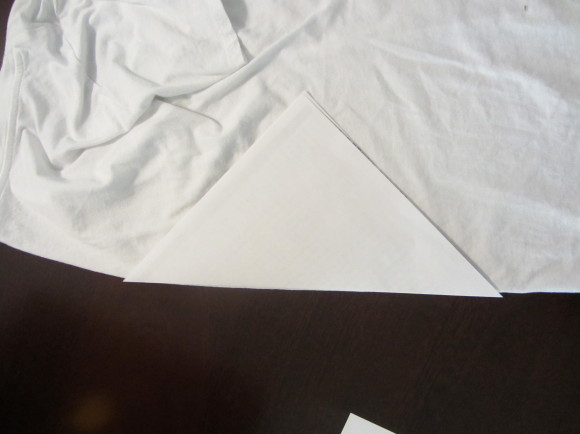
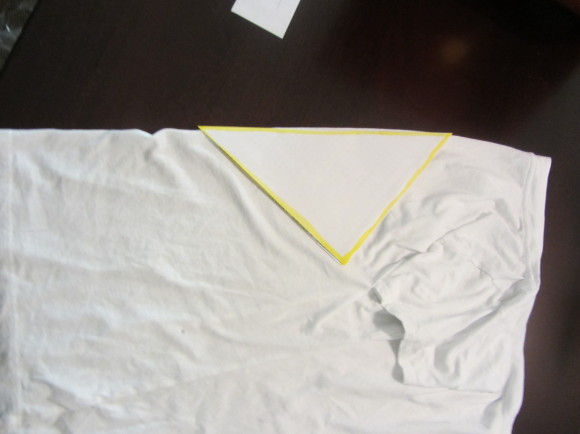
With the shirt still folded you will make 2-3″ cuts leading away from the diamond. Cutting through both sides of the shirt on backside only. Do not cut through front of shirt. If you are you folded the shirt wrong in the beginning. The length will depend on the size of the shirt you are using.
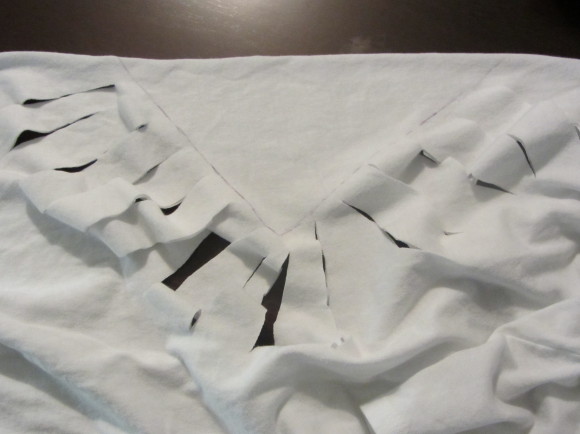
You will continue to cut away from the diamond following it all the away around the initial shape. Cuts should be a ” apart from one another. You will also make 1 cut both on the top and bottom of your fold. Measurements don’t have to be precise that’s why this is a great DIY
Once you are finished making your slashes you will remove diamond and open up shirt and start to stretch each piece gently with your hands, this is important to help with better weaving. If you see some gaps in your cuts feel free to cut a few more slashes.
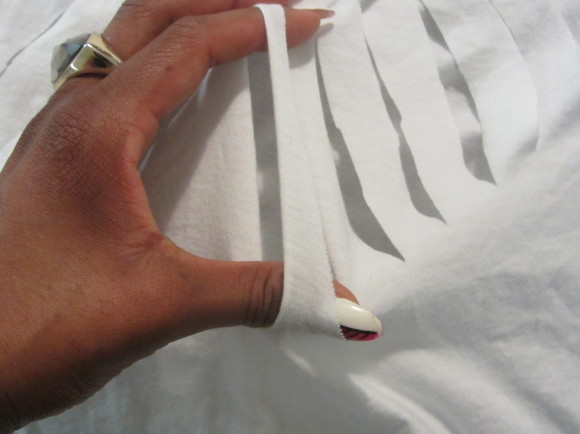
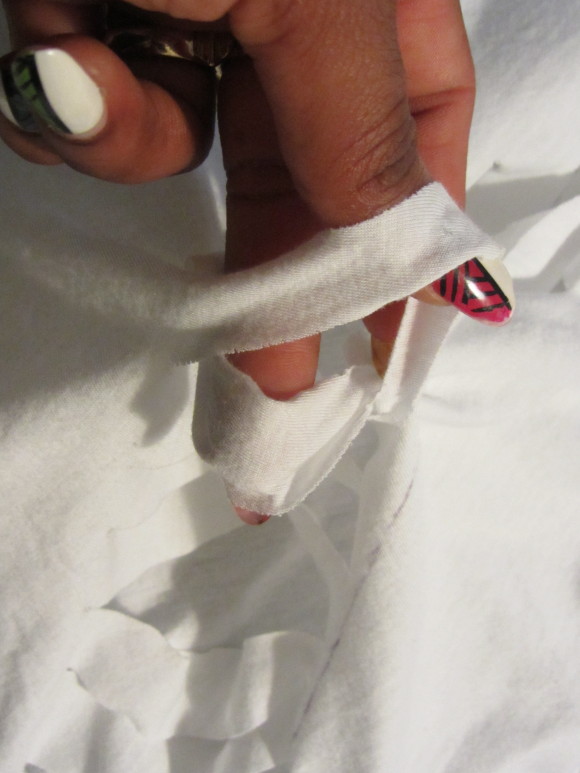
Now you will start at bottom of the shape and you will take two pieces and you will hold the right piece up and loop the piece to the left under the piece to the right.
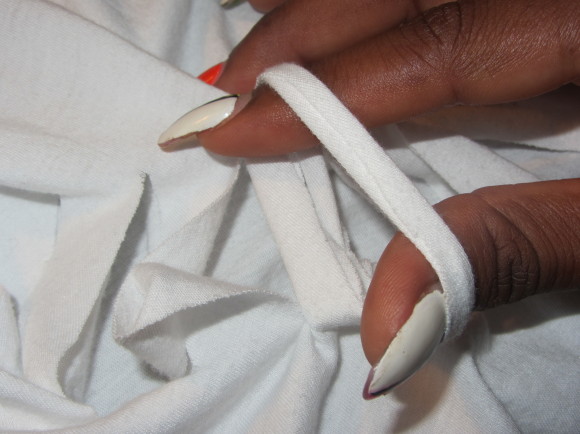
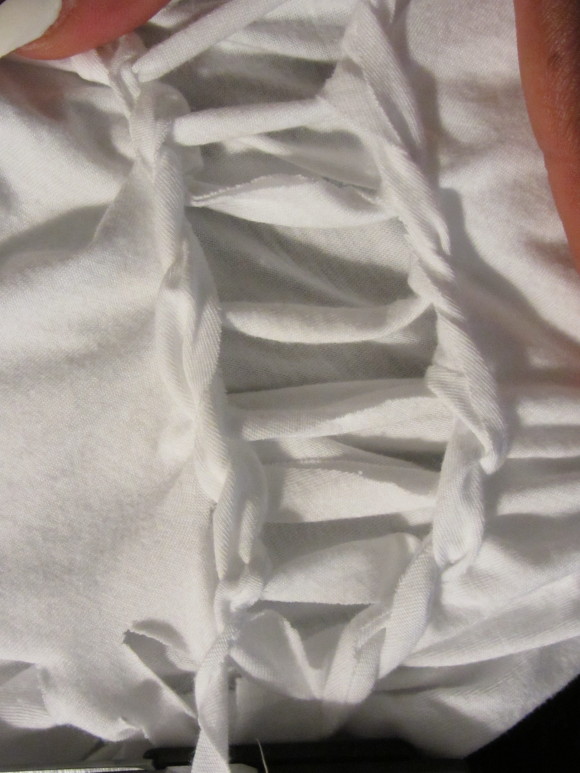
You will continue the over under method around the whole shape of the diamond, continuing to stretch the pieces slightly when you are going around. Go around shape twice. It will begin to tighten up so be sure to make sure you have done the stretching properly.
Now that you have gotten to the end, take the last piece in your hand and snip it in the middle.
Weave this piece under the next piece and knot on edge in a double knot. Cut excess fabric from knot.
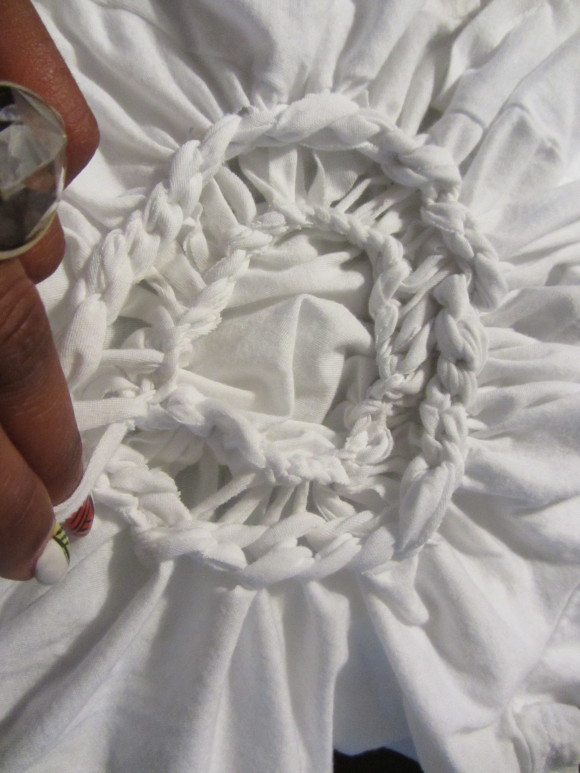
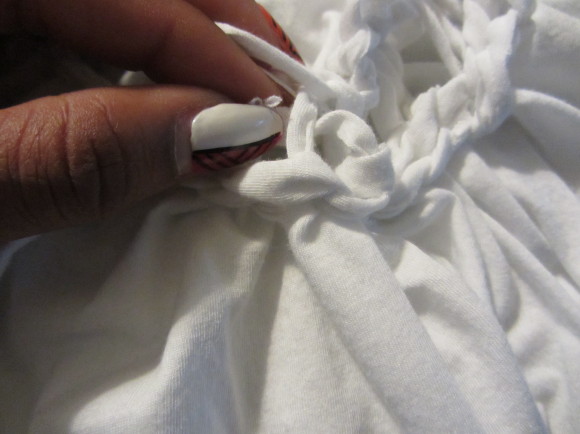
Your shape will now look like more of a circle than a diamond.
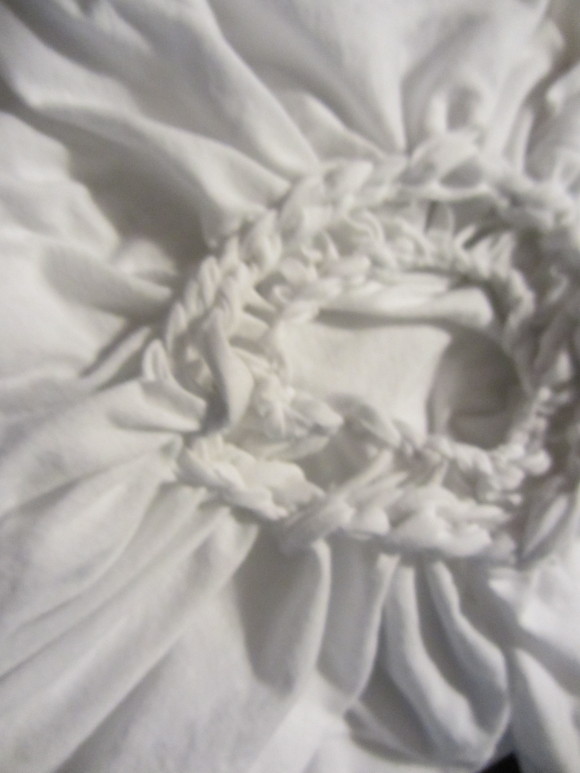
Now that the hard part is done you can add what I call personality traits.
First cut along the edge of the neckline, front and back.
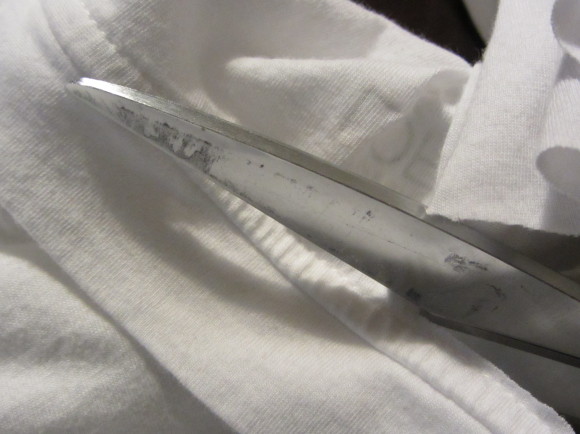
Once you have cut the neck off you will stretch it out. The deeper in you cut the more off the shoulder it will be.
Now try it on or hold it up to you and see how far up you would like the bottom fraying to be. If you used the recommended shirt size you will want to cut each piece 5 to 6″ but this really depends on your comfort level.
Now that you have figured out how high you want your slashes. Place the shirt on a flat surface and cut your slashes through both the front and the back. I recommend you cut them a ” apart but that is also up to you. This is really the part where you freestyle.
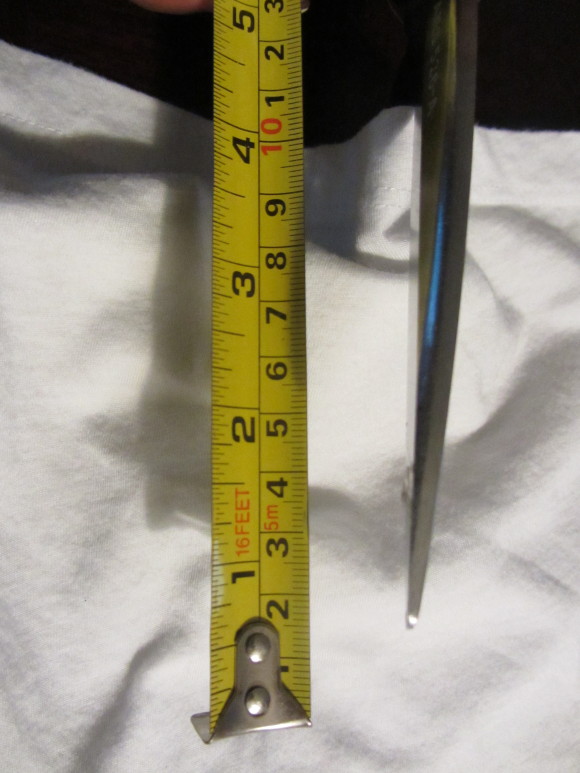
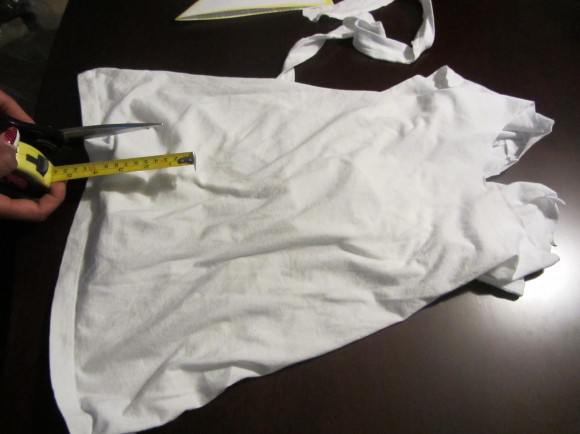
Now that you have made your slashes, you will also stretch each piece. Your fringe is complete!
Try your t-shirt on and make sure you have the appropriate amount of slashes to your liking. You can add more if you like. Fraying looks better once shirt is washed but stretching helps.

Optional: You can go back to your initial shape and cut little slashes throughout the diamond or now circle just to give it some texture.
All done!
This works well on any t-shirt and is super cool on kid’s tees as well. Nice way to jazz up a basic tee or graphic tee.
Today’s guest article is written by: Jazmin Rodgers. Visual Merchandiser, freelance designer and stylist based out of San Diego. Love high fashion but not always the high prices. I’m always trying to figure out how to make things myself. I really put strong emphasis on making things your own and dressing for your personal style and body type. I post my daily outfits on instagram @fashioncrazyjaz as well as on my Facebook page. Feel free to look me up or email me Fashioncrazyjaz@gmail.com
Contributor
We have guest bloggers on our site often. It's a great way for others to share their ideas and opinions with us all. If you're interested in contributing in some way, feel free to contact us and we would be happy to chat with you.



4 COMMENTS
Modern Day Moms
13 years agoThis is amazing. I love how she intertwined the loops.
Manoyie Scott
13 years agoThat’s what’s up, make it simple and easy so all the modern day moms can step their game up…. I’m so proud of you..
Bree
13 years agoHow do you achieve the loops after you do the over-under? I just can’t figure it out!
Georganne Lafay Homan
12 years agoHi Bree. I don’t know the answer to your question, but I was just wondering if you were able to finish it? Its such a cute idea :-) georgi