Welcome to our DIY Crafts series! We invite you to check back often as we share these fun project ideas with you. You can view all of the DIY Crafts by visiting our DIY and Arts & Crafts section.
For my son’s first birthday, I went all out. The Very Hungry Caterpillar went C R A Z Y town on my house. Even I have to admit that it was a smidge out of control.
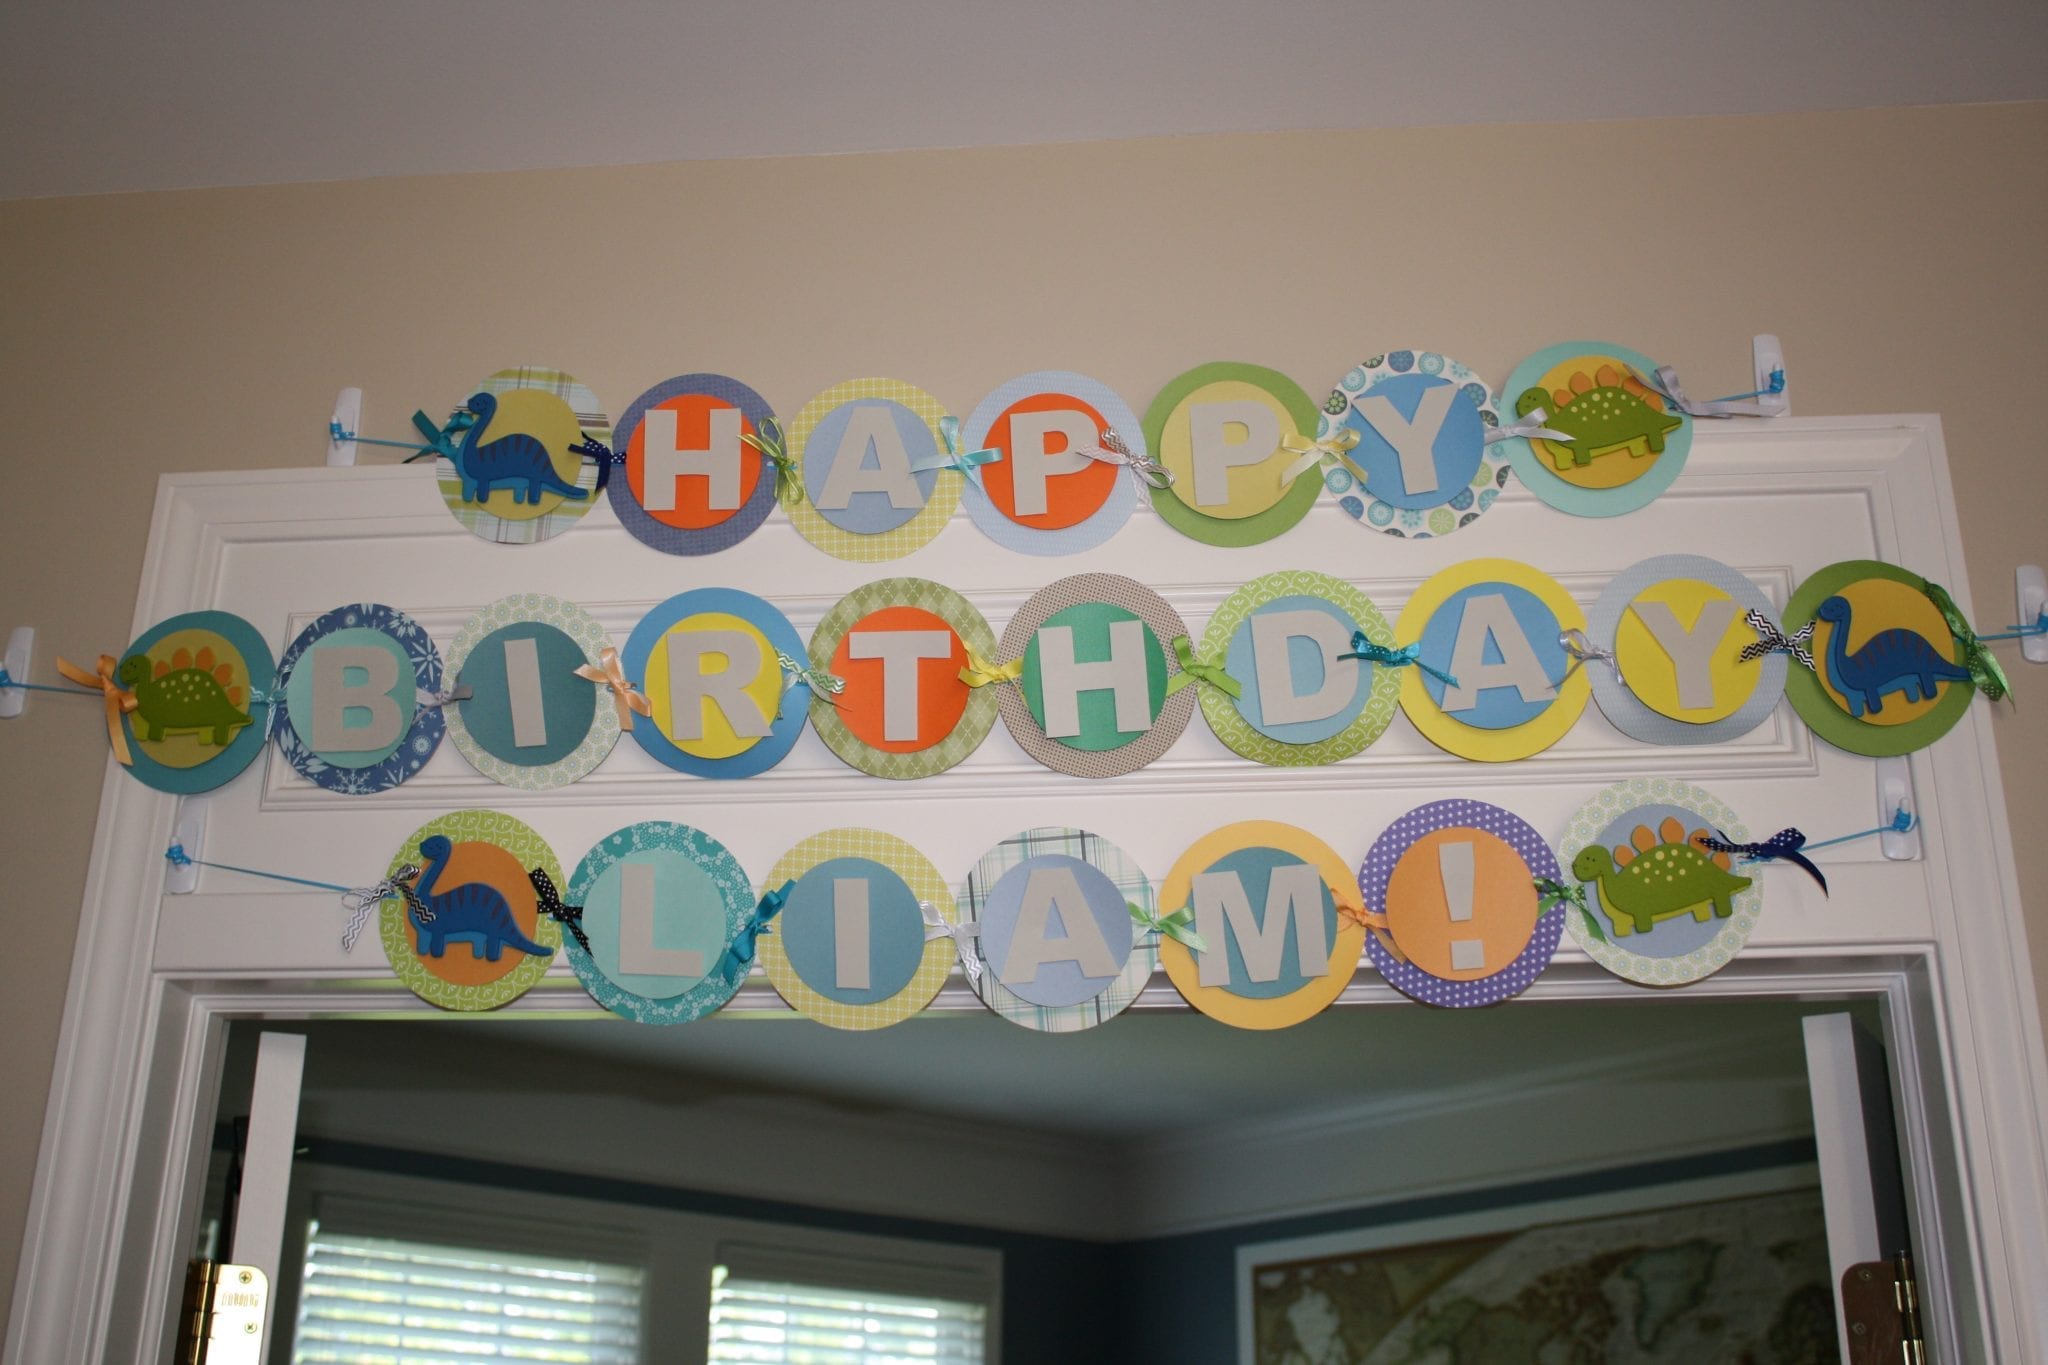
For his second birthday though, I wanted to do a small family dinner with a few dinosaur accents…. after all, he is all about the ROARRRR. I decided to tackle a Happy Birthday sign that put my craftiness to work but wasn’t too much.
And while the process was a little tedious, especially with the trial and error I ran across at the beginning, I think it turned out really well and is quite simple to do.
Here’s what I came up with:
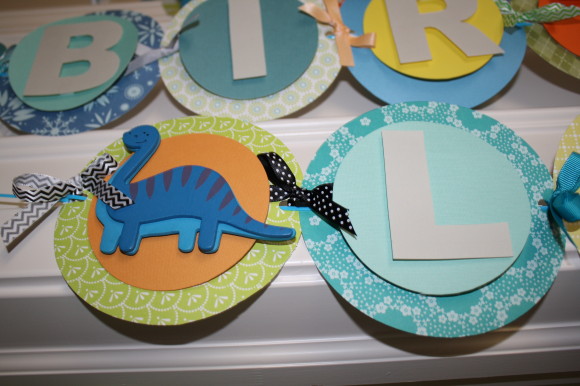
Here’s what you’ll need:
card stock paper/scrapbook paper
circle cutter (or a really steady hand, but you could also do scalloped edges or a different shape)
computer/printer
scissors
picture or design for the outer circles
3-D double sided adhesive foam squares (scrapbook section)
hole puncher
string
ribbon
Cut 2 different sized circles using the card stock and scrapbook paper in a variety of styles and colors. I did 5 inches for the big circle and 4 inches for the smaller one.
Print letters on card stock paper in whatever font you like and cut them out. You may have to play with the sizing to see what works best.
Using the 3-D double sided adhesive foam squares, attach the small circles to the big circles and the letters to the small circles. Also use them to attach your picture or design. I happened to find these wood dinosaurs, already painted in colors that matched (score!!!) at Joanne. They were a little heavy because of the wood accents, but I just tied them extra tight when we hung them.
Punch holes on both sides of the big circles.
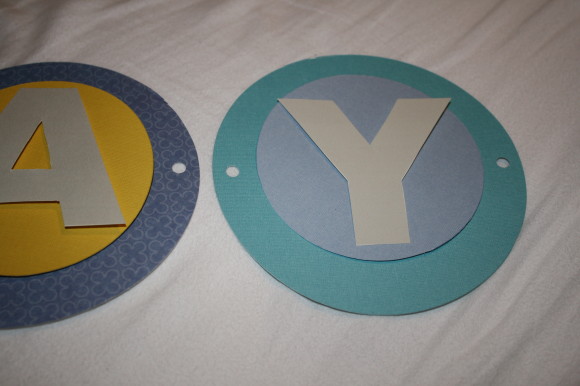
Thread your string through, looping it around the holes for added stability.
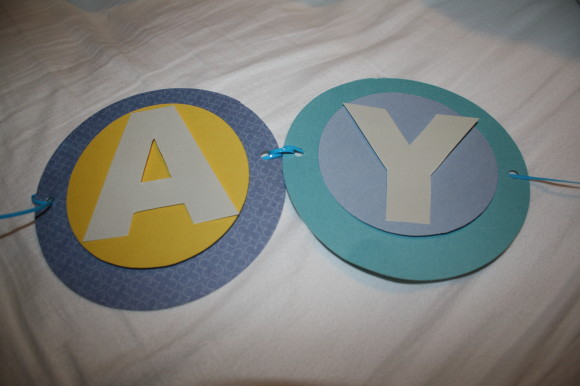
Tie bows with the ribbon through the holes between each letter.
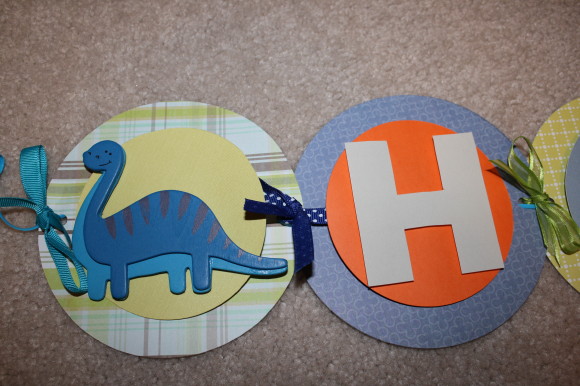
Then you’re ready to hang!
I tied it up using Command Hooks and they worked perfectly. I received a lot of compliments on the sign and it was really pretty easy to do. I was able to add my own little touch to my son’s birthday celebration without going overboard, which my husband couldn’t have been happier about.
Modern Day Moms
Modern Day Moms is an award-winning publication centered around motherhood that is real and unfiltered. Basically, we don't sugarcoat anything and aren't afraid to tell you the truth. Let's be best friends, we will make you feel more normal.

1 COMMENT
jaime
13 years agoWell done! I’d definitely make one of these for my next little ones 1st birthday! So creative & playful Sara! Nice post!!! Can you just go ahead & make me a “w-I-l” to tie to THIS one so I can borrow it for Williams 3rd ;) ??? :D