I know most of you may be done with your Christmas decorating, but I wanted to post a DIY just in case you aren’t or maybe if you are looking to update your old stockings. Perhaps you are like me and have more than one tree around the house and would like some new stockings to go with your different themes. Whatever the reason, this is a simple project you are sure to be pleased with.
All you need is:
- felt (enough according to the size stocking you want to make, usually half a yard will do)
- a coordinating fabric (you just need 1/4 yd, of fabric)
- fabric pencil
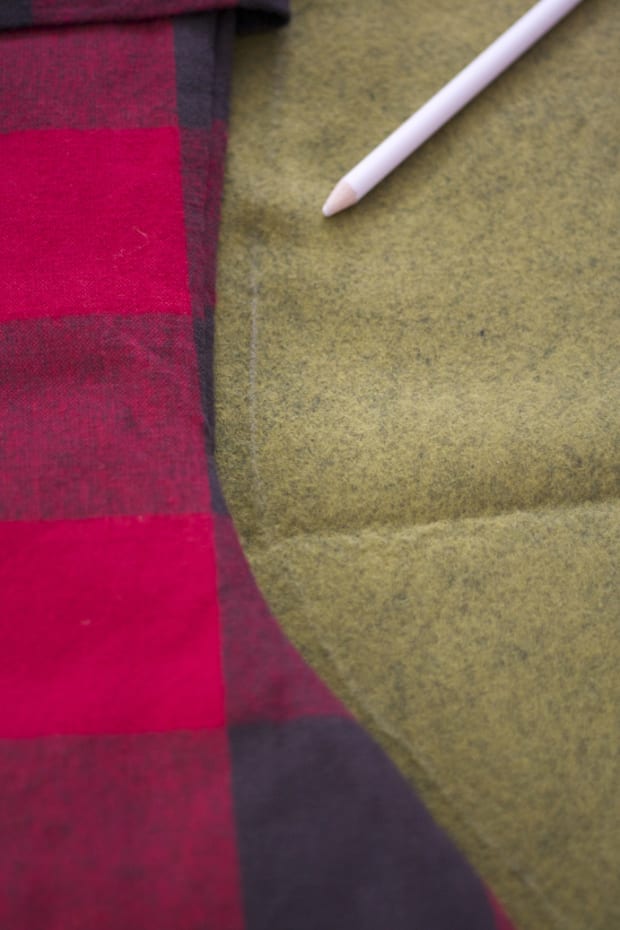
First, let’s begin by making the boot. I used a stocking I already have and drew around it with my fabric pencil. I drew about 1/4 of an inch outside of it for the seam allowance.
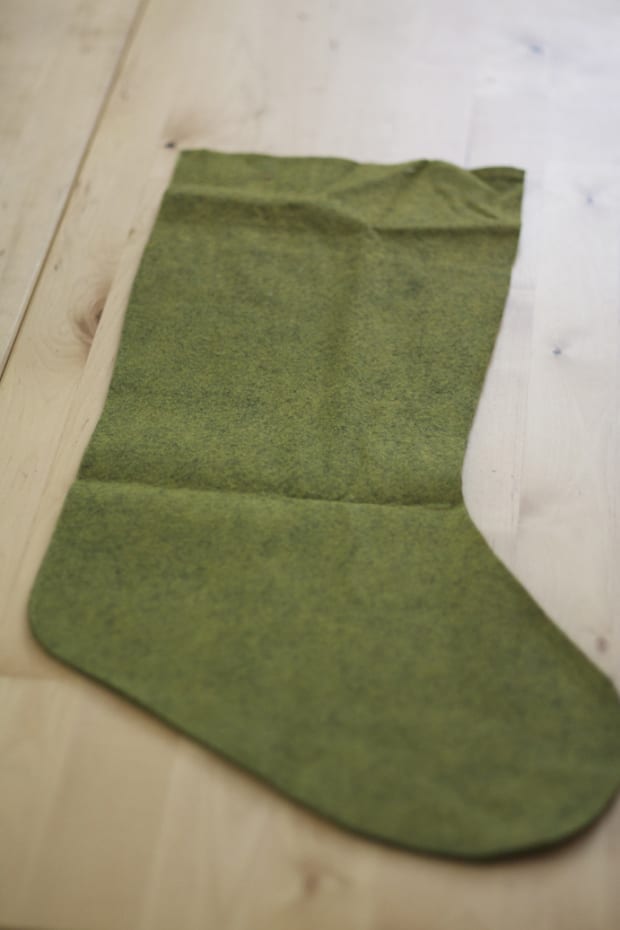
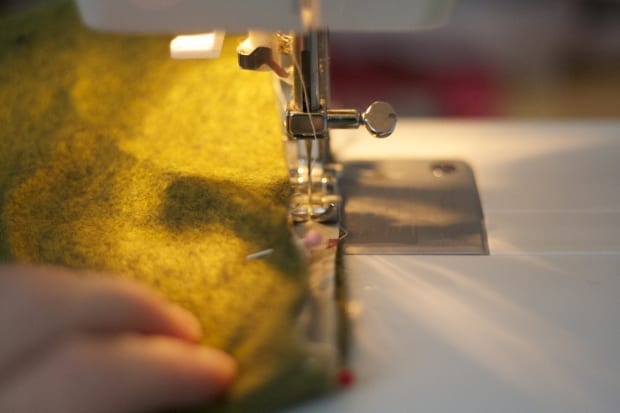
Once you have your boot cut out, go ahead and sew around the edges 1/4 of an inch and leave the top of the boot open.
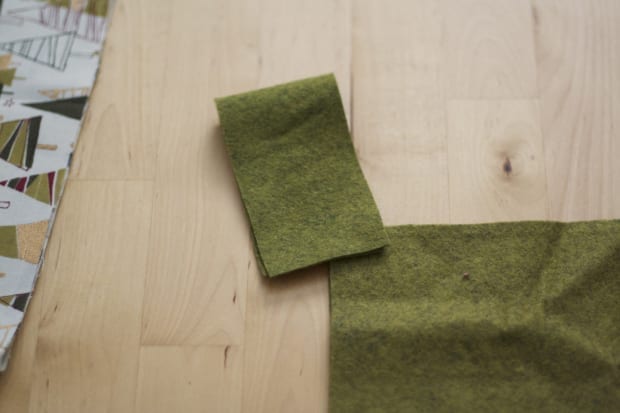
Next, cut out a strip of fabric for your hanger. I cut out a piece about 6 inches long and 1 3/4 inches wide.
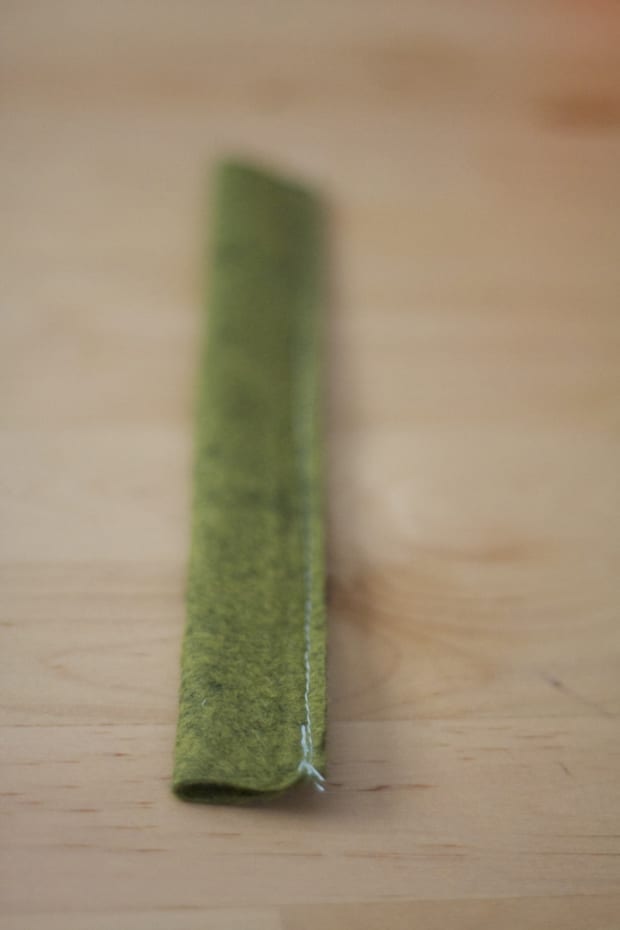
Fold it long sides together (like a hotdog) and sew an 1/8″ seam.
Flip it inside out. I always use my wooden skewers for this. You will have to work on this because the felt doesn’t glide through at all.
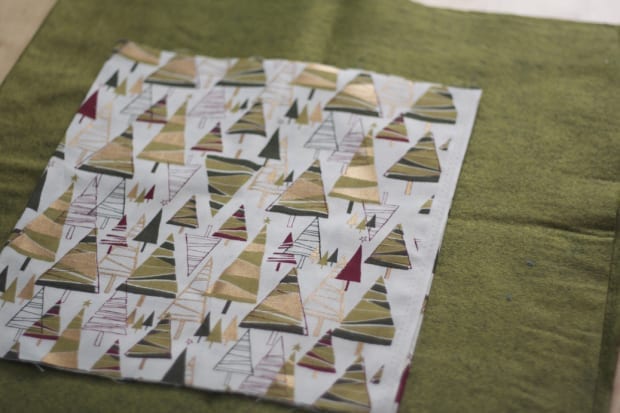
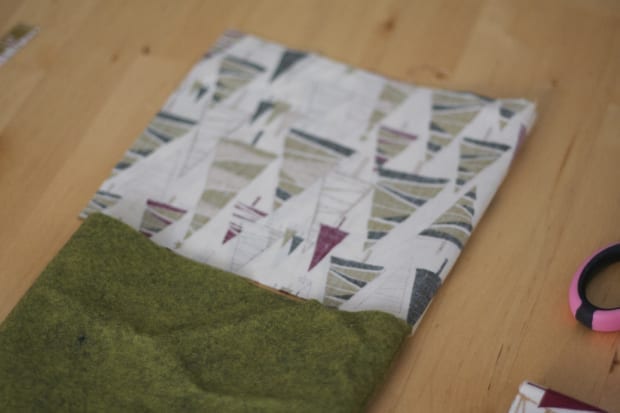
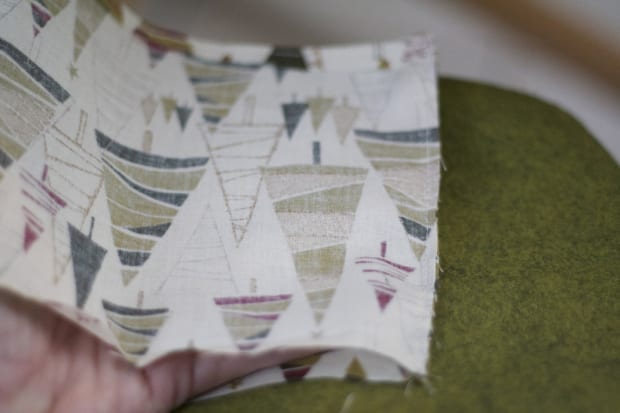
Next, cut your piece for the fold over the top part of the boot: the pretty part! I cut out a strip of fabric that was 6 inches tall and a little wider than the width of the finished boot (flipped inside out). You must accommodate for the curve in the boot.
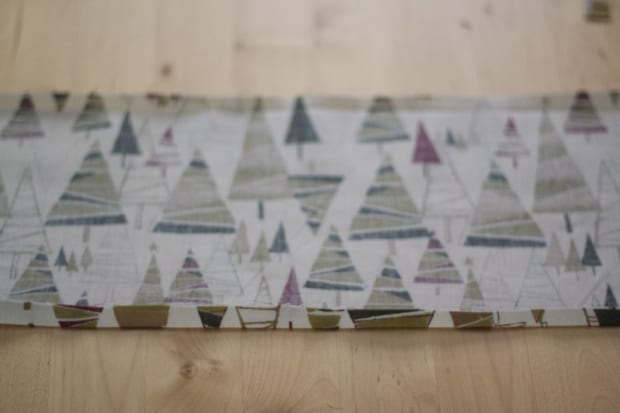
Press a 1/4 inch seam on one long side of the pretty fabric then sew.
Then fold the end pieces right sides together and sew a 1/8″ seam. You are making a tube shaped piece.
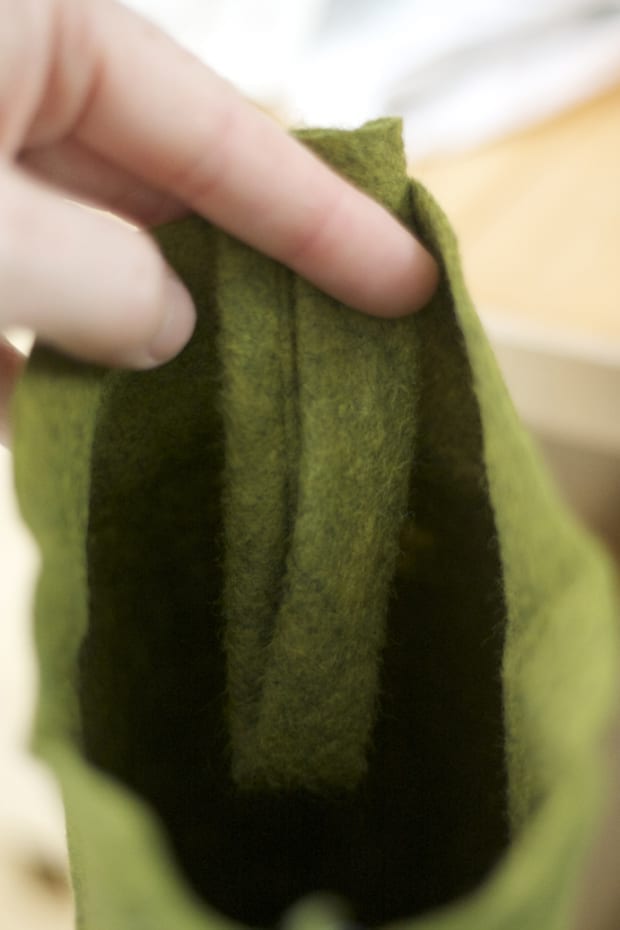
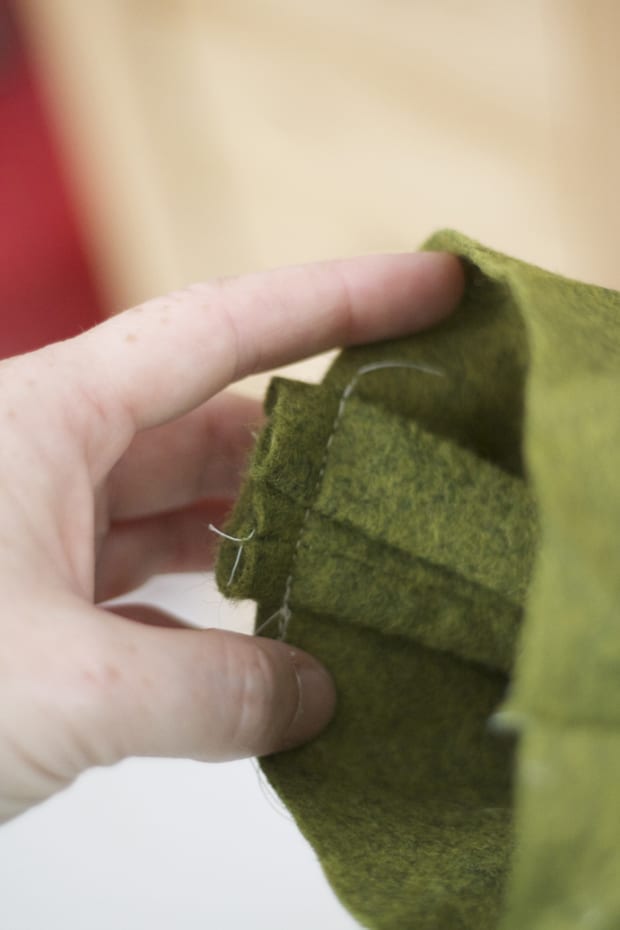
Fold together your hanger piece with the sewn sides together. You want to overlap them at somewhat of an angle as you see so that when it hangs, it hangs correctly and doesn’t try to turn into the fireplace.
Insert this upside down on the inside of your inverted boot along the back seam of your boot. In other words, your boot should be turned out at this point, the way it will look when it is finished. Put the ends of your hanger aligned with the edge of the top of your boot. Sew a 1/4″ seam.
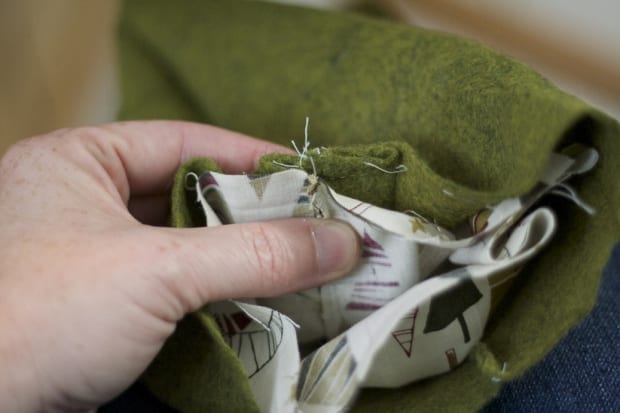
Now this is the tricky part: insert your pretty tube inside your boot with the finished side against the inside of your boot. If you have something that needs to be upright, make sure it is upright as it is inside the boot at this moment. The unfinished edge of your tube should be at the top, unfinished edge of your boot. Make sure that the end seams are together and pin it all the way around.
Sew a 1/4″ seam.
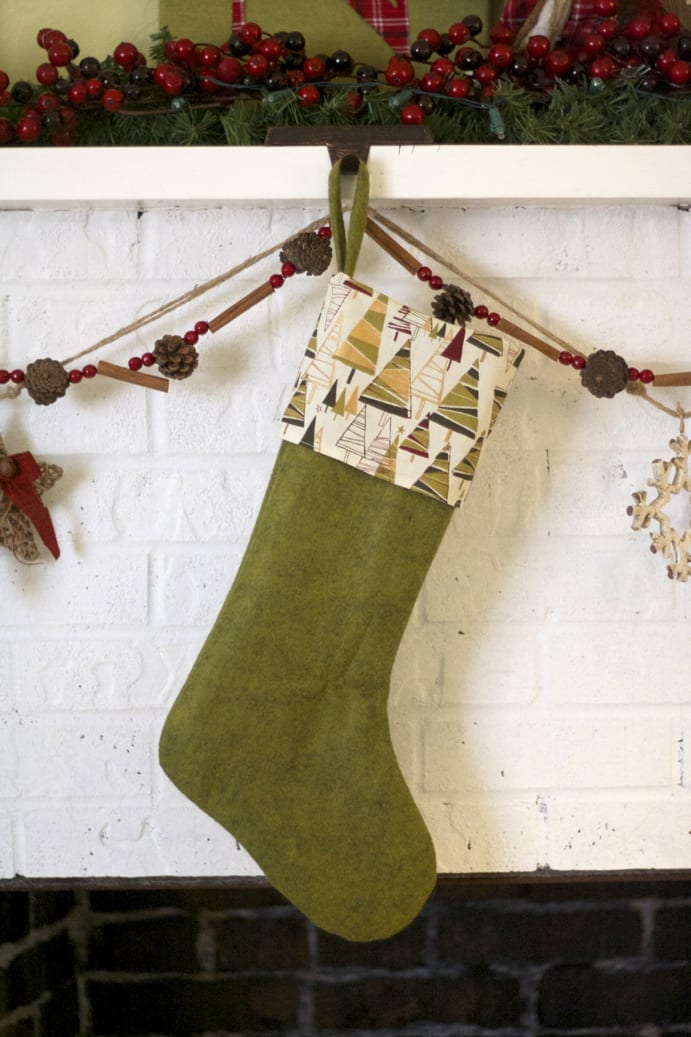
Pull your pretty fabric out, then fold it over the top of your boot and you are done! Isn’t it beautiful?
Wendy
Wendy is a facebook administrator and editor for Modern Day Moms. She is a multi-purpose mom (aren’t we all, really?) who loves home decor, couponing, sewing, photography, Pinterest, frugal living… ok, pretty much all the same things that most women love! She enjoys spending time with her family and friends while living on the gulf coast. Her two Boston Terriers - Oscar and Lily - occasionally make appearances on MDM.

Leave a Comment