Welcome to our DIY Crafts series! DIY Crafts is focused on crafts that we have done, crafts that we will do and crafts that others have done that we feel deserve the “Craft Spotlight”. We invite you to check back often as we share these projects with you. You can view all of the DIY Crafts by visiting our DIY and Arts & Crafts section.
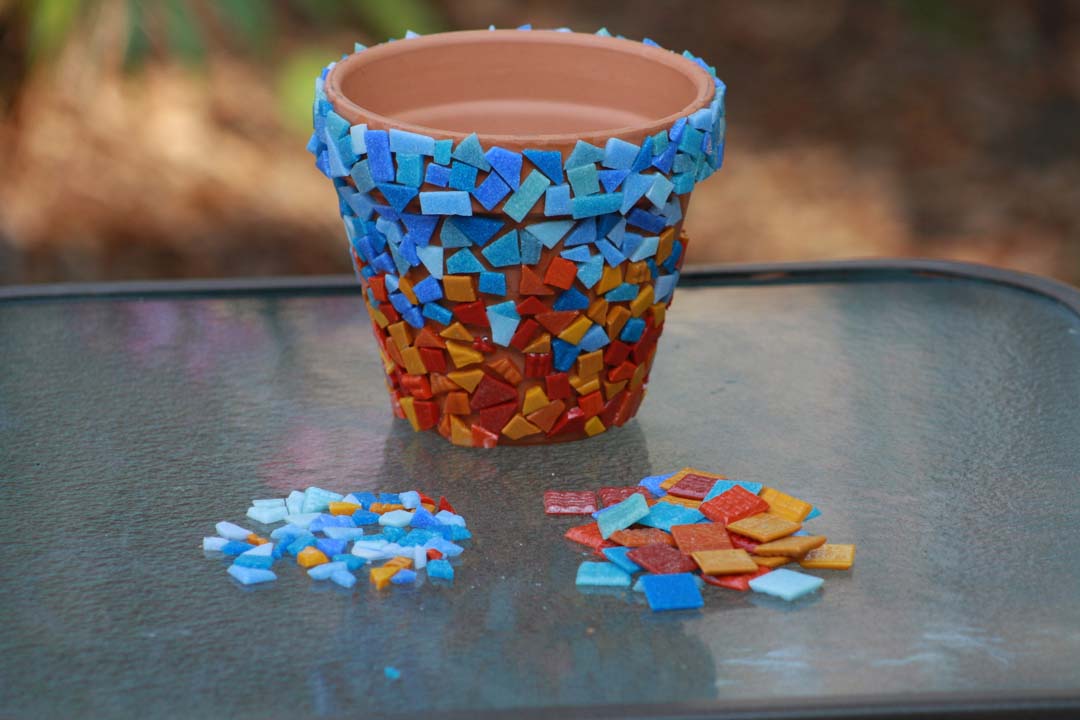
I call it “EASY” because instead of a few more complicated steps used to cut sheets of glass, I used small mosaic tiles that are easy to cut with glass cutters!
All you need is…
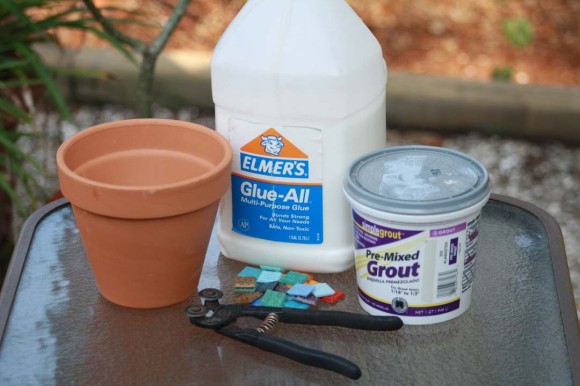
– 1 plain terra cotta pot (bought mine at home depot, but can be found at any local gardening store)
– 1 small container of non-sanded grout (non-sanded is better for smaller grout joints) any color you choose (found at any local gardening store) *You can use either pre-mixed or mix yourself… either will work
– Elmers glue
– Bag of small square mosaic tiles (can be found at specialty mosaic/glass store)
– Pair of mosaic glass cutters
– 1 bucket with water
– 1 sponge
Let’s Get Started!
Step 1) SELECTING YOUR COLORS:
Start off by choosing the colors you would like to use and separate into piles. For me, I chose to use 2 completely opposite colors and then expanded that selection by using a few shades of those 2 colors.
Step 2) CUTTING YOUR TILES:
You can choose to cut shapes that are completely inconsistent (like I did) or you can choose to make more uniform cuts (like squares). Either way, cut up a good amount to get you started (about 10-20 of each shade) and keep them separated.
Step 3) GLUING:
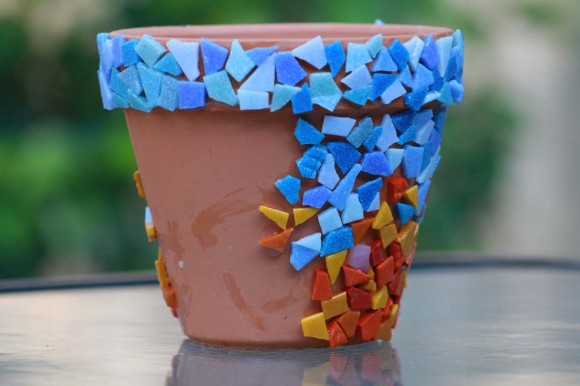
So now you should have two piles of cut tiles. Decide which color you want on top and which will be on bottom and start gluing one by one. Leave about 1/4″ between each tile, so there is room for the grout. After sides are covered let dry in a cool place for 24hrs.
Step 4) GROUT:
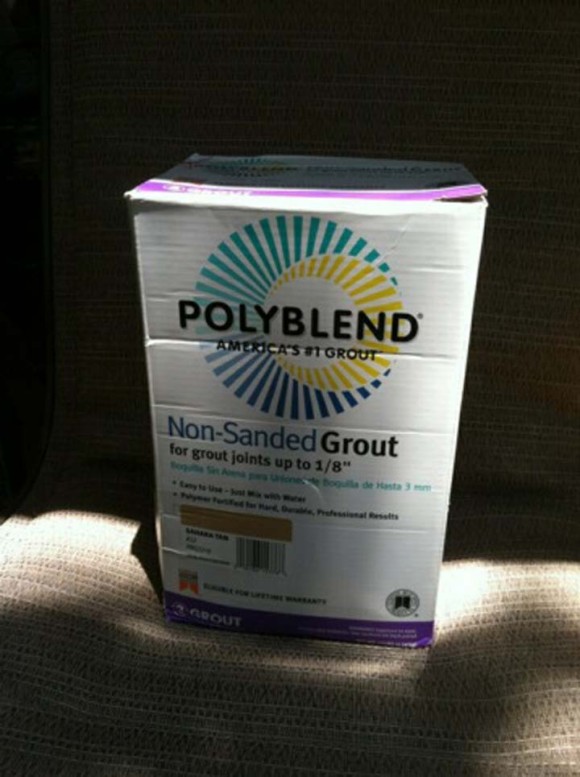
I actually ended up using a different grout than the one in the first picture, strictly for color purposes only. You can use any non-sanded grout. If it is pre-mixed, great, if you have to mix it, simply follow the directions on the box. Fill up your bucket with water and place your sponge in the bucket so that will be ready. Start applying your grout to your pot (you can use a trowel or put on rubber gloves and use your hands, if you get any on your skin make sure to rinse of as soon as you can as it will be harder once its dry) Make sure to smear it into the cracks as much as you can to avoid any air bubbles.
Once you have covered the sides of your pot with grout, take your sponge and squeeze the excess water out and wipe across the top very gently. If you wipe too hard it will lower your grout lines, you want grout to be at same height as tiles to keep your tiles secured. If you notice a hole in your grout, just add more grout to that area and wipe again with sponge. Keep repeating this process until you are happy with your results. And remember this is a handmade project, its ok if its not 100% perfect.
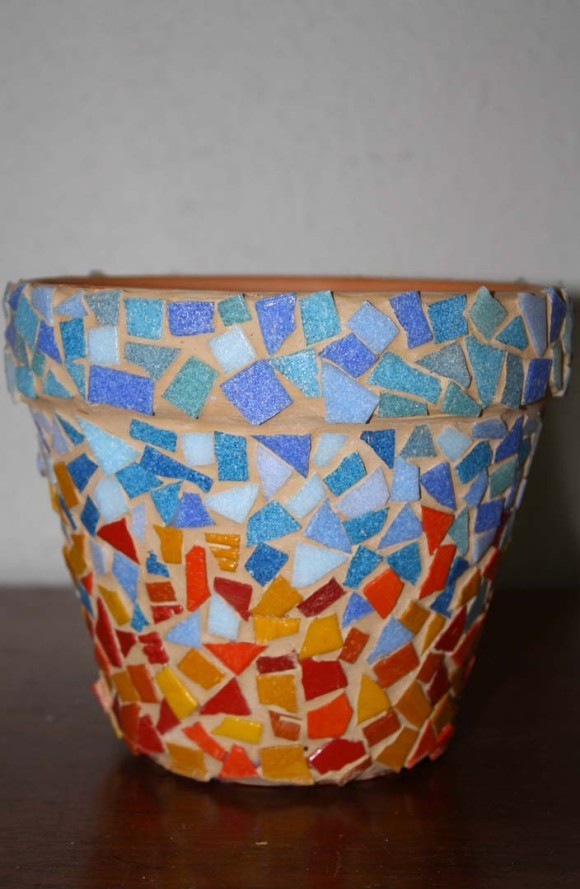
Once you are done grouting, store in a cool dry place for 24hrs. Then fill with your favorite plant!!! :)
Modern Day Moms
Modern Day Moms is an award-winning publication centered around motherhood that is real and unfiltered. Basically, we don't sugarcoat anything and aren't afraid to tell you the truth. Let's be best friends, we will make you feel more normal.



Leave a Comment