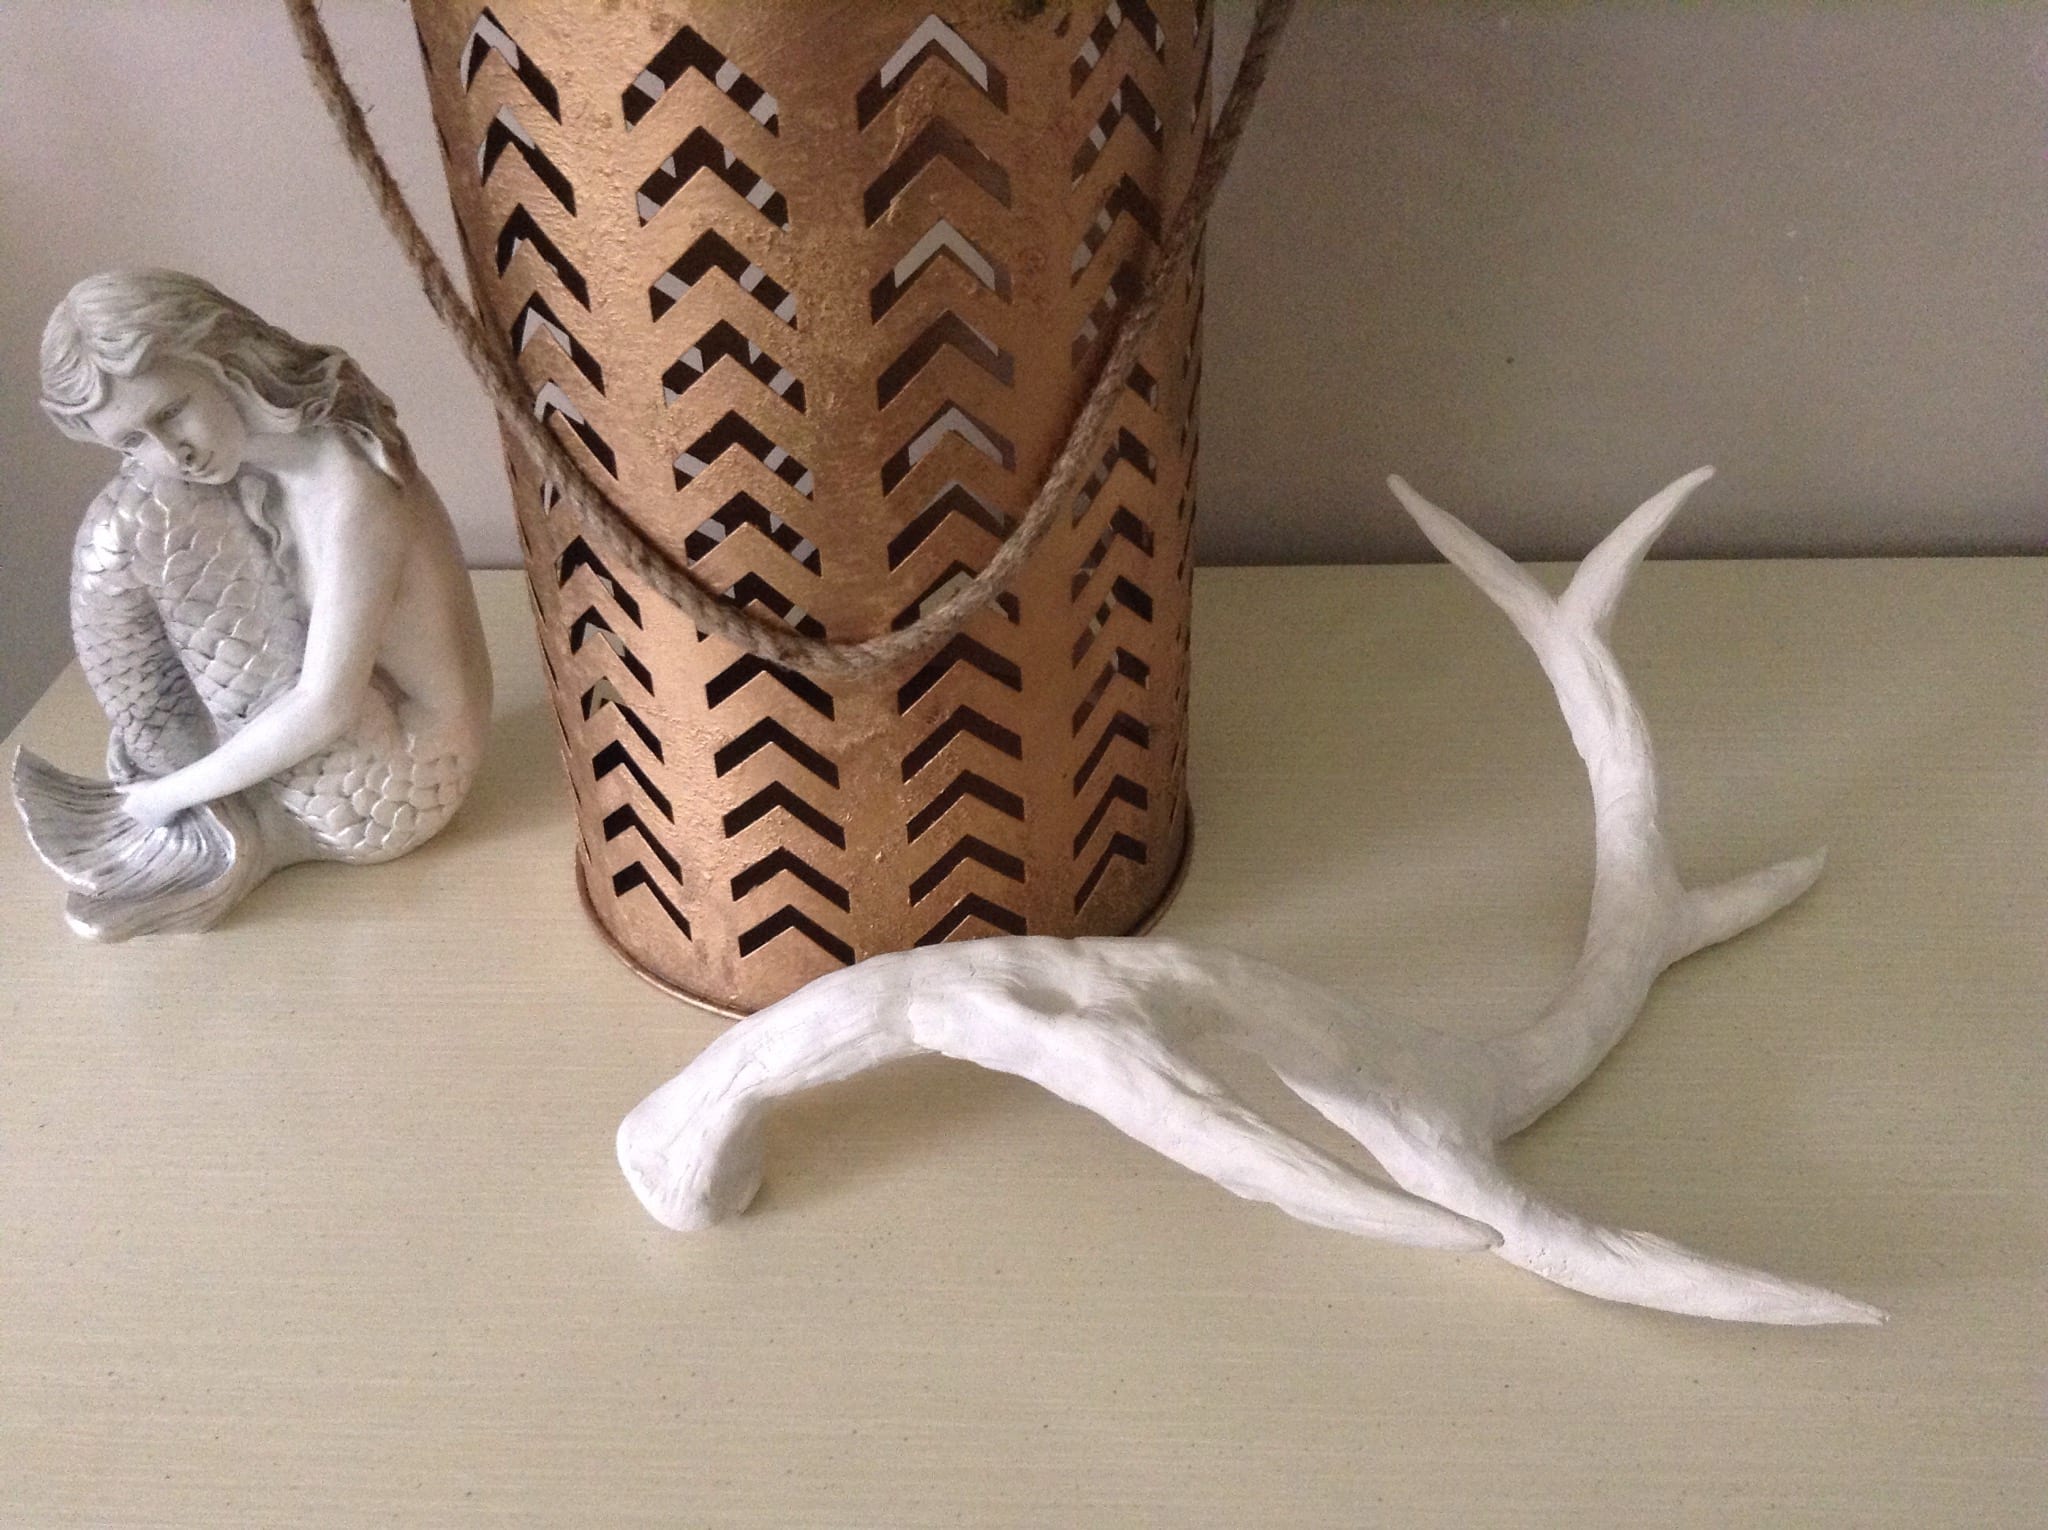
You see them everywhere: bookshelves in your friends’ homes, sitting off to the side in a magazine spread on decorating and for sale in many different shapes and sizes. Deer heads and rhino heads have become trendy statement pieces in today’s modern home. Most antlers I’ve seen are single and usually laying atop a pile of books on a bookshelf or on a coffee table. A lot are painted gold or dipped partially in gold.
Today, I’m going to show you how I made my own for just a few bucks!
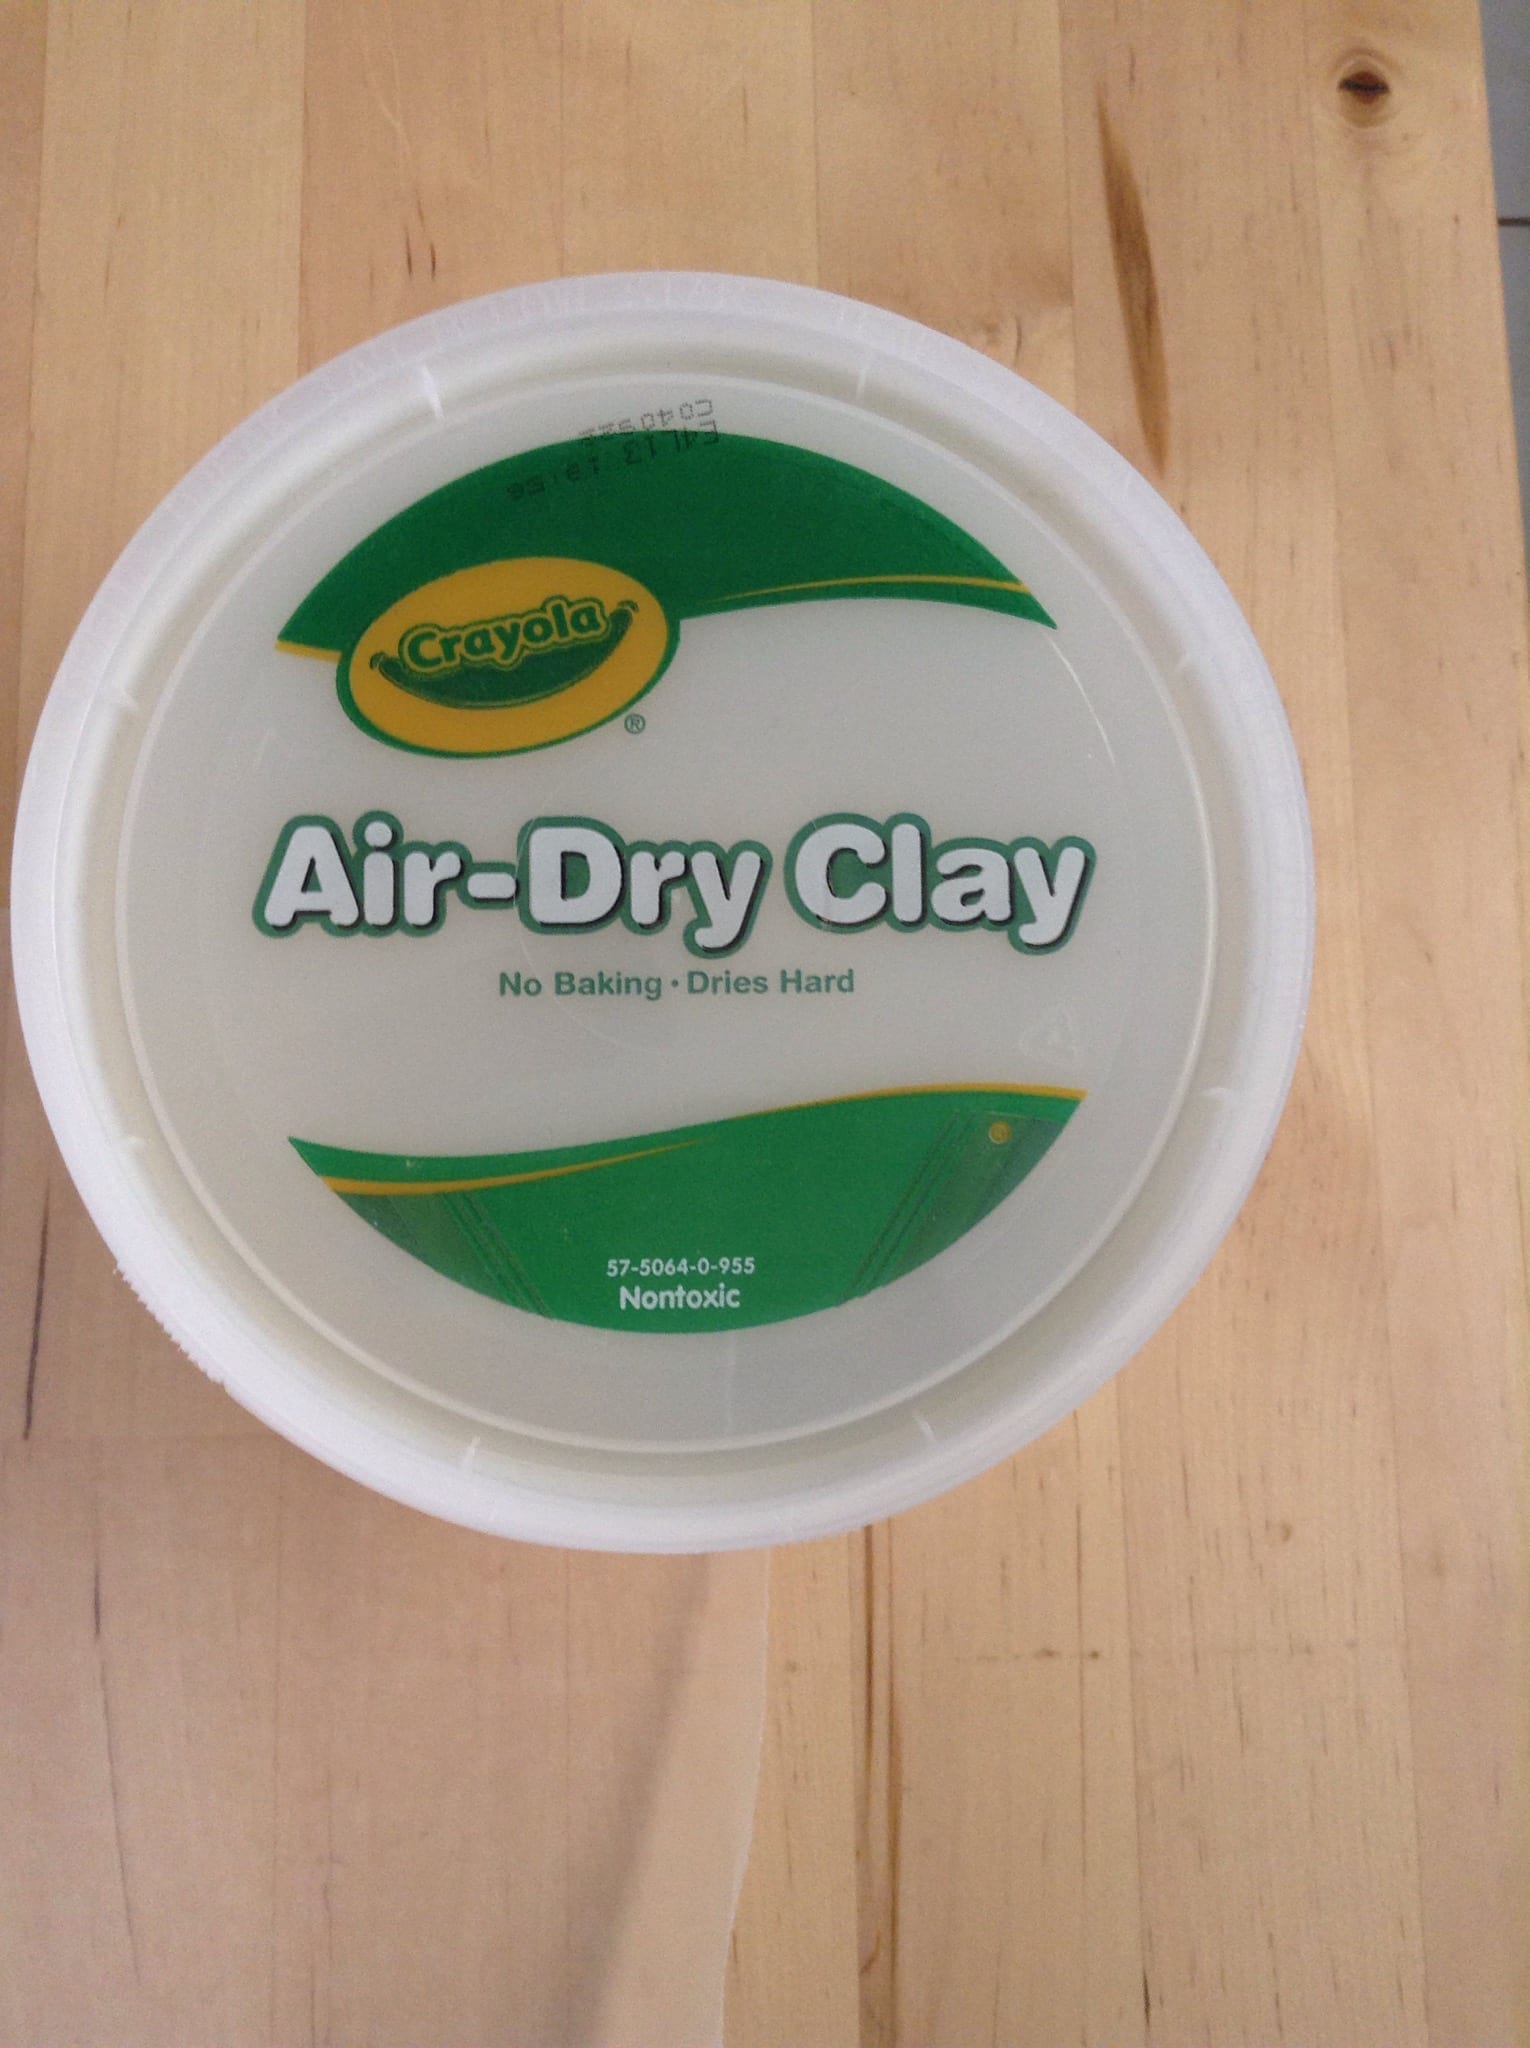
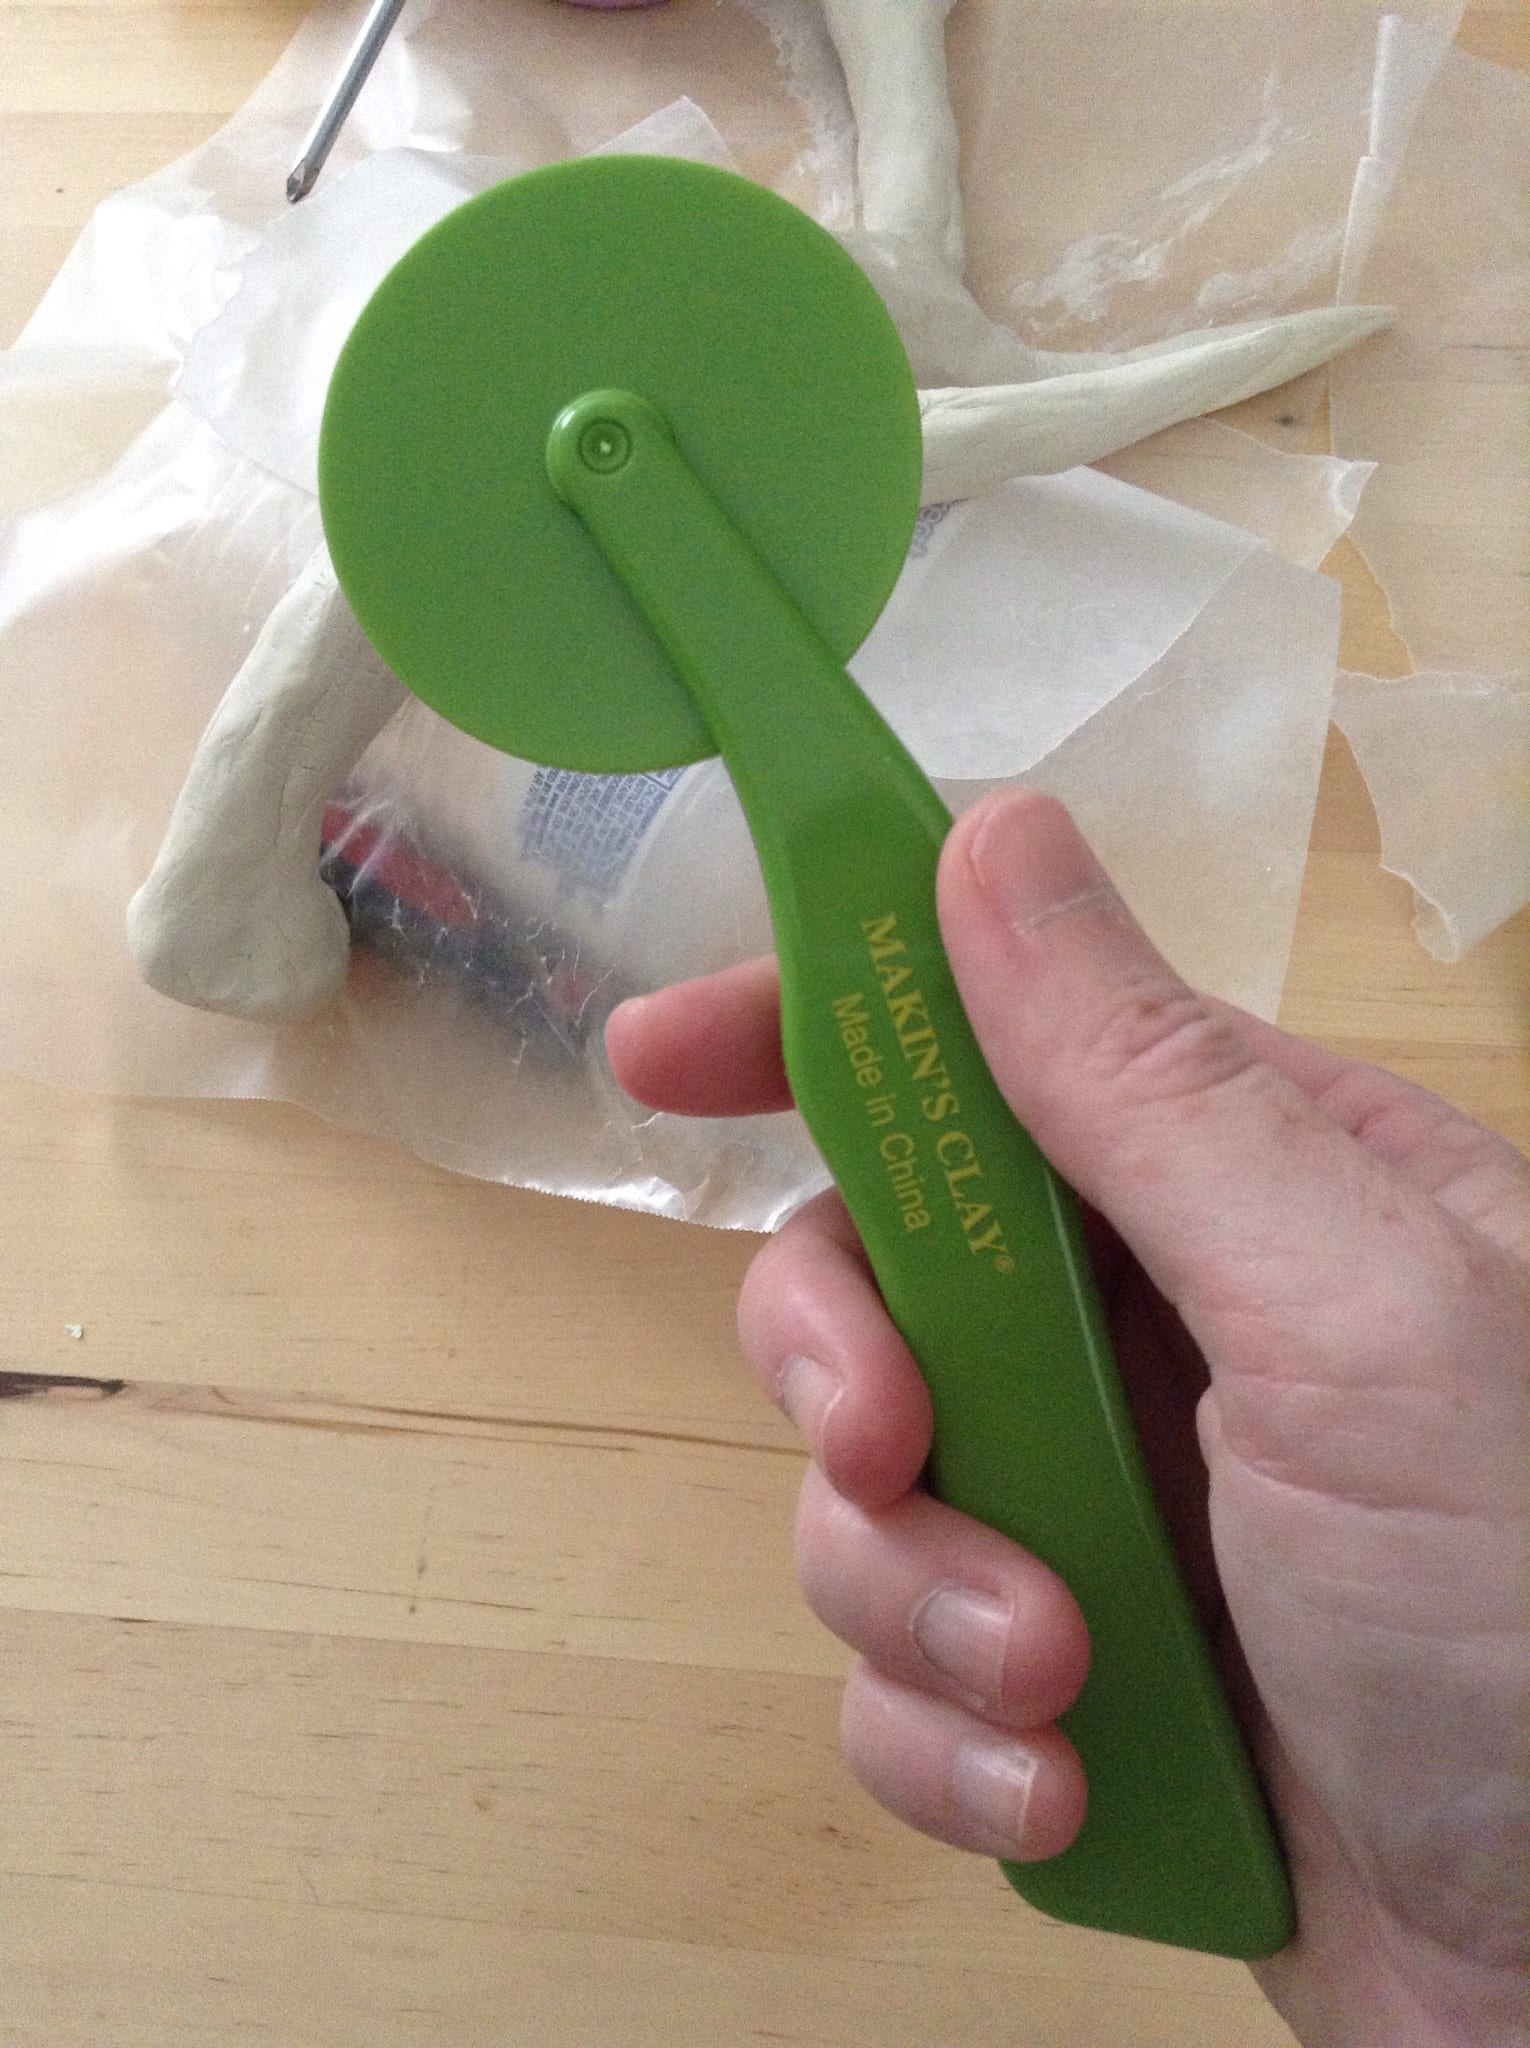
The tools I needed were air-dry clay (it’s a favorite with us and our kiddos around here) and a handheld roller wheel. You could even skip the wheel and use something like the tip of a paper clip.
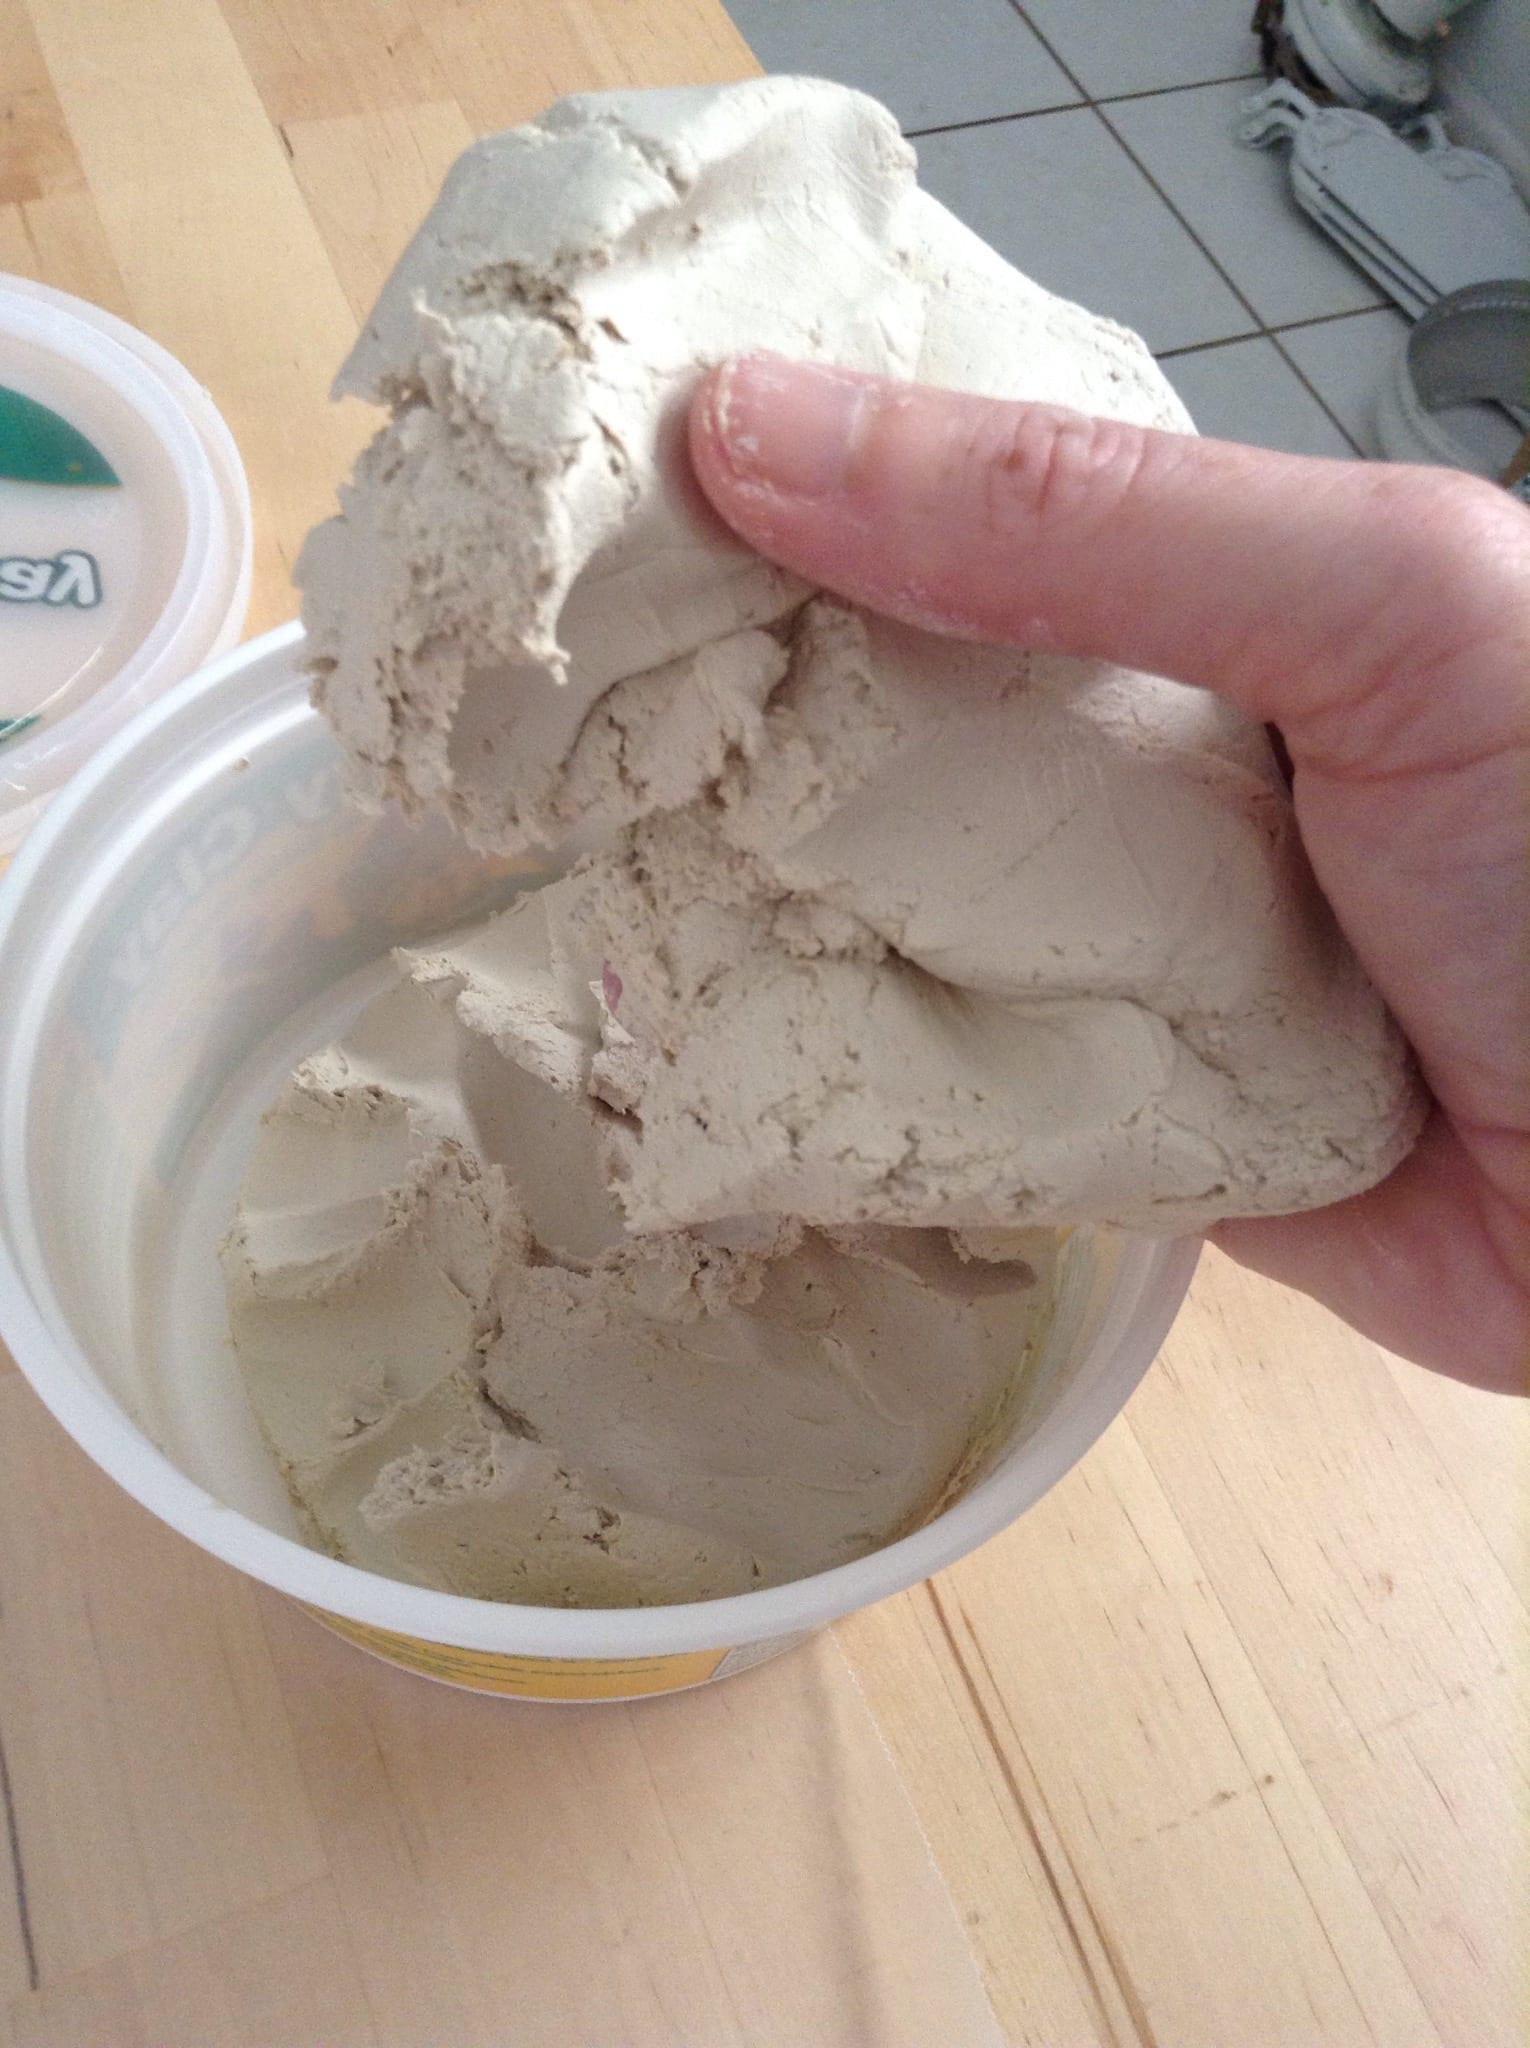
Tear off a large chunk of the clay. I would recommend a smaller size than what is pictured because mine wound up being really large.
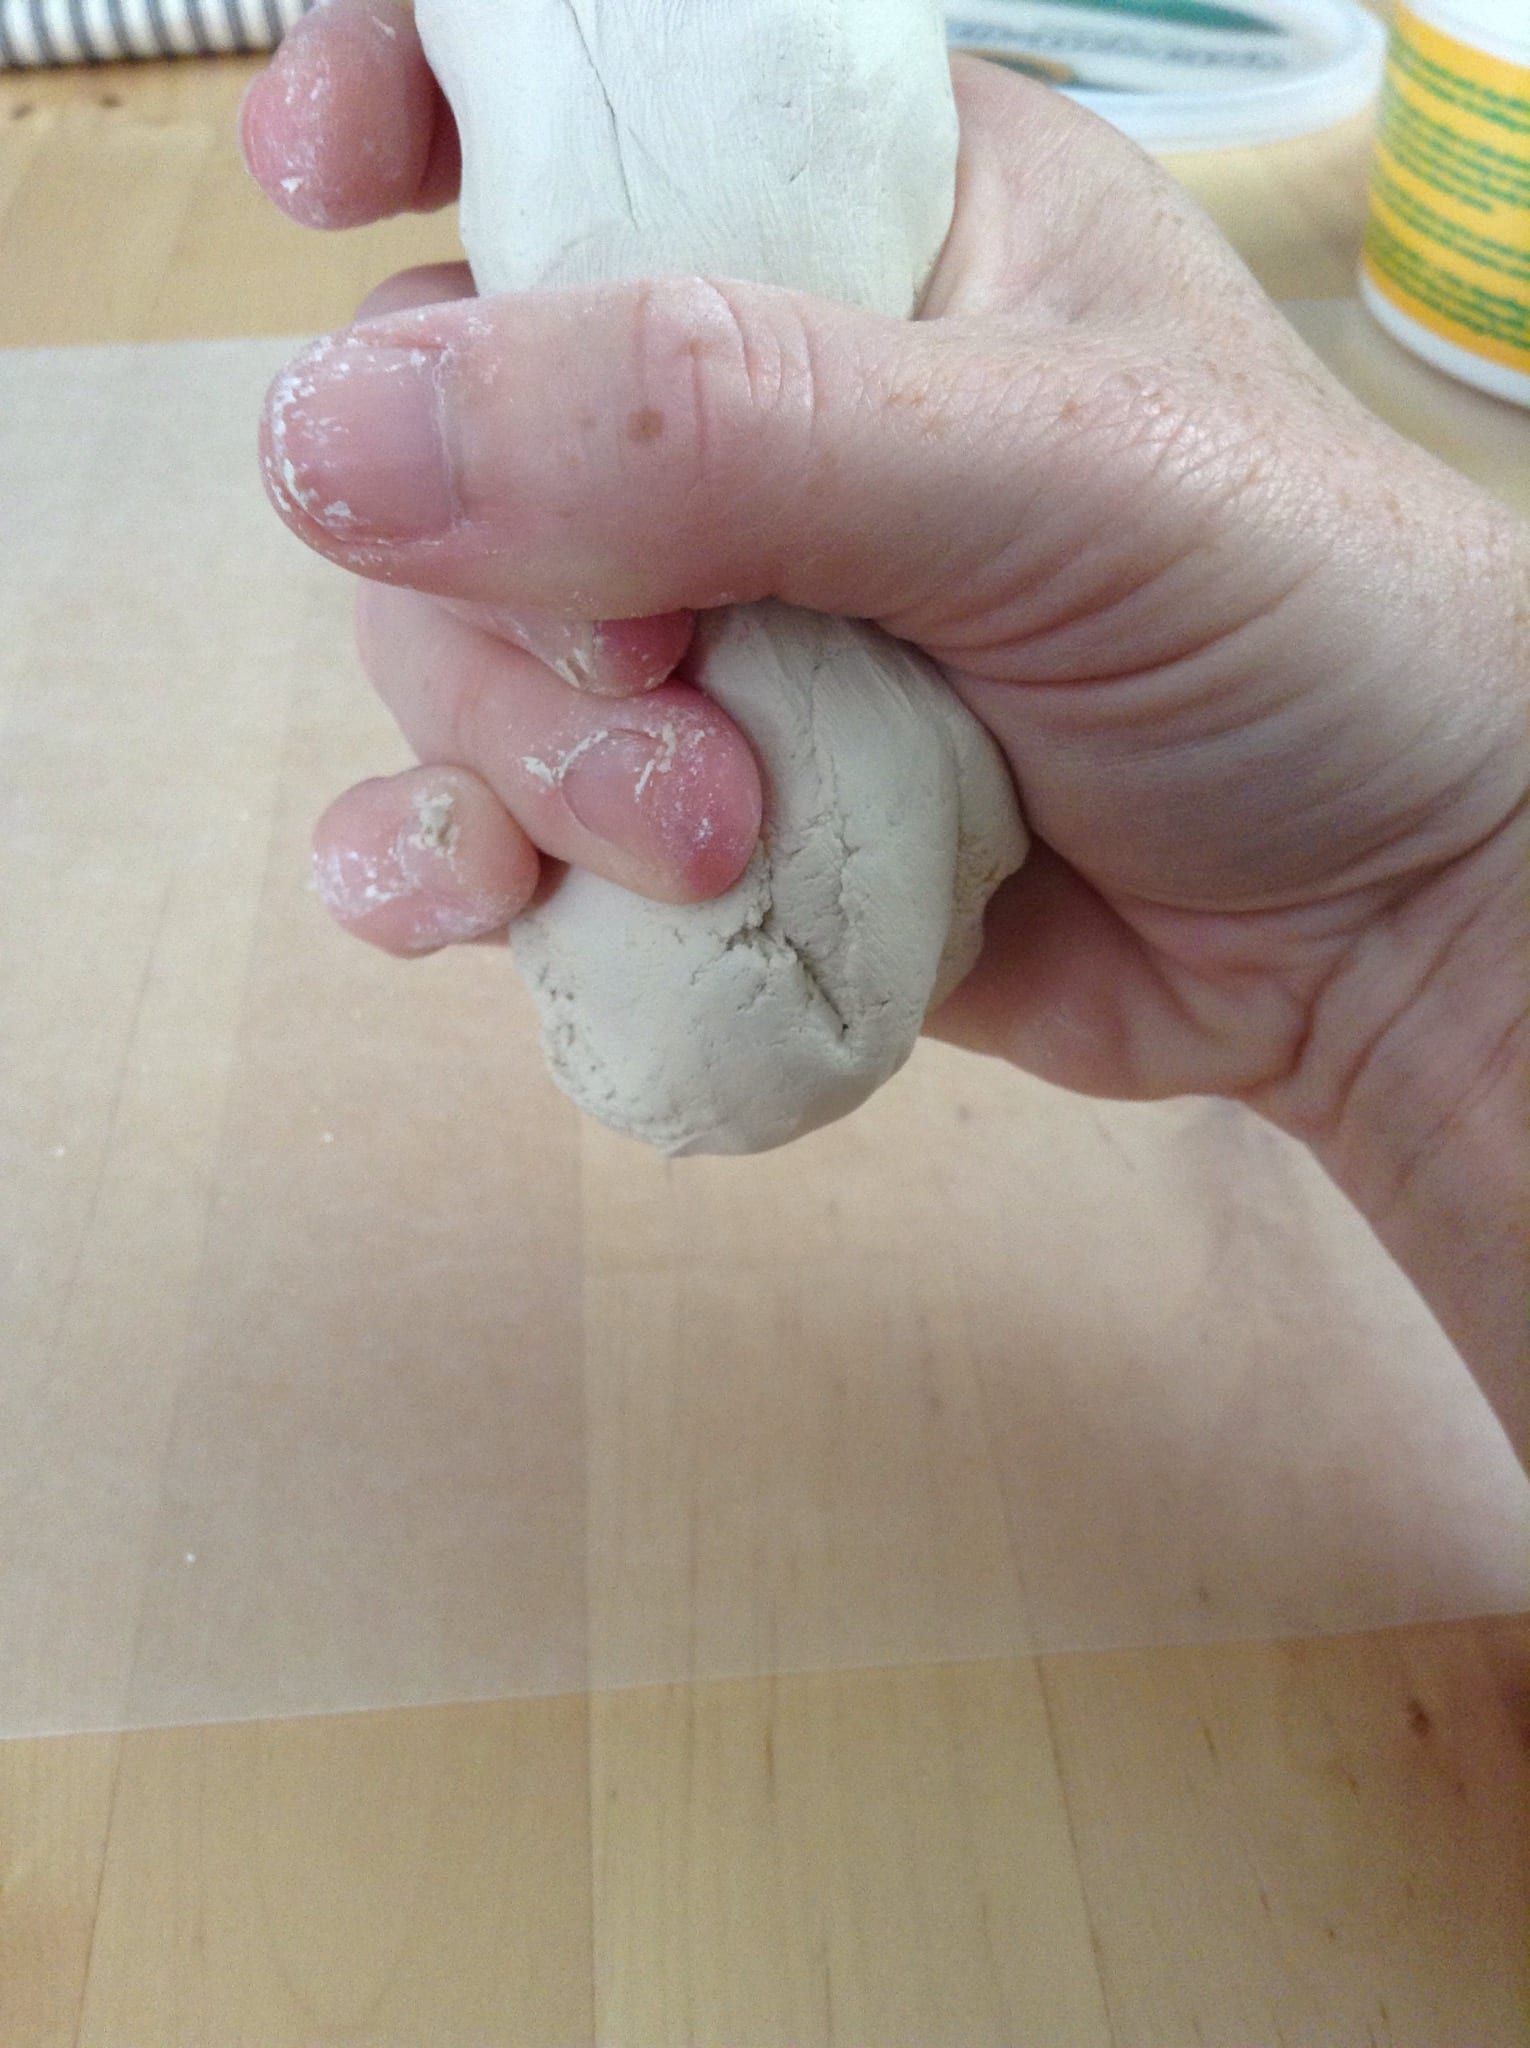
Begin to squeeze it into a cylindrical shape. I didn’t roll it, because I wanted to have a more natural look.
As you can see, I kind of flattened out the bottom where the antler attaches to the deer’s head. I made the top part of my clay heavier and wider because I am going to be pulling apart that section to make the points.
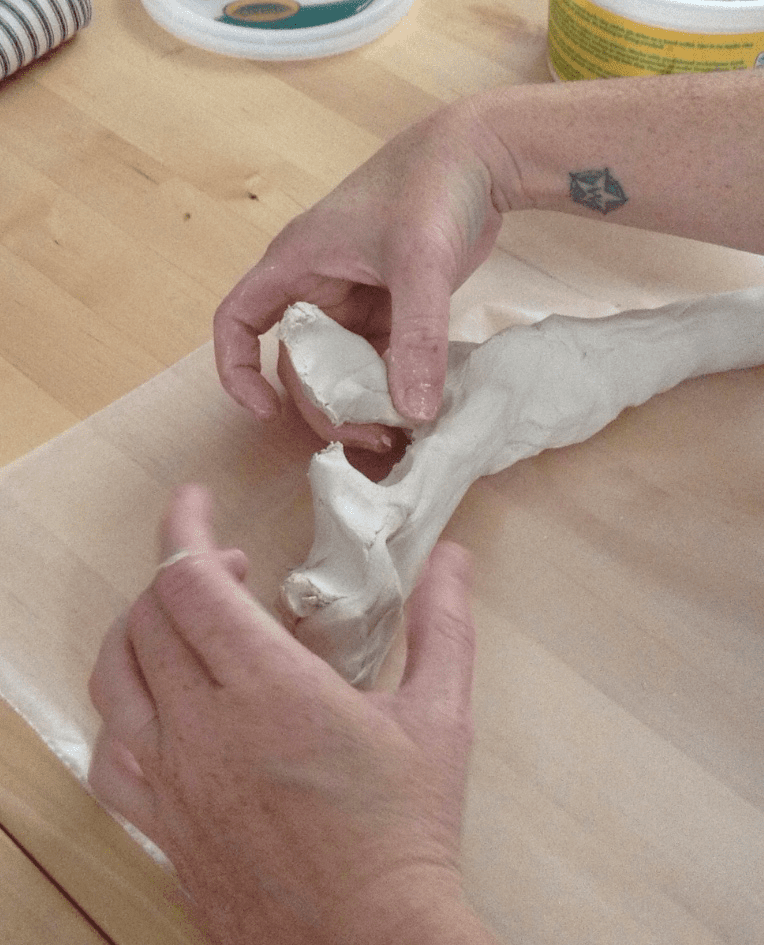
Pinch the top into two sections once you have the bottom the size you want. I used an image to help guide me when coming up with the shape/design of my antlers.
Squeeze out the shapes of your “points.” Don’t worry about making it smooth just yet, we’ll do that later. Right now it’s going to look a little funny and flat. Don’t fret. Just make sure to smooth over any cracks. Fill in spots with small chunks of clay if you need to then smooth them in with your finger.
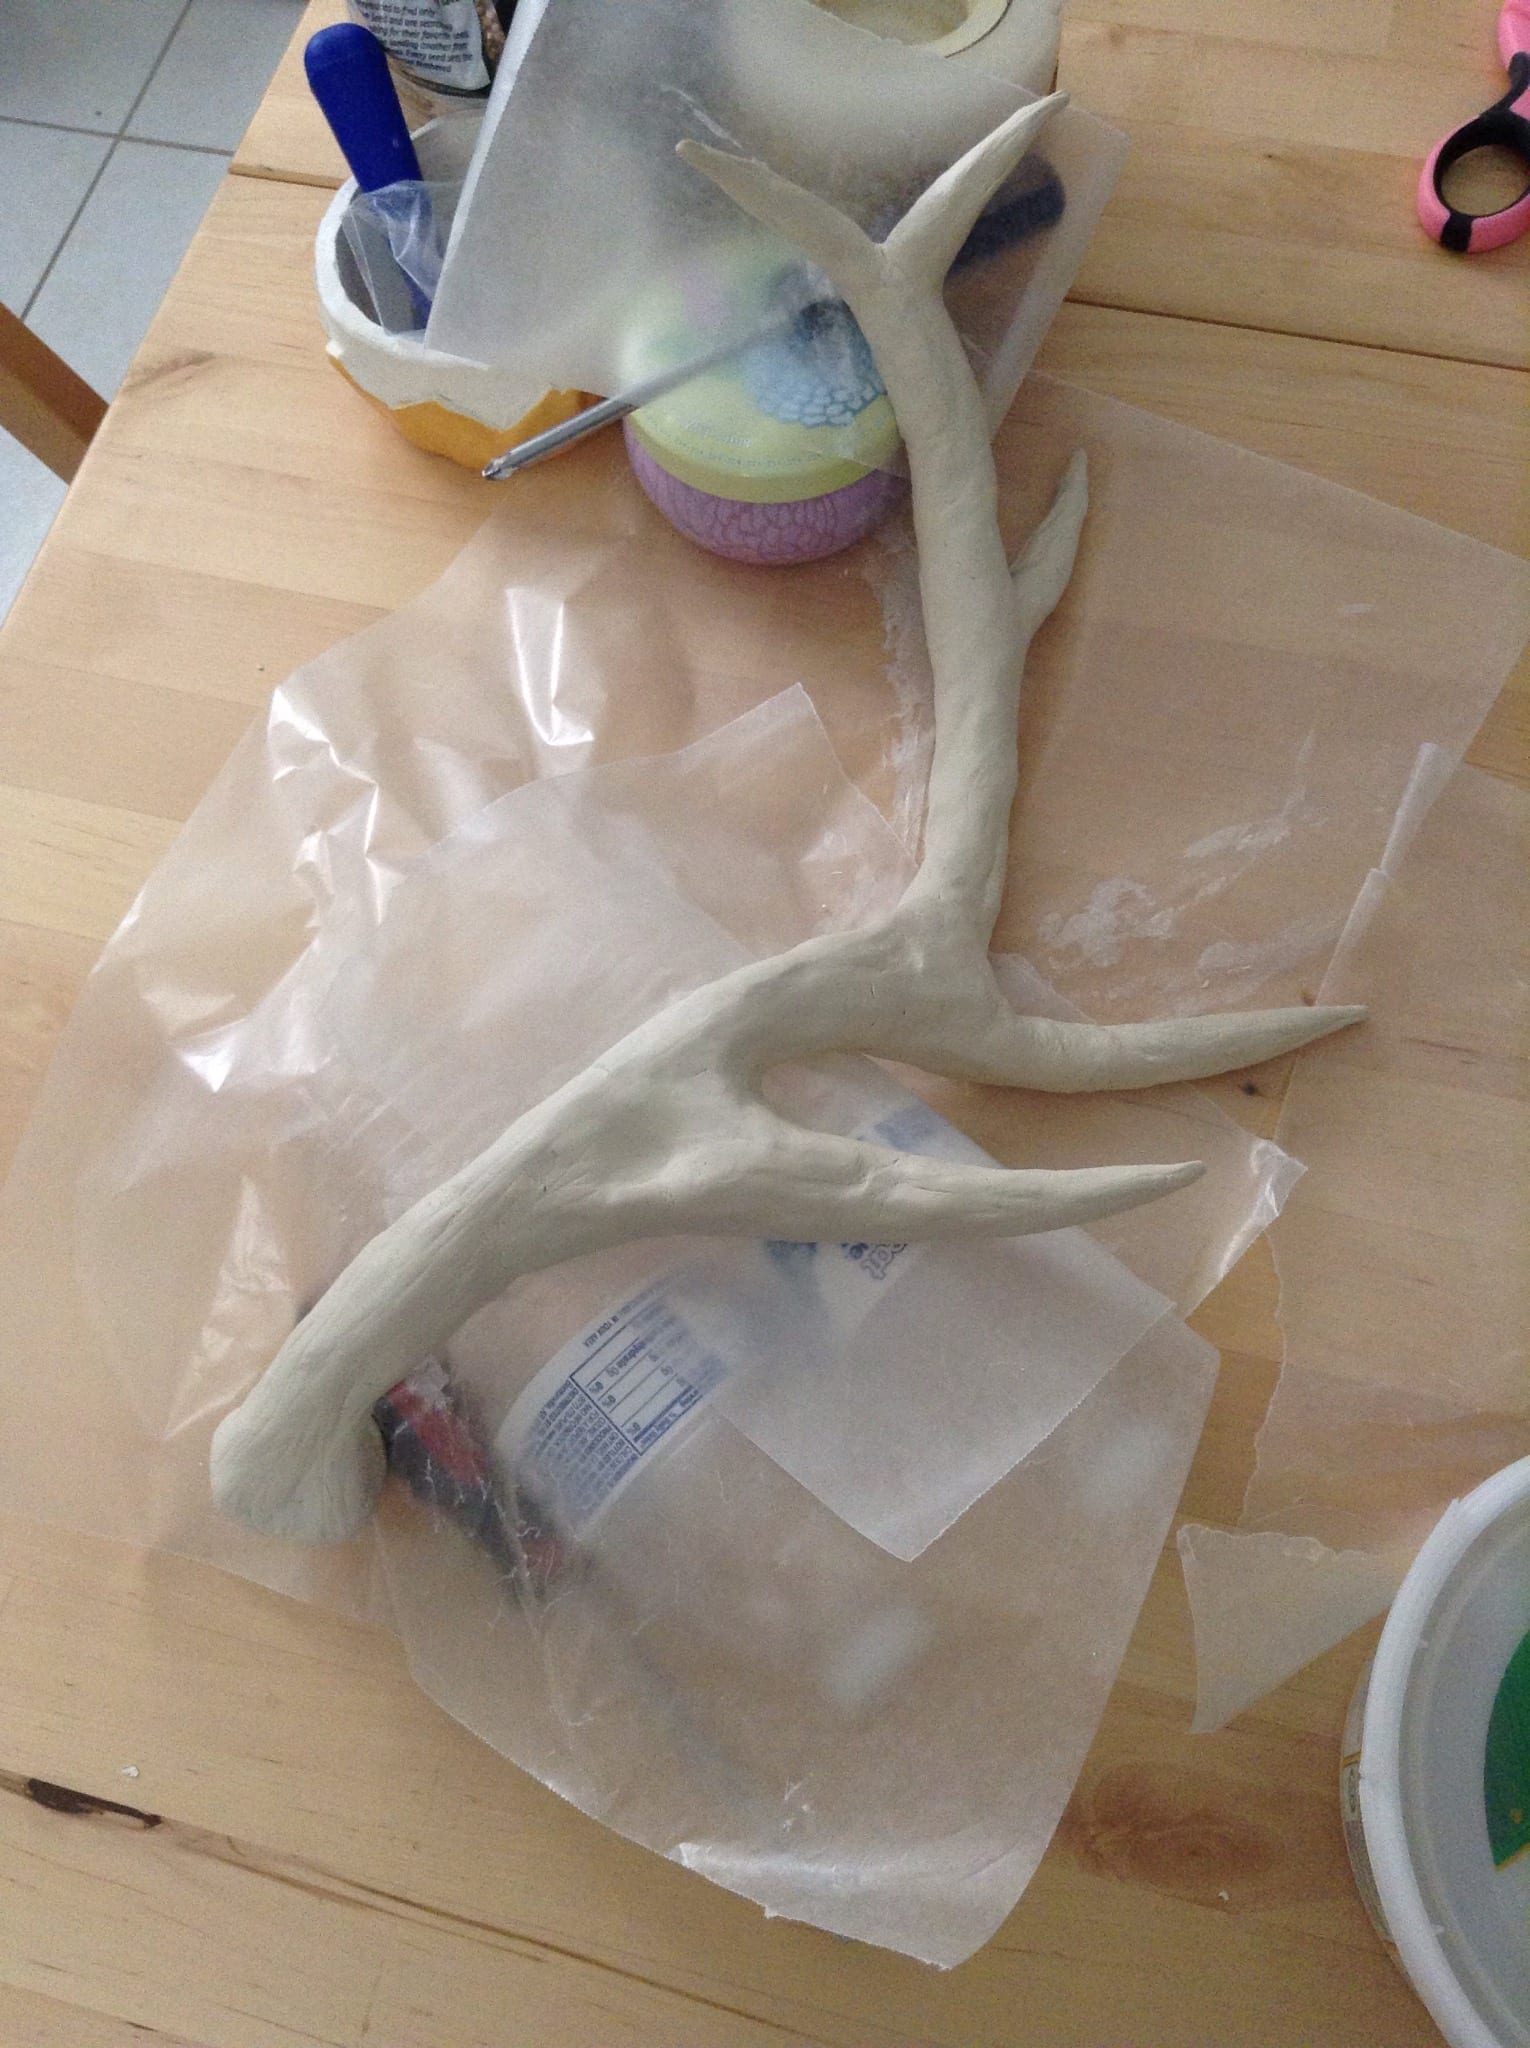
On my antler photo, there was somewhat of an impression at the fork of the first point. I just pressed my thumb into it to create this effect. This design is all about paying attention to the details. There are also some lines that create a vein-y effect on the antlers so I added those in with my roller. I propped the bottom part of my antlers over two water bottles to help it begin drying in that shape.
I also raised the top of the antlers to give it shape and propped it gently up against whatever I could find.
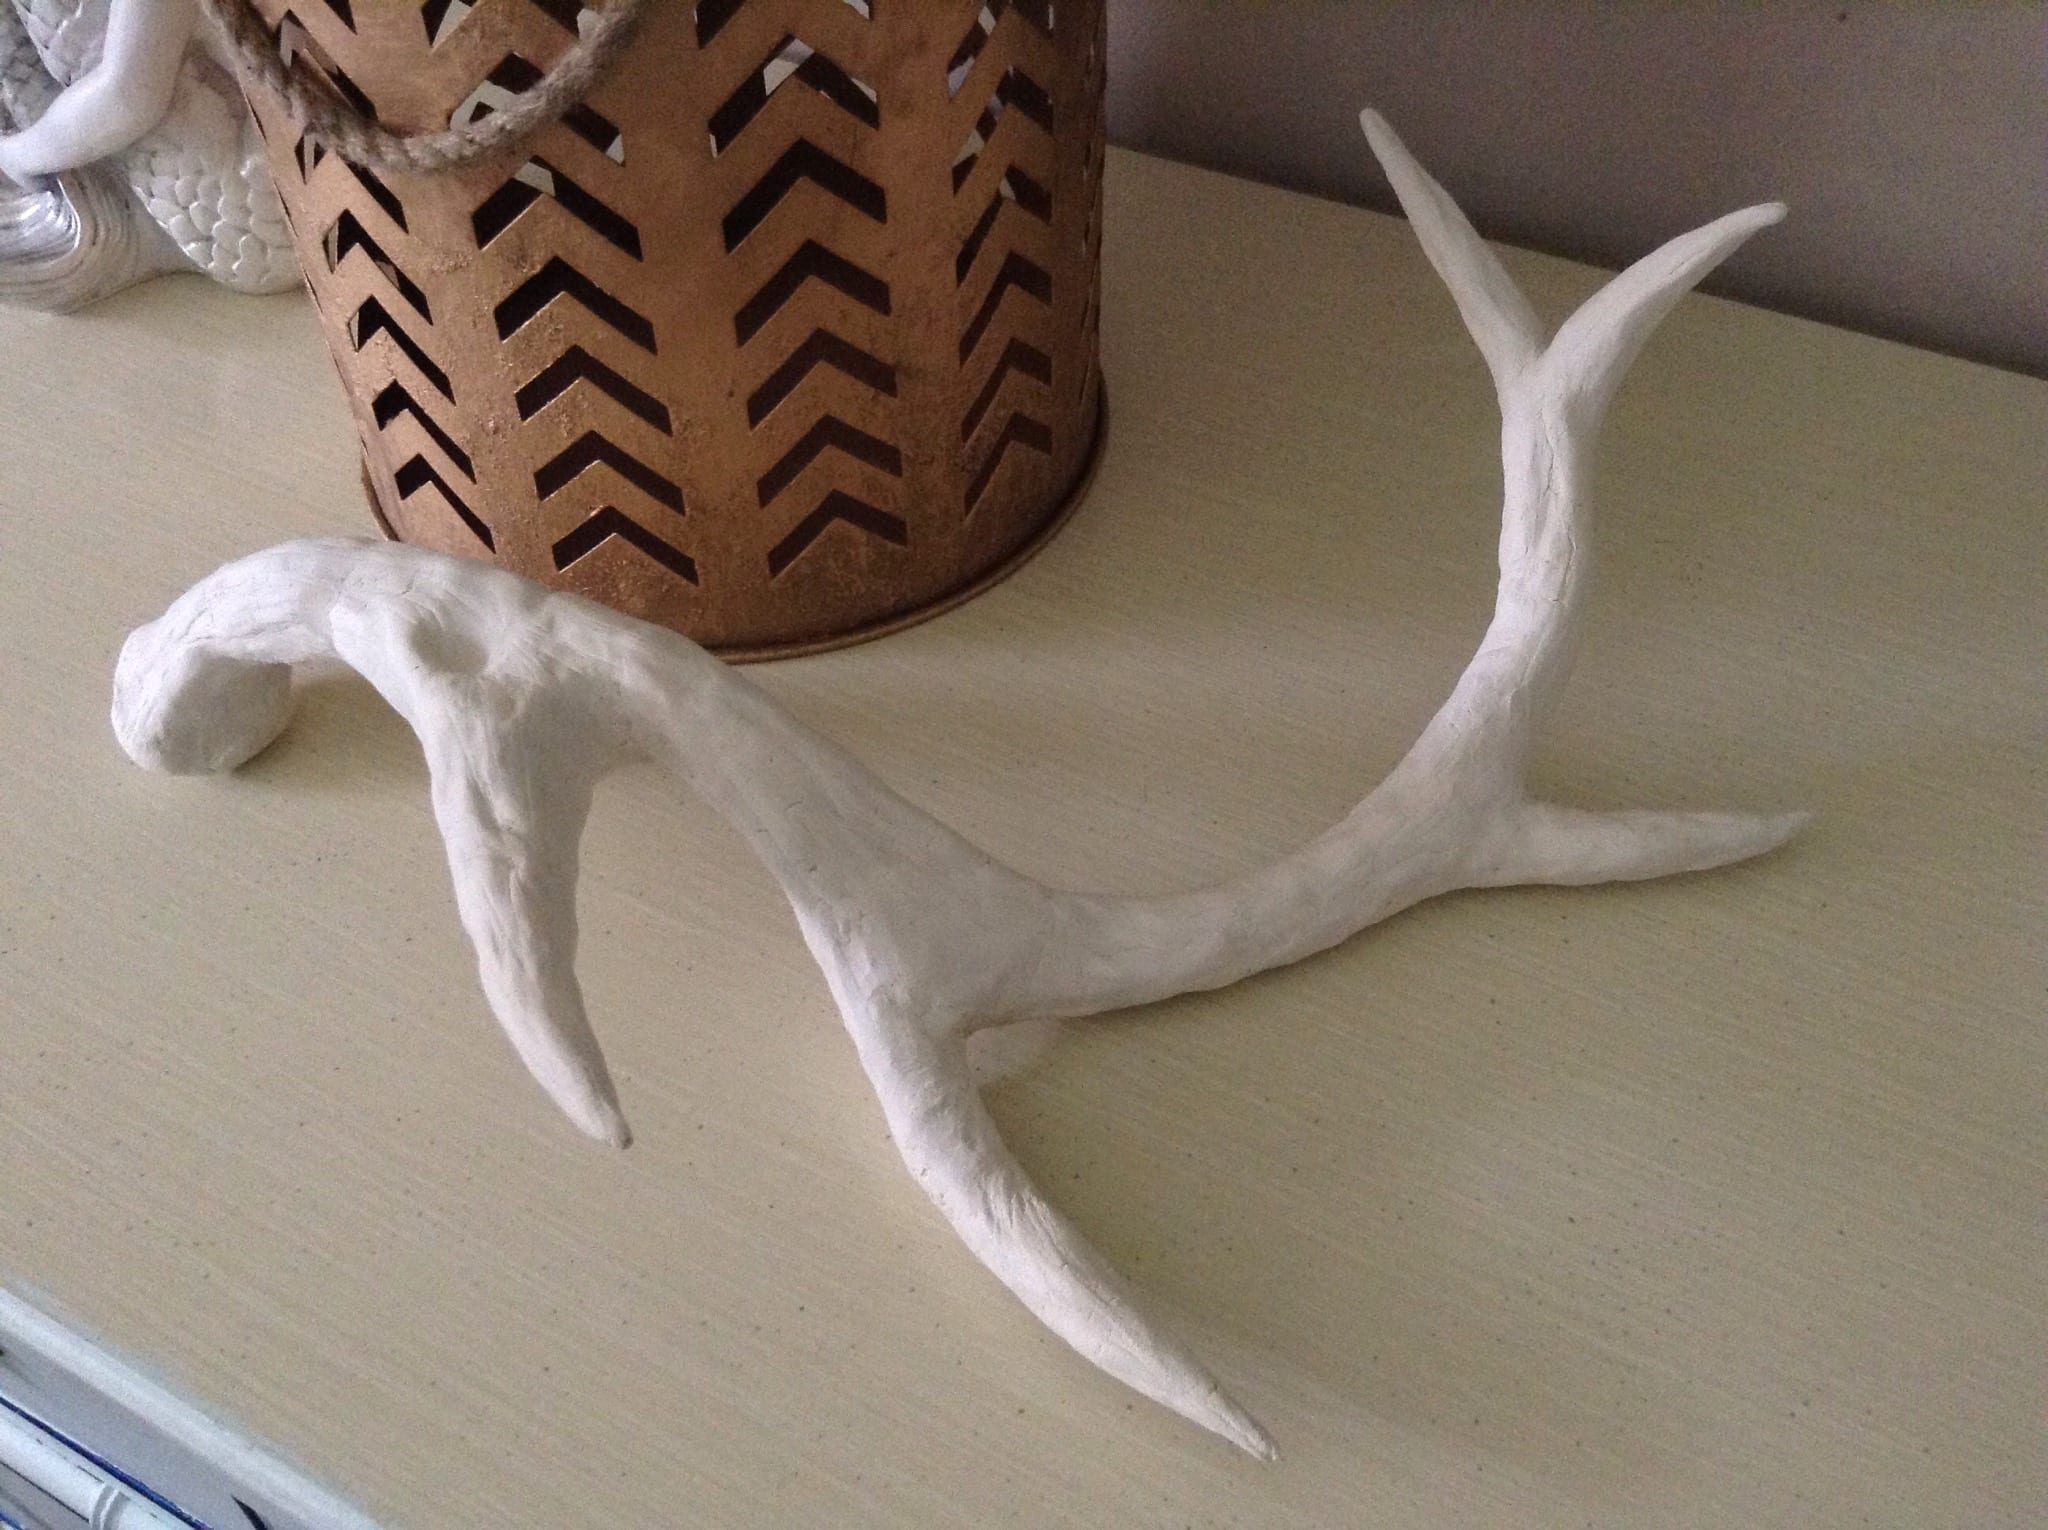
Once you have the length of the points you want and the shape, begin to gently press out any lumpy areas. Remember, it doesn’t have to be perfectly smooth. We are going for an organic look and shape. Mine took several days to dry out. Do this before moving it again. You can paint yours with acrylic paint if you want. I am leaving mine as it is. Enjoy!
Wendy
Wendy is a facebook administrator and editor for Modern Day Moms. She is a multi-purpose mom (aren’t we all, really?) who loves home decor, couponing, sewing, photography, Pinterest, frugal living… ok, pretty much all the same things that most women love! She enjoys spending time with her family and friends while living on the gulf coast. Her two Boston Terriers - Oscar and Lily - occasionally make appearances on MDM.



Leave a Comment