Birthdays, like boomerangs, come and go, and with children it seems like they come out of nowhere when you least expect them. My daughter will be turning one in April and I do not know where the time has gone, I do not remember throwing that boomerang! Inevitably, time marches on, and in two short months will be the apex of my one-year journey, so far, the cr me de la cr me…her first birthday party.
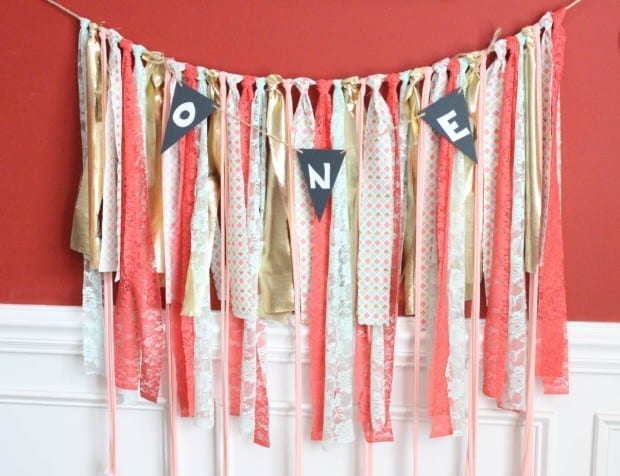
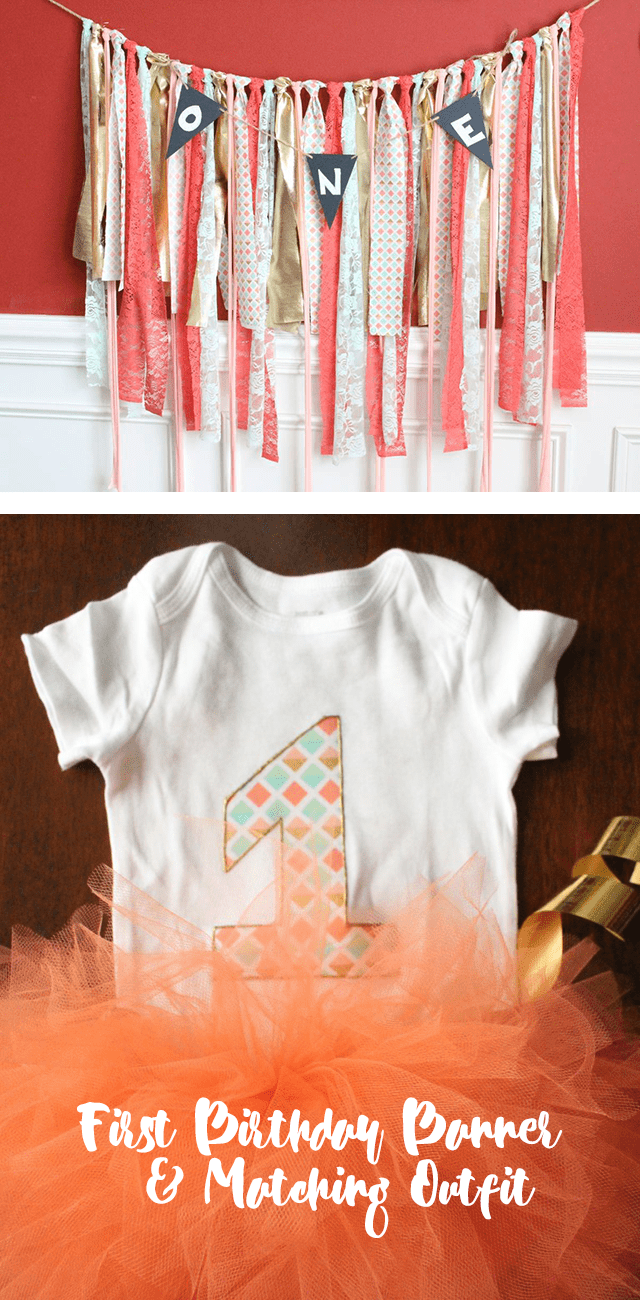
So I’ve started planning, and the first thing I had to figure out was the theme! I have decided to stick to a color based theme instead of cartoon characters, if she were older she would most likely demand a Minnie Mouse party, but since she cannot, I have chosen the colors: coral, mint and gold. My first craft, in a line of many, decidedly is a fabric banner. With an additional removable “ONE” banner, because who doesn’t love a cute banner to hang.
The great part of my idea is this labor of love can be used more than once!
Additionally, I will more than likely utilize this in her one-year photo shoot, as well as impromptu shoots I decide to take when I am bored, and if she ends up having a sister, her room colors have already been chosen! Since I have now selected my color scheme, next up is acquiring my materials.
To make a quick and easy fabric banner I have chosen a 15ft spool of twine, yard of five different fabrics (some regular and some textured to make it a fancier looking piece), a pair of fabric scissors, a chalk paint pen and three chalk board triangular pendants.
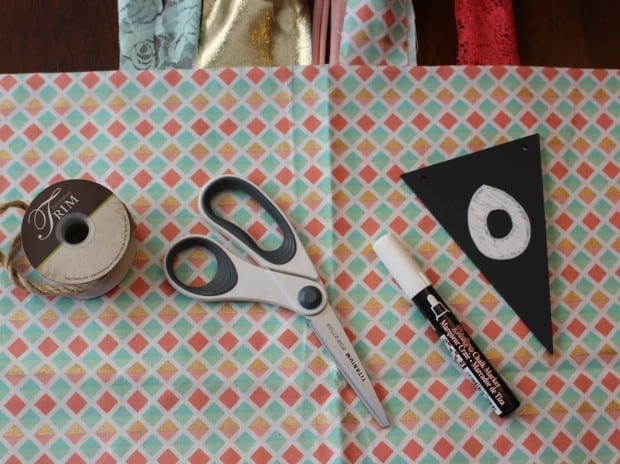
First I’ve determined how long I wanted this banner to be, I decided on 5ft and then hung it up (I used my dining room window to hang the twine).
Secondly, I folded the fabric in half and measured out eight 2in pieces using a pencil, after I measured out the pieces I cut them into strips keeping them in piles of like fabric.
Once all the strips were cut I determined which order I wanted them to be placed, since I had three textured fabrics and two somewhat regular’, I decided to do a pattern of textured- regular’-textured maintaining continuity of order.
In order to get the fabric on the twine I kept the strips folded in half and held the fabric with the fold in front of the twine, I then took the bottom of the fabric under, behind and over the twine and under the fabric loop and pulled it down tight so it looked like the top of a men’s tie and continued that with the remaining 39 pieces.
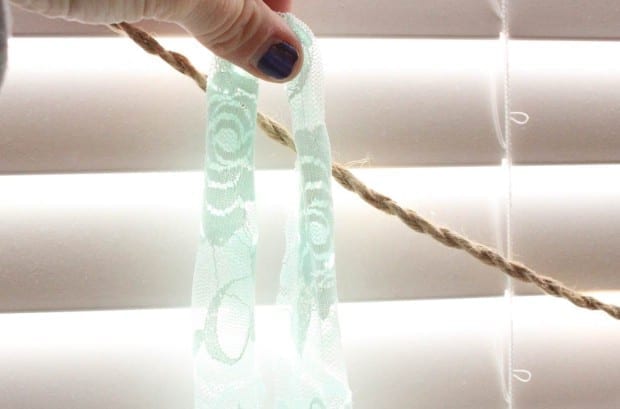
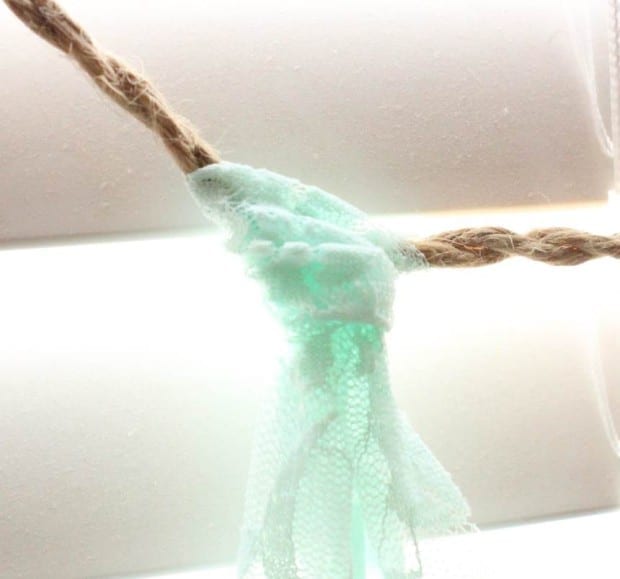
After completing the fabric portion of the banner, I took a chalk pen and spelled out ONE on the three chalk board pendants, which I then strung along a shorter piece of twine.
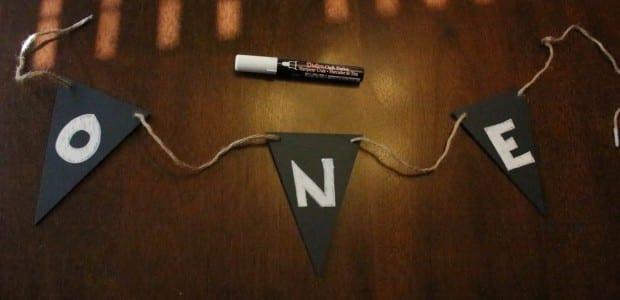
Lastly, I tied the shorter twine onto the fabric banner and there you have it my labor of love born into a finished project.
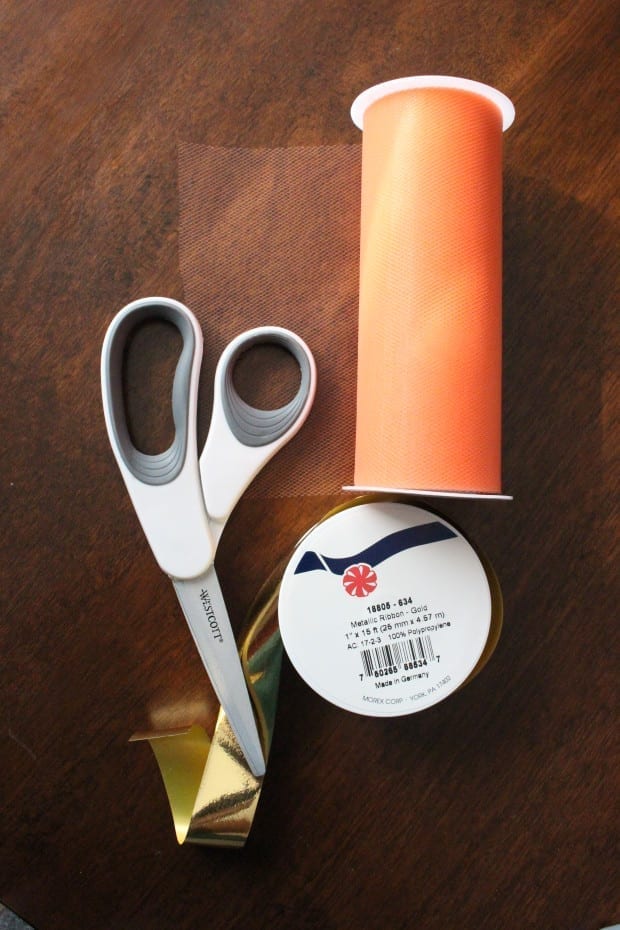
When I finished with the banner I had a little extra fabric so I decided, why not make a matching onesie and what little girl does not need a tutu to complete her outfit? First I gathered my supplies: a 12m onesie, Heat N’ Bond, Fabric, a pencil, an iron, scissors, puffy paint, ribbon and tulle.
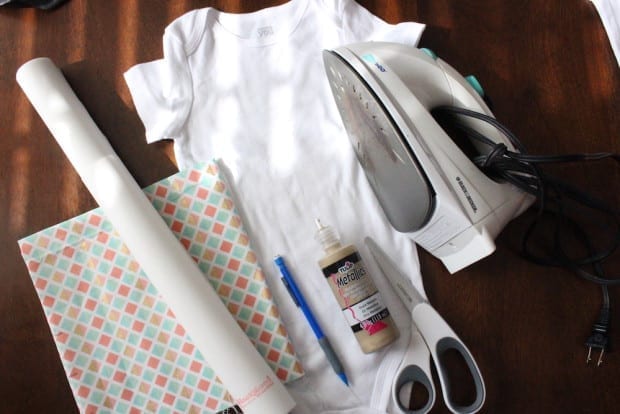
To make the onesie, I simply cut a square of fabric approximately 6x6in, then cut the same sized square and ironed that to the Heat N’ Bond. Once those were ironed together I flipped them paper side up and began to sketch the letter 1. When I was happy with the height and width I cut it out, then removing the paper backing, I placed it on the onesie and ironed it on (make sure you use a clean onesie and iron it so you do not have any unwanted wrinkles or shrinking). After ironing on the number, give it a few minutes to cool before outlining with puffy paint and that is it!
Finally, the tutu!
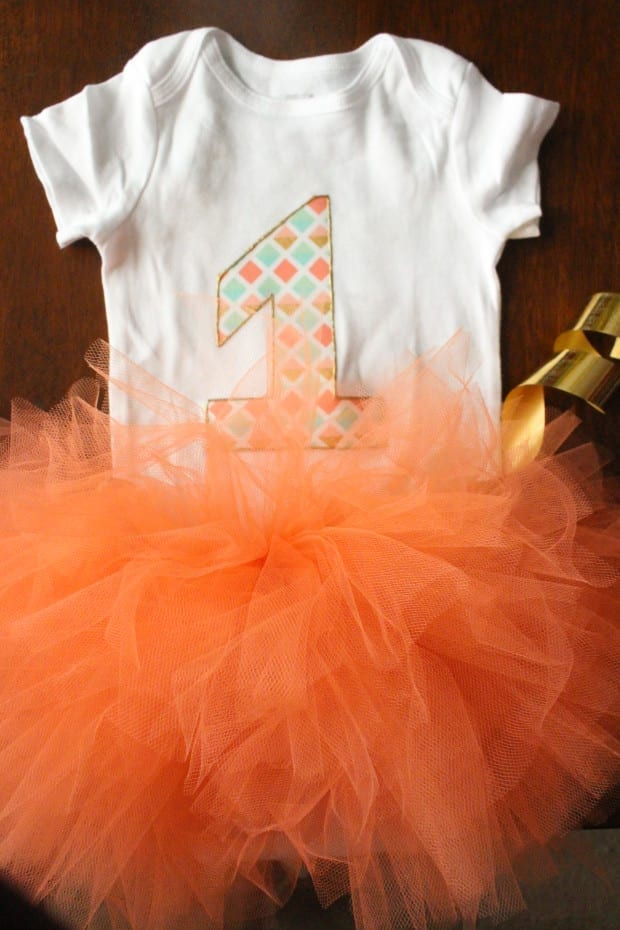
Using my ribbon, I wrapped my daughters waist and tied two tight knots in the ribbon where it met around her waist and then left about three inches on each side to tie a bow. With the tulle I cut approx. 10-12in strips, then used the same method as I did with the fabric and twine to loop the tulle onto the ribbon.
Vanessa
I am a former Army officer and now a stay-at-home mother of little girl. We enjoy a good stroller workout, crafting, playing with our dog and trying new recipes!

Leave a Comment