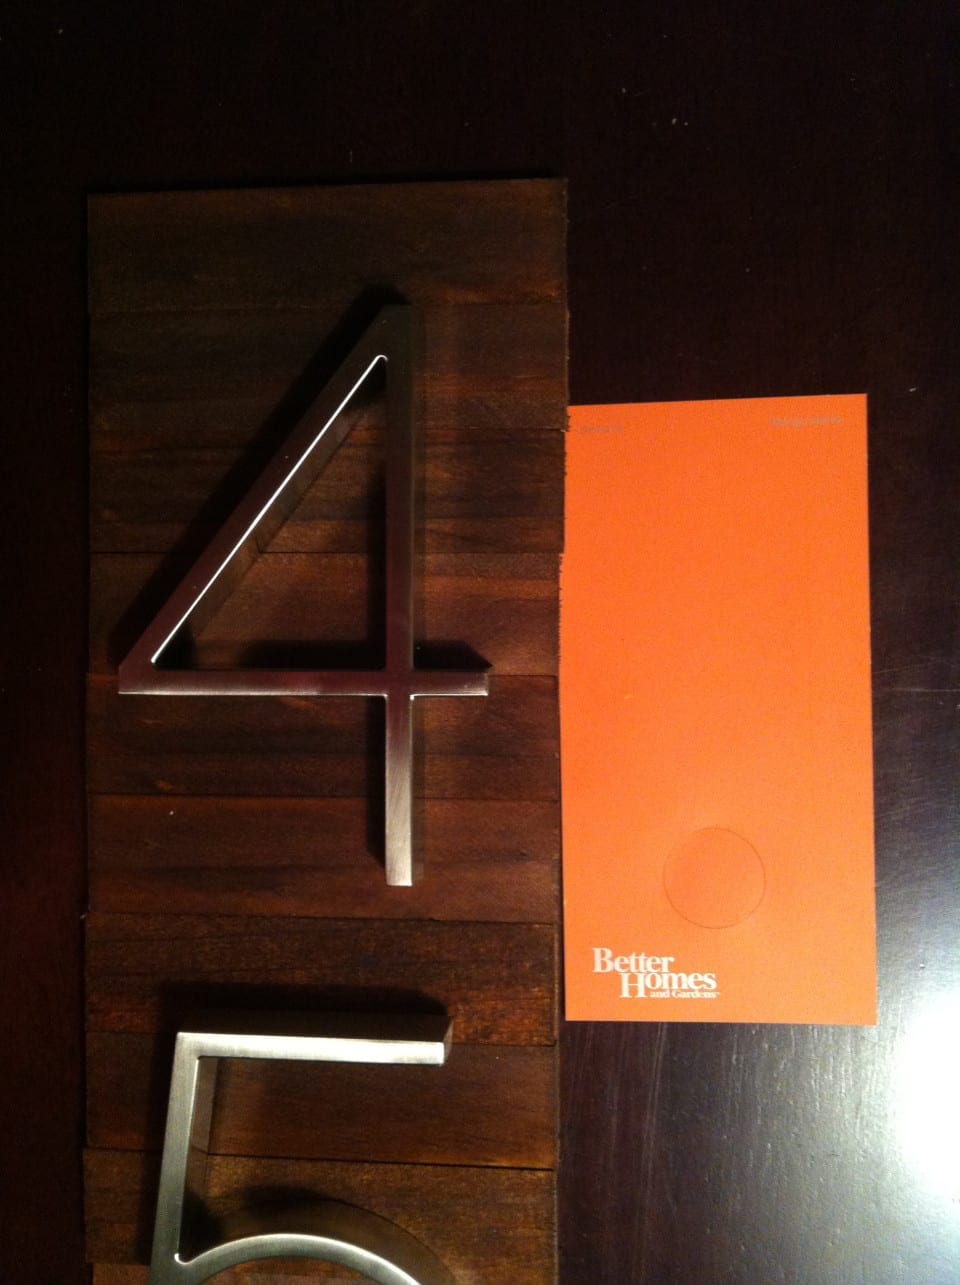
This was one of my favorite DIY projects because it was so easy and the results were very rewarding.
Products you will need are:
- House numbers
- Paint sticks
- Wood board for backing
- Welder contact adhesive
- Lock Tite adhesive
- Hangers
- Wood stain and dry cloth
- Hacksaw
First off, let me tell you that I am not a very technical person when it comes to measurements sometimes, especially if I can wing it on my own judgement. In this case, that is exactly what I did.
I purchased my modern style house numbers from Home Depot in the brushed nickel finish. They are $6 each, so that put my cost for those at $24 plus tax, but worth the investment as they are durable and appealing. The paint sticks I also got at Home Depot. You can purchase them at most hardware stores and even Walmart, but I preferred the ones from Home Depot because they were thicker and more evenly made. This will help to create a sturdy sign. It depends on how long you want to make your sign, but I used around 14 normal sized paint sticks. Once you know how long you will need your sign to be, cut your back piece to that length.
I layed one of the numbers on the stick and added some space on the side to measure out the width of the horizontal pieces. When I cut one piece, I then used it as a template to measure out all of the other pieces. Once I had all of the pieces cut, I stained them. I let them dry outside for several hours to ensure that they were dry before I proceeded any further. Since it was recommended to wait longer, I actually waited overnight.
Most companies have their logo on the paint sticks, so make sure when you put your sign together that you have the marked sides on the back side. Spread the Locktite on each back side of the paint sticks and begin to lay them out on your board. Continue to do this until all pieces are connected.
Attach your numbers to the front using the Welder contact adhesive. Make sure you evenly spread them out from the top and bottom and each other. Attach your hangers to the back and you are done! Allow everything at least 24-48 hours to dry before hanging.
The end result is a beautiful way to display your house numbers and to provide a little more curb appeal to your home!
Wendy
Wendy is a facebook administrator and editor for Modern Day Moms. She is a multi-purpose mom (aren’t we all, really?) who loves home decor, couponing, sewing, photography, Pinterest, frugal living… ok, pretty much all the same things that most women love! She enjoys spending time with her family and friends while living on the gulf coast. Her two Boston Terriers - Oscar and Lily - occasionally make appearances on MDM.


Leave a Comment