This DIY is for all of the pizza lovers out there! And who doesn’t love pizza?? From Miley Cyrus to Lady Gaga, we see all kinds of pizza photos floating around the Internet. I’ve even seen some cute tattoos.
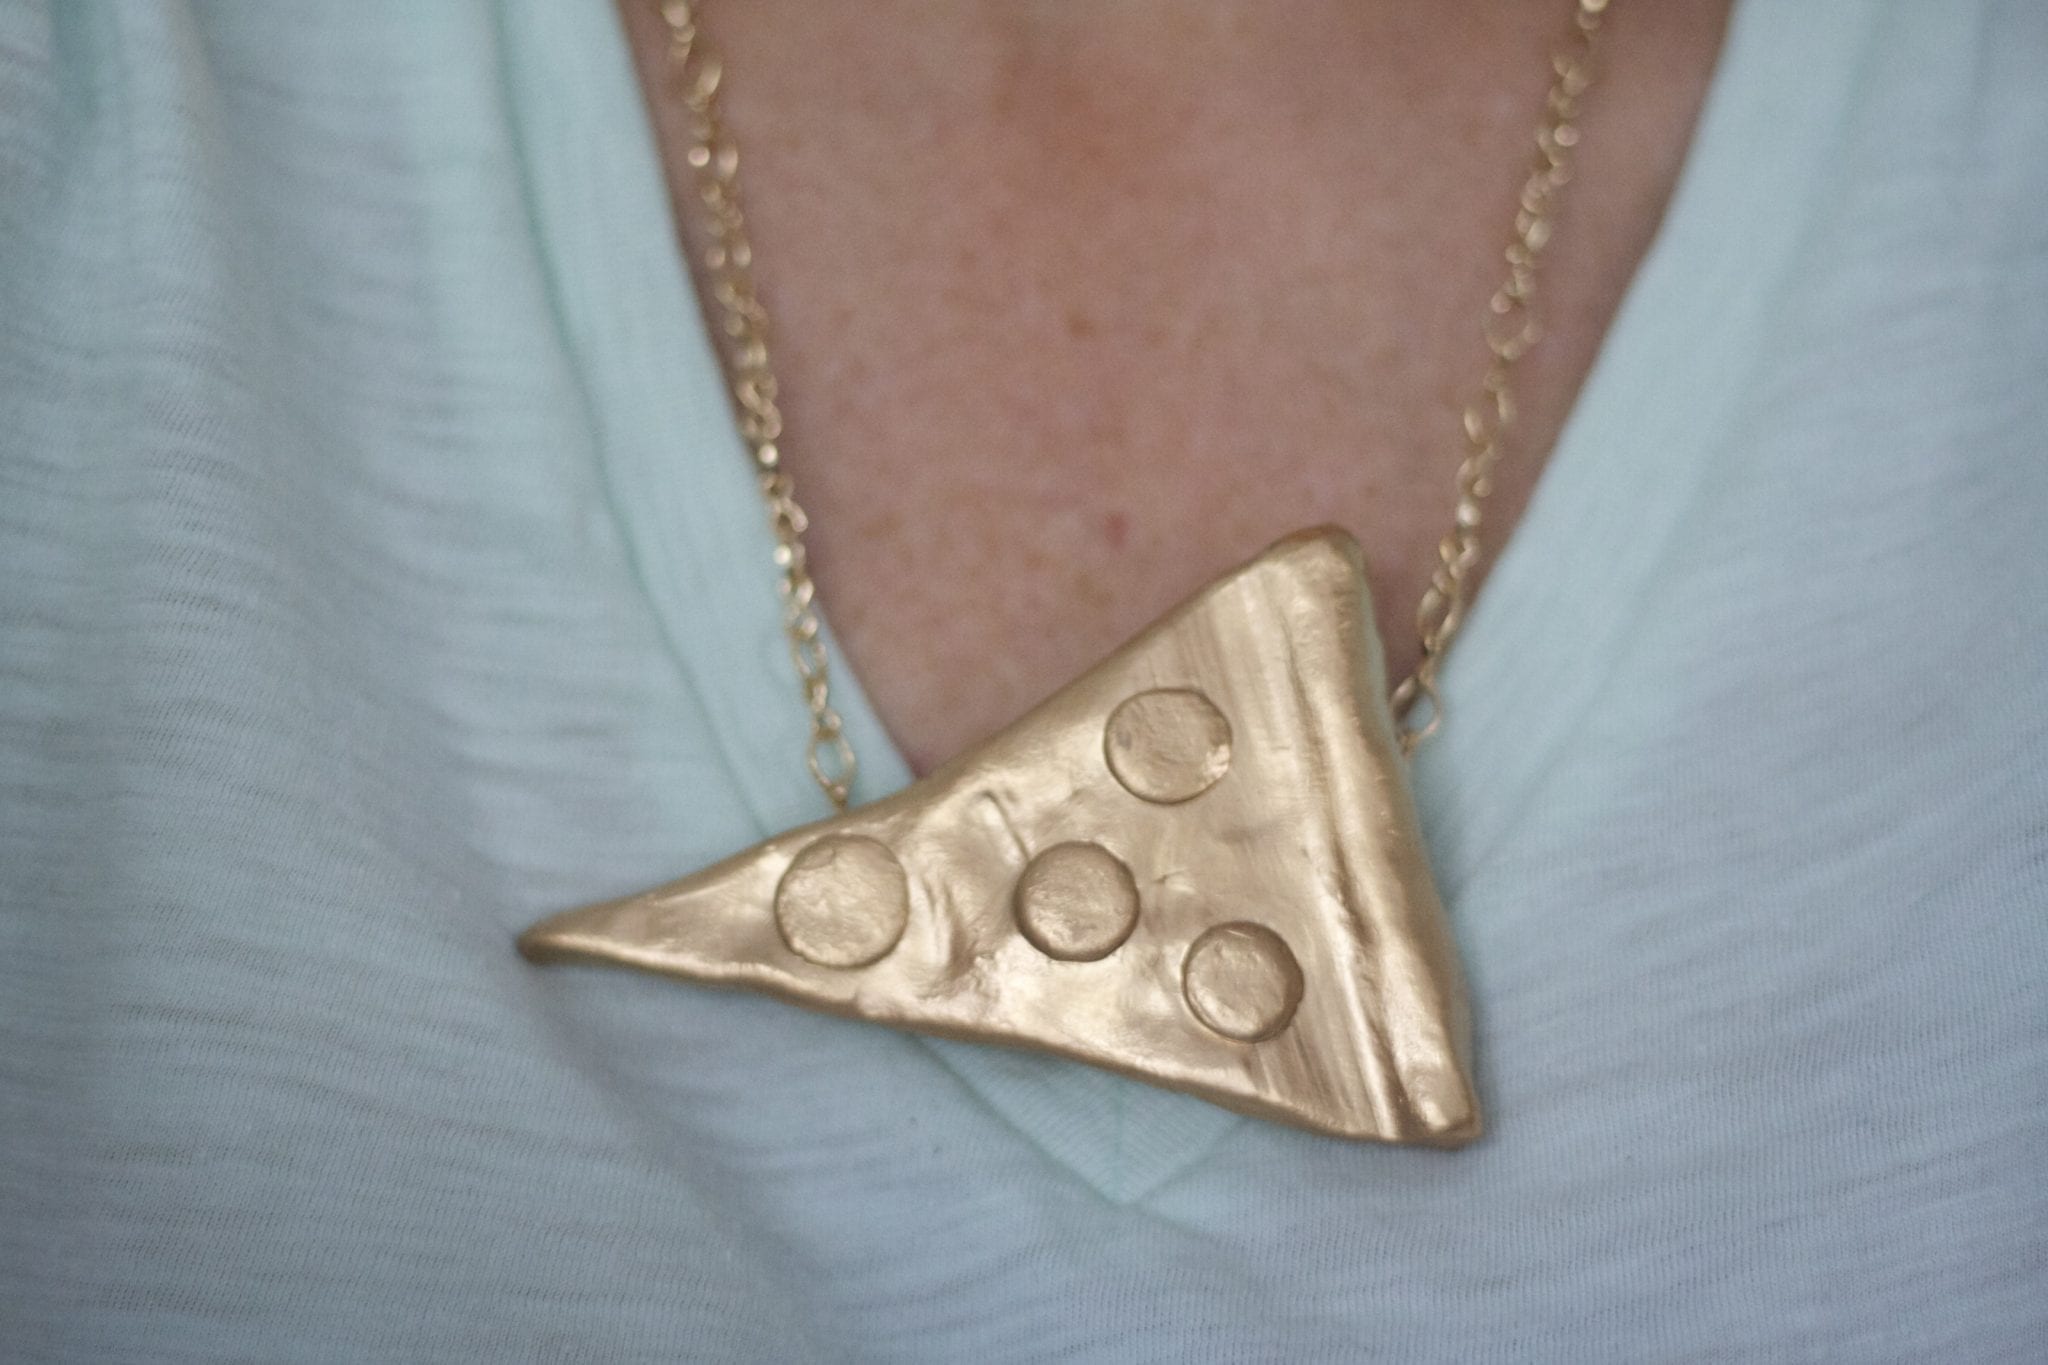
These – and my tremendous love for pizza – inspired me to make a pizza necklace.
All you need is:
- One pack of neutral colored Fimo clay
- Necklace
- Jump rings
- Lobster clasp
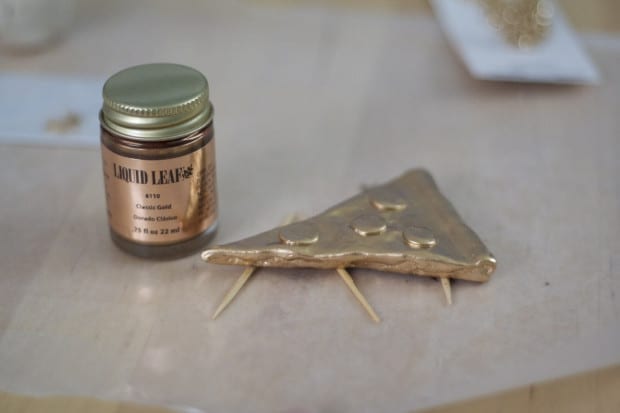
- Gold leaf paint
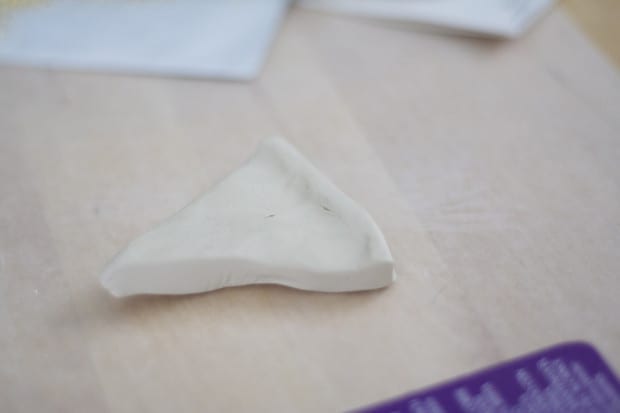
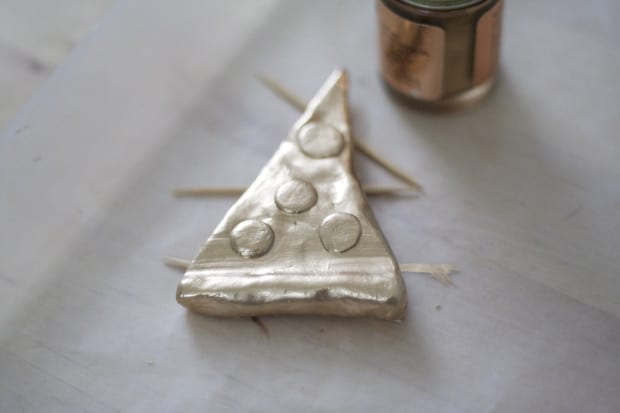
Begin by working your clay into a smooth, triangular shape. Remember how the sides of a slice are cut very clean with cheese melting over. First, create your rounded crust. Then, use a small object – I used a small wooden skewer – to create the effect of cheese. Make an impression on the bottom part and roll it like you are making waves. (Sorry…forgot to photograph that part).
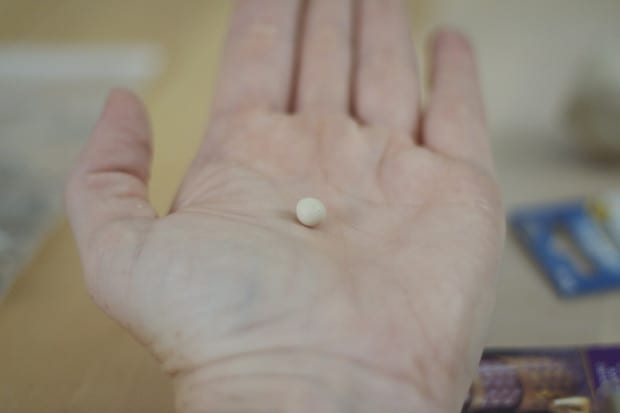
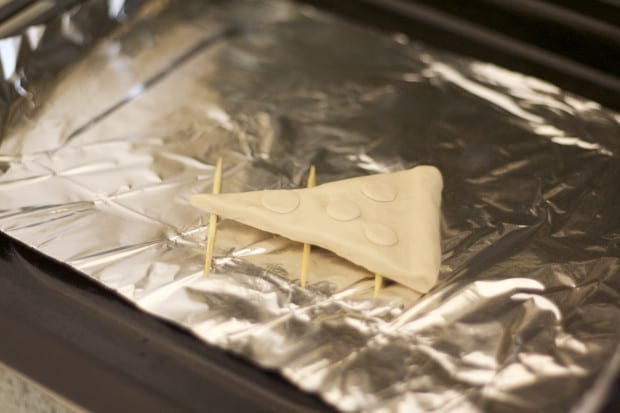
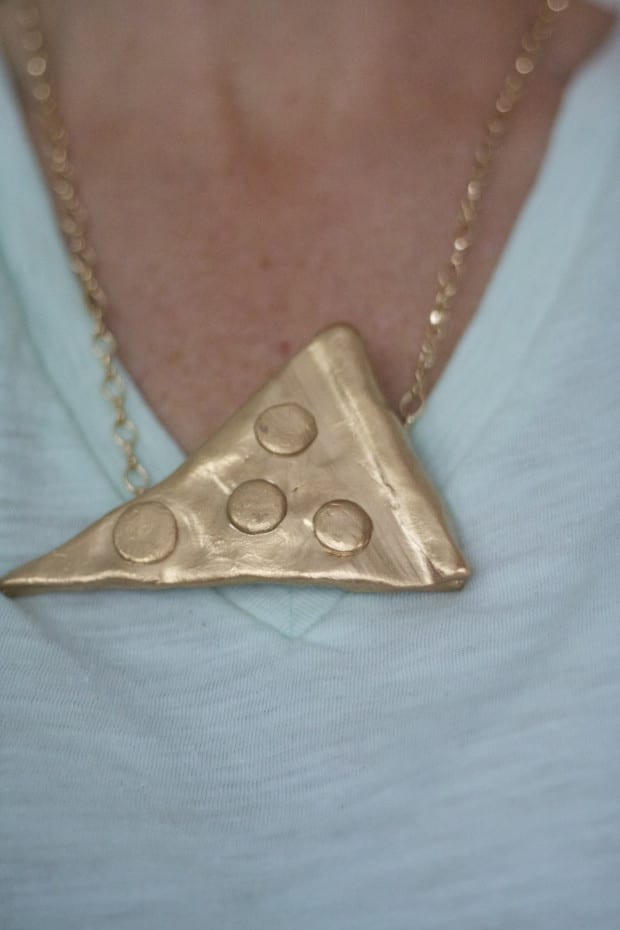
Now, I am a plain pie lover, but I just didn’t feel like it looked very obvious like a slice of pizza to me, so I added pepperoni. Just roll up tiny balls then smash them flat. Add how many ever you want to your pizza.
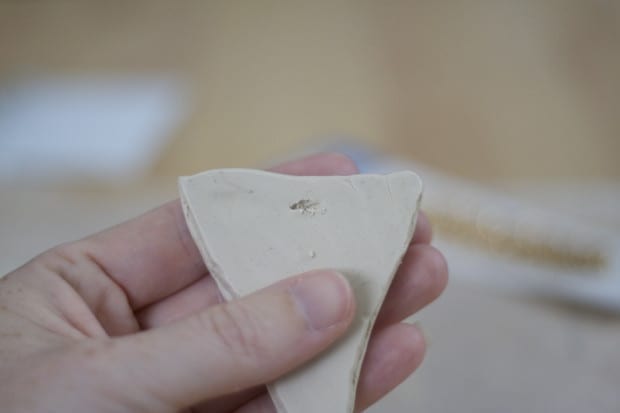
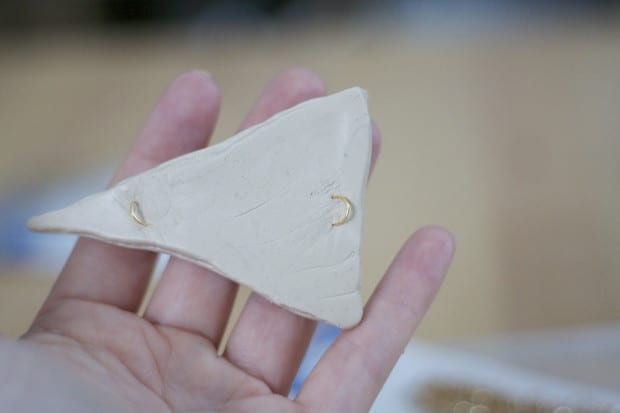
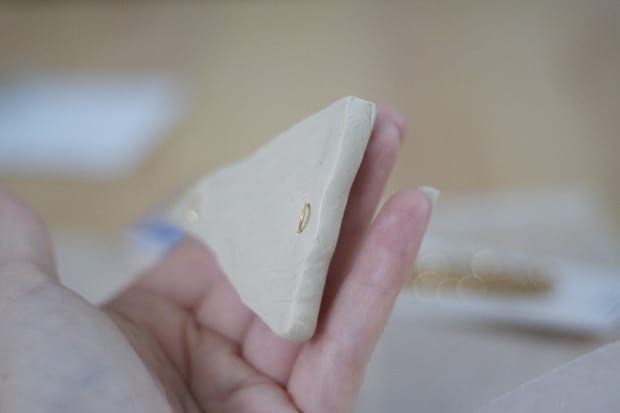
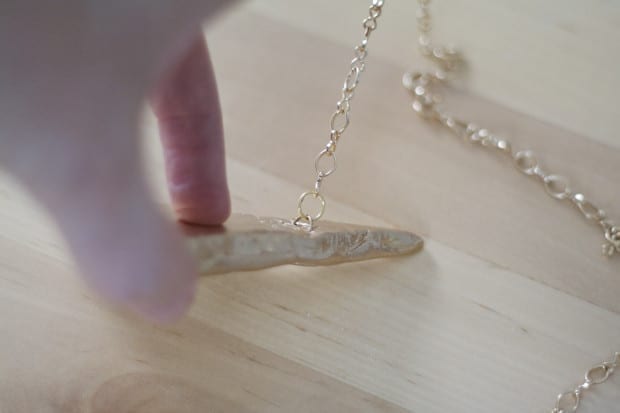
Now, dig out a line in the back for your jump ring. Insert your jump ring then pack it win clay and smooth it back out, leaving half of your ring uncovered.
Bake your pizza for 30 minutes at 230 degrees. I put mine on toothpicks to let the heat circulate around it and dry it out well. Once it finishes, allow it to fully cool as this is what makes it thoroughly harden.
Now you’re ready to paint! Dip a small amount onto your brush. This stuff goes very far!
Allow the paint to dry.
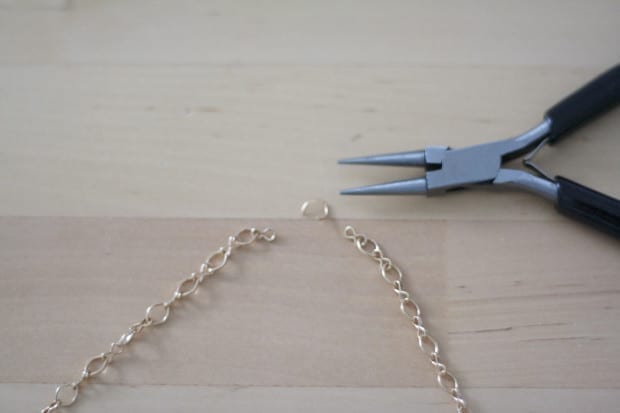
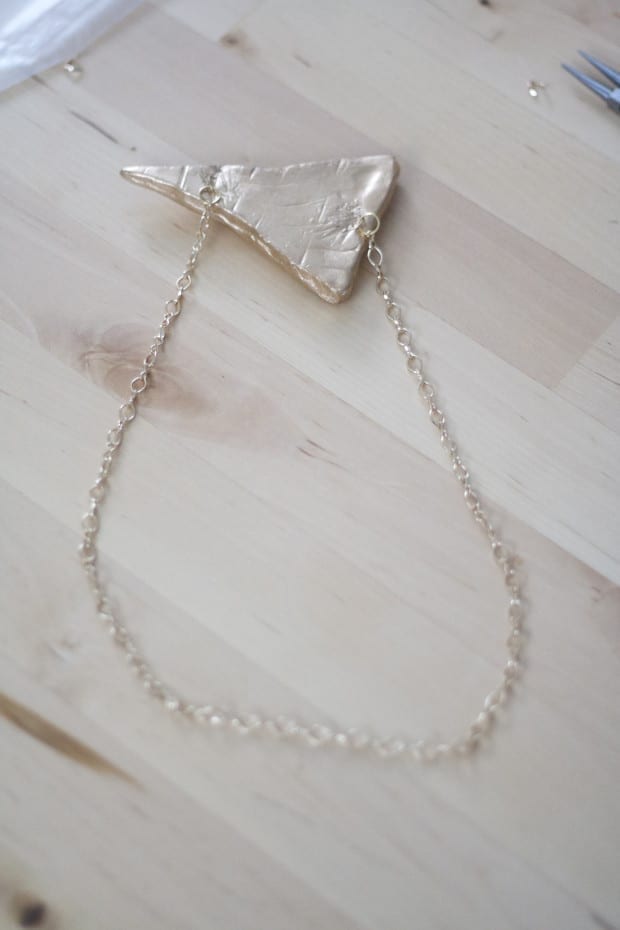
Once the paint is dry, get your chain ready. Remove one of your rings (if it’s all in one circle). Attach a jump ring to the end of your necklace AND loop it through one of your jump rings on the back of your pizza. Close the ring.
Now drape your necklace around your neck to determine the length you want it to be. Remove the excess and add a jump ring to that end and loop it through the other jump ring on the back of the pizza.
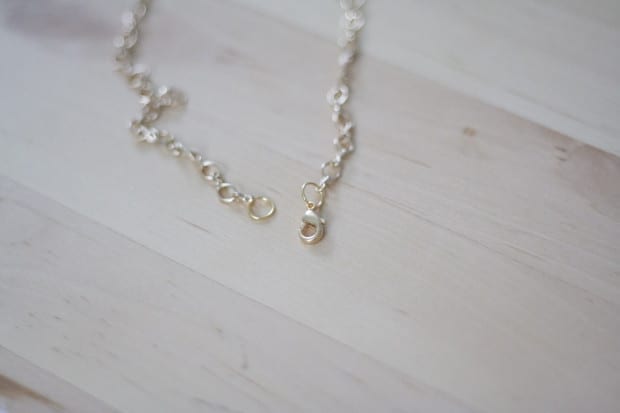
Now you have the necklace connected, but you need to add the clasp. Remove the ring in the top part of your necklace (where it hits the back of your neck). Add a jump ring on each side, one of the with the lobster clasp attached.
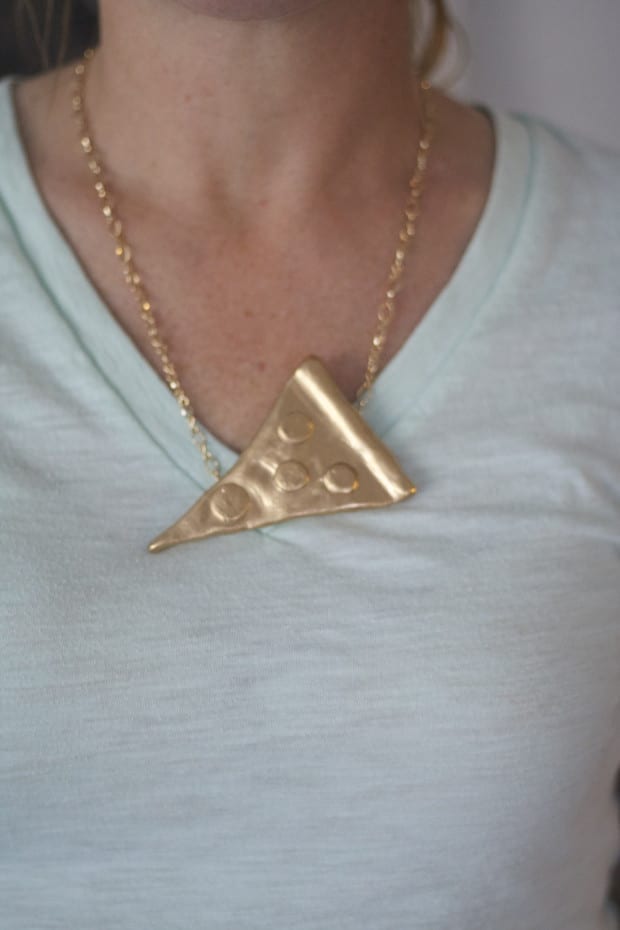
And you’re done!
Now, go and proudly wear your rad necklace!
*I did not look into some kind of seal to coat the pizza with. It’s a little potent, but I’m hoping that it will simmer down in a couple of days. I might also look into a matte sealant.
Wendy
Wendy is a facebook administrator and editor for Modern Day Moms. She is a multi-purpose mom (aren’t we all, really?) who loves home decor, couponing, sewing, photography, Pinterest, frugal living… ok, pretty much all the same things that most women love! She enjoys spending time with her family and friends while living on the gulf coast. Her two Boston Terriers - Oscar and Lily - occasionally make appearances on MDM.

Leave a Comment