My favorite local kids band, the afternaps, was having their last show until the fall and I wanted to make them a little something to show my appreciation. Anyone willing to sing songs, dance along and help my kids appreciate music deserves a little something special!
I thought some homemade instruments for the kids to play along would be just the thing. I started thinking about what I had laying around that my daughter and I could use to fashion some good ol’ maracas. Then I opened up a drawer and found a whole bunch of Easter eggs, perfect!
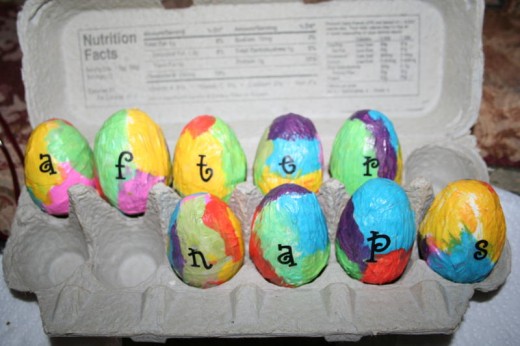
Here’s what you need:
- rice or beans (or both since they make different noises)
- Easter eggs
- crepe (or tissue) paper cut into 3-4″ strips (had some left over from my daughter’s last birthday)
- flour
- water
- sponge brush
- old container to mix the paper mache (I used a sour cream container from last night’s dinner)
- paint (optional)
- mod podge glue
Here’s the how-to:
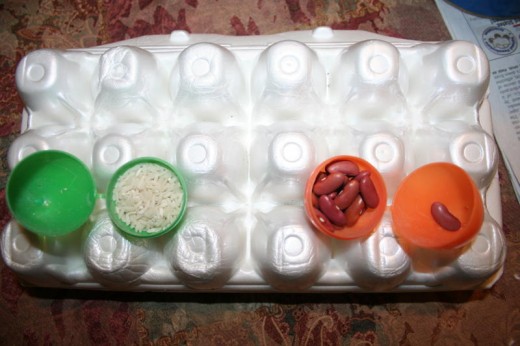
Fill your eggs with rice or beans (or both since they make different noises) and close the eggs
In your container mix c flour with 1 c water. You want it to be thick like glue, but still runny enough to paint with.
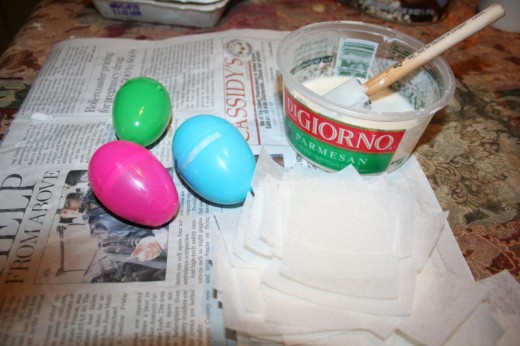
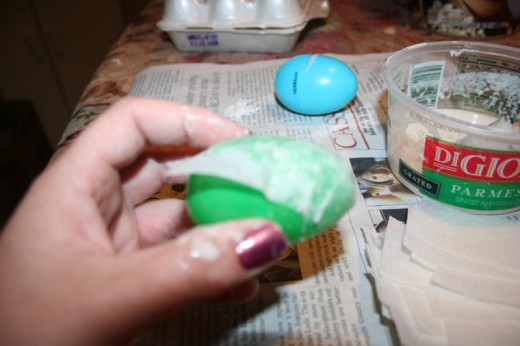
Hold your egg in one hand, and place one piece of crepe paper on the egg. Brush the glue mixture on and repeat until the egg is covered. The easiest way I found to do this is to hold the egg upright; place 4 strips vertically around the egg, then cover both the top and bottom with 3 to 4 strips in an x pattern and the finish up by applying 3-4 strips horizontally around the middle of the egg. After you do the first one, you’ll fall into a pattern and figure out the best way it works for you.
Let them dry for 24 hours on an egg carton turned upside down.
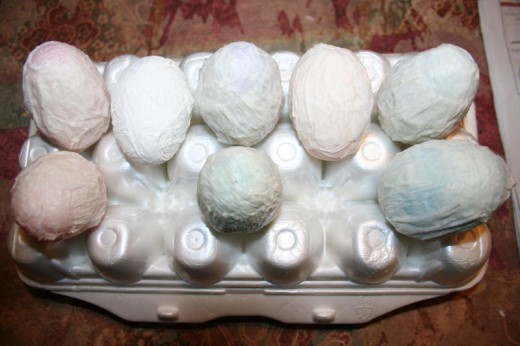
I used white crepe paper so that we could paint them and make them all unique but if you use colored paper, you can skip this step
Using a sponge brush, paint the egg anyway you like and let dry
Using your sponge brush again, apply mod podge glue on it to seal it.
And just like that, you have a set of maracas so turn up the music and dance along with the kids!!
(Recommended age is 2 and up-the little ones may like to chew on them!)
Today’s post is brought to us by Megan. She lives in Northern California with her husband and their two little ones; Audrey and Owen. Up until a year ago, she was a pre-school teacher and has a degree in Early Childhood Education. Now a (lucky) full-time mom, she enjoys spending her days teaching the kids through play, cooking, yoga and creating. In her very spare time she is an artist and has her own line of little girls skirts.
www.inbetweendreams.etsy.com or In Between Dreams on facebook
If you are interested in being a guest blogger for Modern Day Moms, feel free to contact us and let us know!
Contributor
We have guest bloggers on our site often. It's a great way for others to share their ideas and opinions with us all. If you're interested in contributing in some way, feel free to contact us and we would be happy to chat with you.


4 COMMENTS
Kaydee
14 years agoOver the years we have amassed quite the collection of plastic Easter eggs, so I’m sure we could spare some for a fun project like this!
Jessica
14 years agoI was thinking the same thing!
Brittany B.
14 years agogreat idea!
Bex
14 years agoWhat a fun project!