I was trying to come up with a gift to give my husband. The very first thing that popped in my head was a painting!!!! This was a fabulous idea… there was only one issue. My child puts EVERYTHING in her mouth! I wasn’t about to let her paint with store bought paints. I remembered making pudding paint when I was little and how much fun it was, so I am going to share with you what we did.
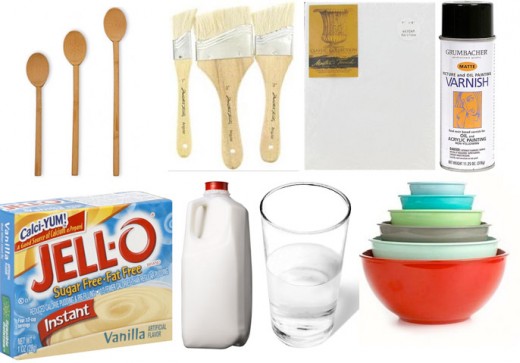
This is all you will need for hours of messy fun times!
1 Box of Jello Instant Pudding (vanilla works best because of the white color)
Food coloring
Milk
Water
Bowls
Spoon
Canvas or Paper to paint on
Paintbrushes (optional)
Varnish or any clear spray to seal canvas
Step 1:
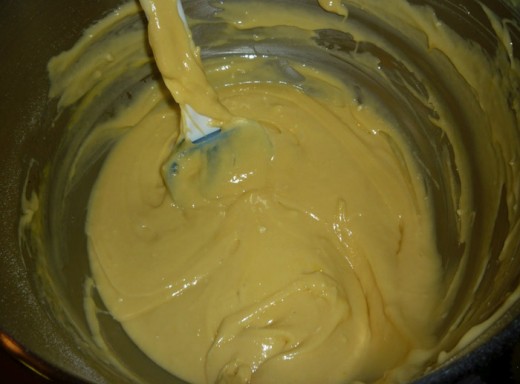
The first thing we need to do is make our yummy pudding. Just mix up the pudding using the instructions on the box. The pudding seamed a bit thick to me, so I added 1/2 Cup of water to the pudding to thin it out a bit.
Step 2:
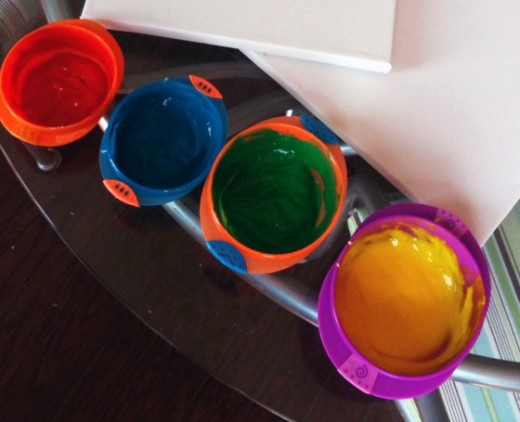
Now take your pudding “paint” and separate it into individual bowls…we used 4 bowls to make red, blue, green, and yellow. Stir in few drops of food coloring in each bow until you have the colors you want. Go easy with the food coloring…a little bit goes a long way. Now you’re ready to get messy and paint.
Step 3:
Take your child or children outside, or just stick them in the bathtub for easy cleanup! Set the canvas or paper on the ground or table outside next to the pudding paint and let them go to town. You can let them finger paint or give them some brushes to create a masterpiece. When they are all finished, just leave the painting outside to dry. Ours dried in 10 minutes, but it was 100 degrees outside.
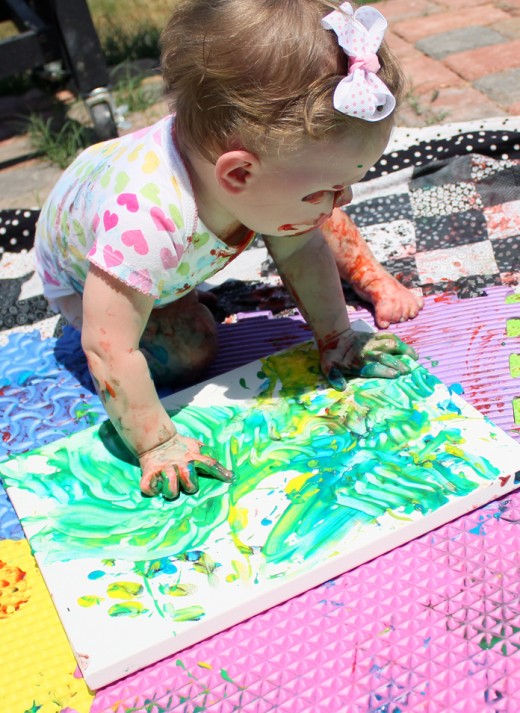
Nom Nom… pudding paint is so yummy!
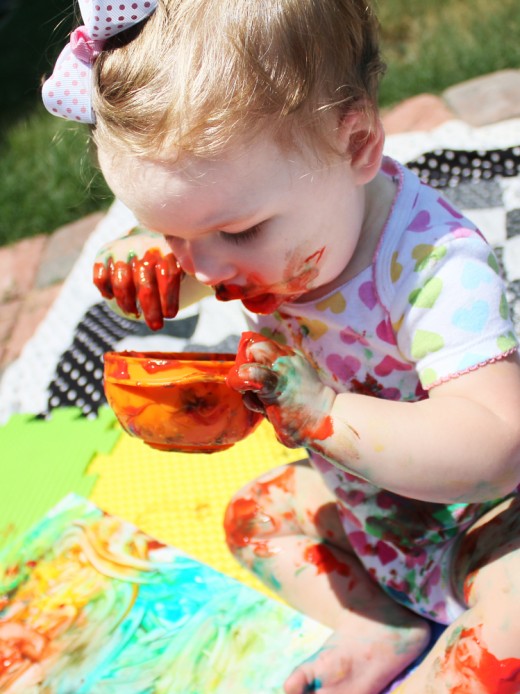
Step 4:
Now that your little one is covered in all of that wonderful pudding paint, they are going to need a good scrubbing. Put your messy baby in the tub for a bath…but wait! They look too cute to clean up just yet. Grab your camera and get some super artistic photos! OK, now you can give that messy little guy or girl a bath.
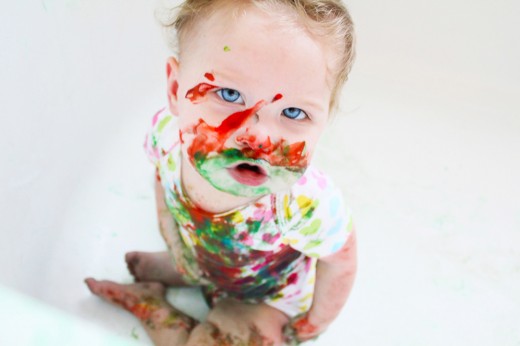
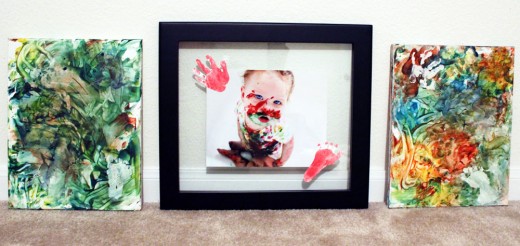
I ended up having this photo printed and framed to hang in between the paintings that Madison painted for her Daddy.
Step 5:
Now that our paintings are all dry, we need to seal them. This will just protect the paintings, keep bugs off, and keep it from going rancid…I know some of you were thinking it would. Just leave that outside to dry some more.
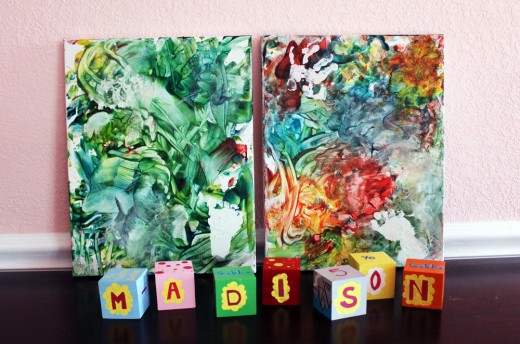
Here is the finished product! Madison’s Daddy loved them!
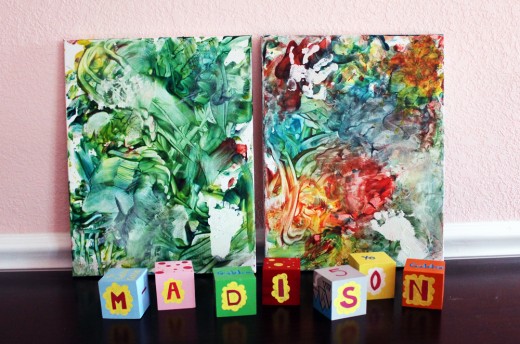
I love how you can see the spots that she stepped. Can you tell Madison ate all of the red paint before we got to the second painting? Here is the framed picture with her paintings. I think it’s the best gift ever!
That’s all there is to it. Now go make some pudding paint and let the mess begin!
Today’s guest post is brought to us by Kristen. Kristen says: “I am 27 today! (it’s her birthday, folks!) I live in Cypress, Texas. I married the love of my life on November 7th of 2009. We ended up having a honeymoon baby! Madison is now 11 moths old and the reason why I started crafting and drawing again. I managed a jewelry store for 8 years, but was lucky enough to be a SAHM once Madison was born. I started my own at home business called Pretty Prissy Baby Boutique (or Pretty Prissy Baby Boutique on Facebook) where I handmake hair accessories, clothes, blankets, toys, and more!
Contributor
We have guest bloggers on our site often. It's a great way for others to share their ideas and opinions with us all. If you're interested in contributing in some way, feel free to contact us and we would be happy to chat with you.


4 COMMENTS
Kaydee via Facebook
15 years agoGreat idea! My boys would absolutely love this : )
Caitlin
15 years agoOh man I wish I would have known about this! We did small canvases with regular paint for the granddads. We had to watch her like a hawk! Next time definitely making them with pudding paint.
Amanda via Facebook
15 years agoI was wondering how to do this. Food coloring! Right… why didnt I think of that! Thanks
Jess T.
15 years agoAwesome! We are totally doing this at our place… if we don’t eat it all first!