
These snack bags are an amazing little thing to have. They are reusable, they are compact, they are machine-washable and most of all they are eco-friendly since we are eliminating plastic snack bags from our use!
They are easy to make and will save you a little bit of money over time. They are perfect for when you are getting ready to leave the house and it is your child’s snack time. You can toss some pretzels in, seal it and go! They can easily eat them in the car or once you arrive at your destination. And what’s great is there is no chance of spillage into your purse or diaper bag once they are sealed.
We are going to show you how to make your own. If you aren’t so crafty or don’t own a sewing machine, there will be a link at the bottom taking you to a shop where you can purchase them. They are a must have!
Step 1:
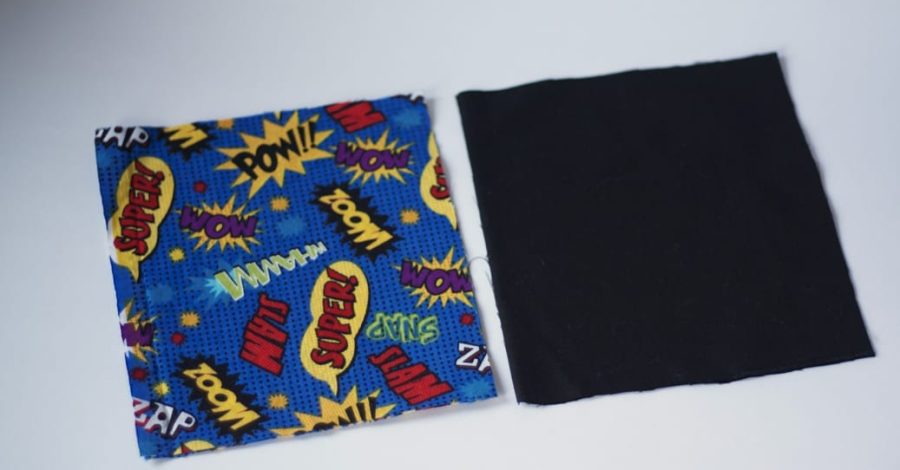
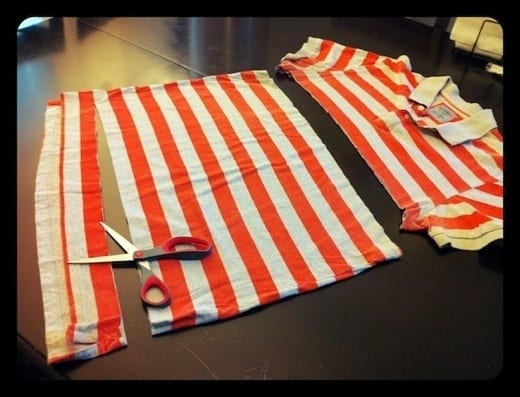
Cut out 4 pieces of fabric that measure 6″X7″….I make them longer than I do wider, but you can do them the opposite. Just make sure to line everything up correctly. If you want to have a solid inside – or something different – like I did, cut out two and two fabric pieces of each fabric.
Fabric
Step 2:
Put one outside piece and one inside piece together, right sides together, like so:
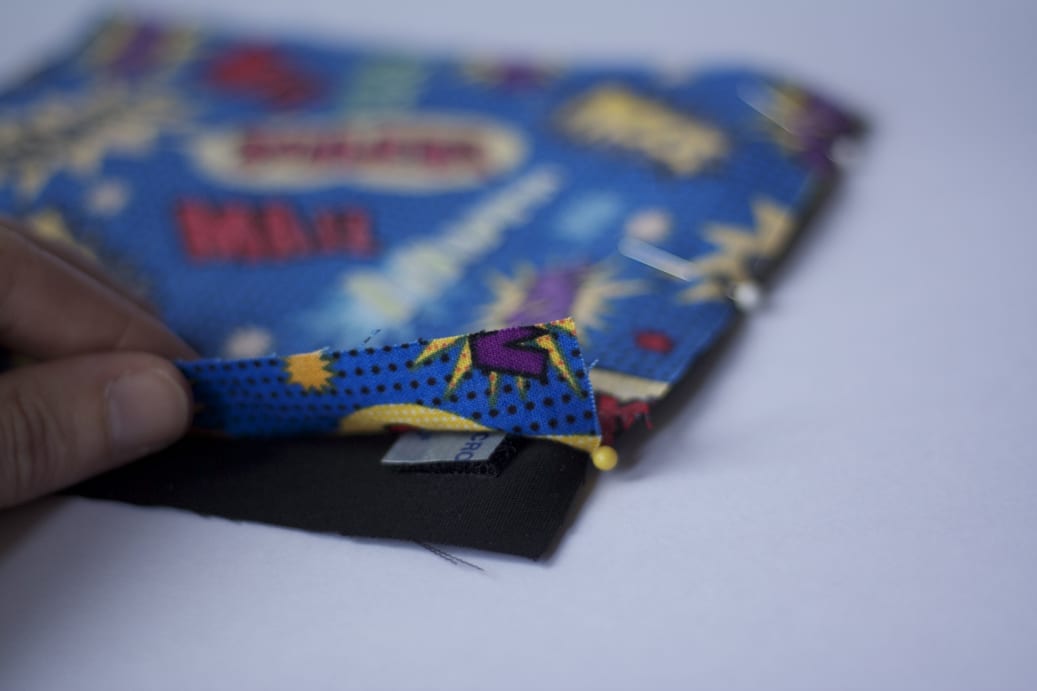
(I skipped this step and put my velcro on already. Don’t do this…it makes it easier to sew these two pieces together without it. So ignore the velcro in there!)
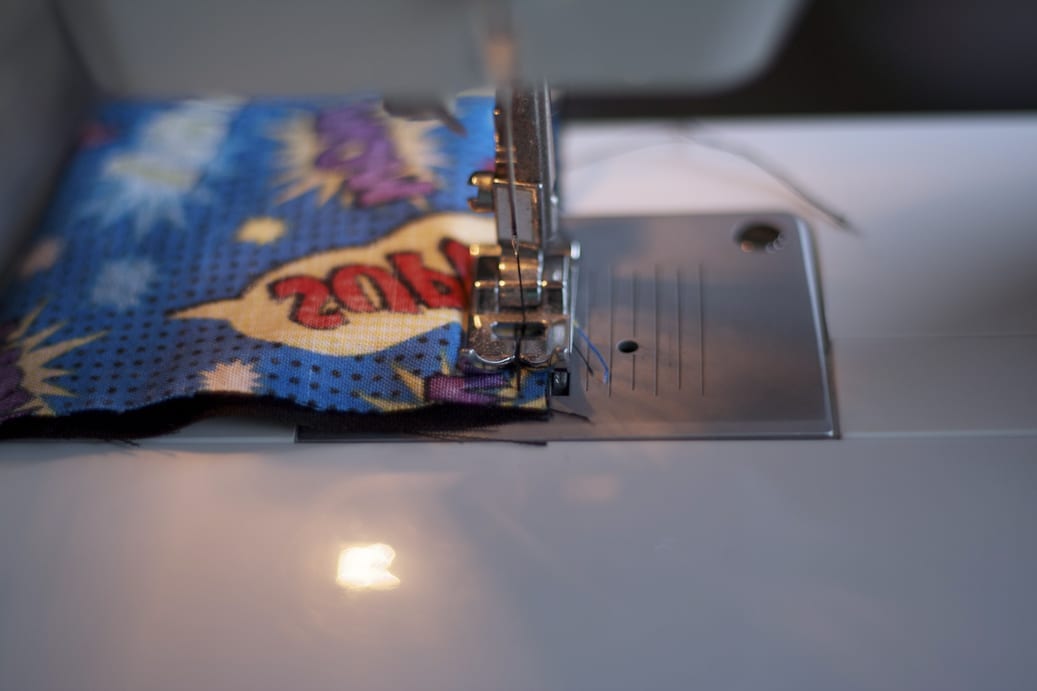
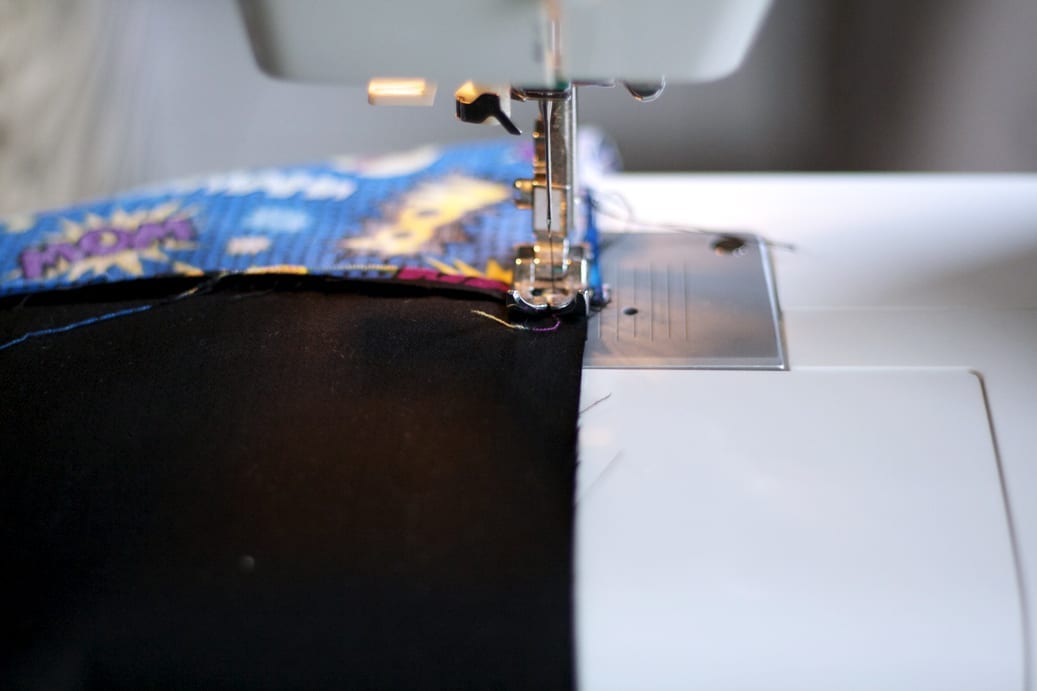
Step 3:
Then sew those two pieces together:
Step 4:
Once you have those two pieces sewn together, fold them out and iron the seam like so (repeat for both pieces):
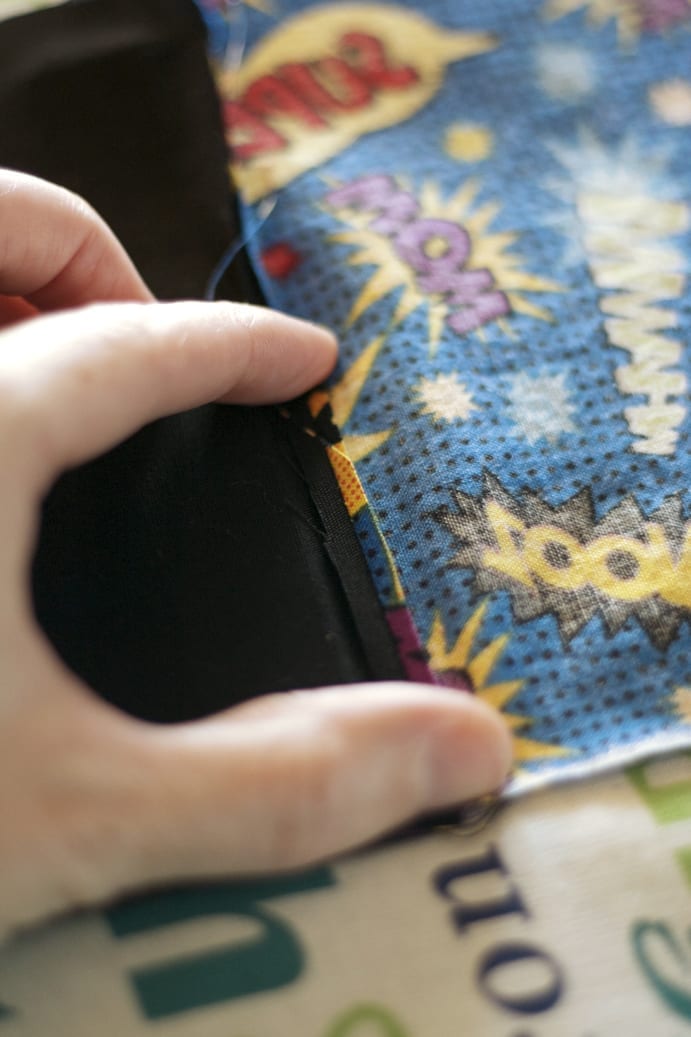
Step 5:
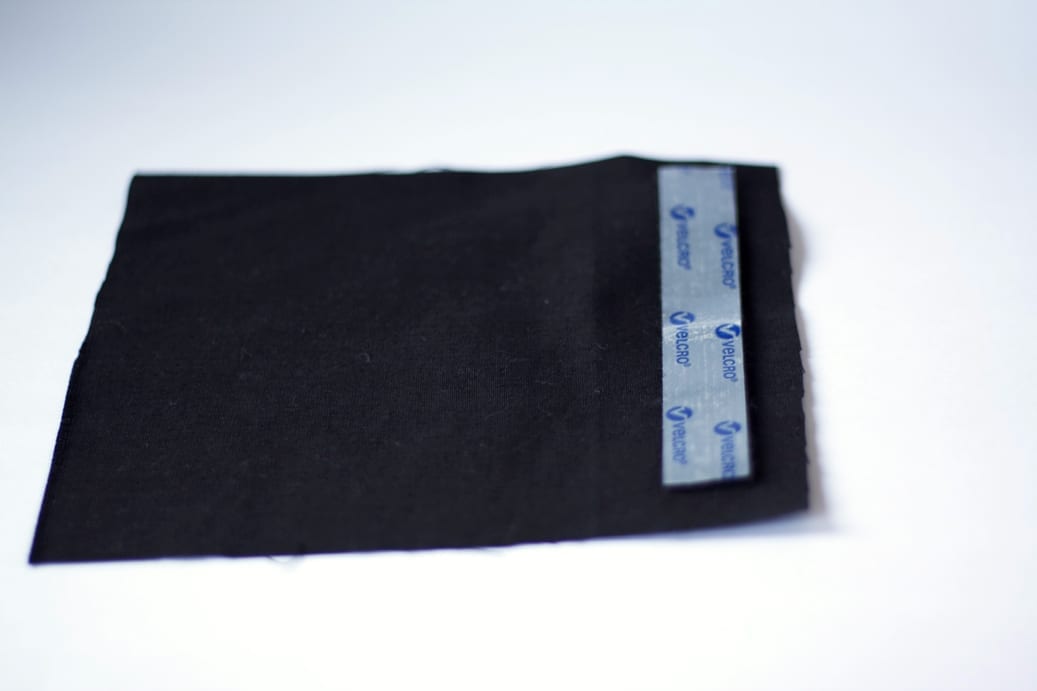
Lay the two pieces (still folded out) with the right sides together. This is also a good time to stick your velcro on (sticky kind). Put it on the right sides of the inside pouch (black fabric) about 1/4 of an inch from the top and leave about 1/2 of an inch of fabric on each side. Sew the inside pouch (black pieces) together on all 3 sides (not the velcro side in the center), then sew together the 3 sides of the outside pieces, but leave an opening in the center of the bottom to pull the fabric through:

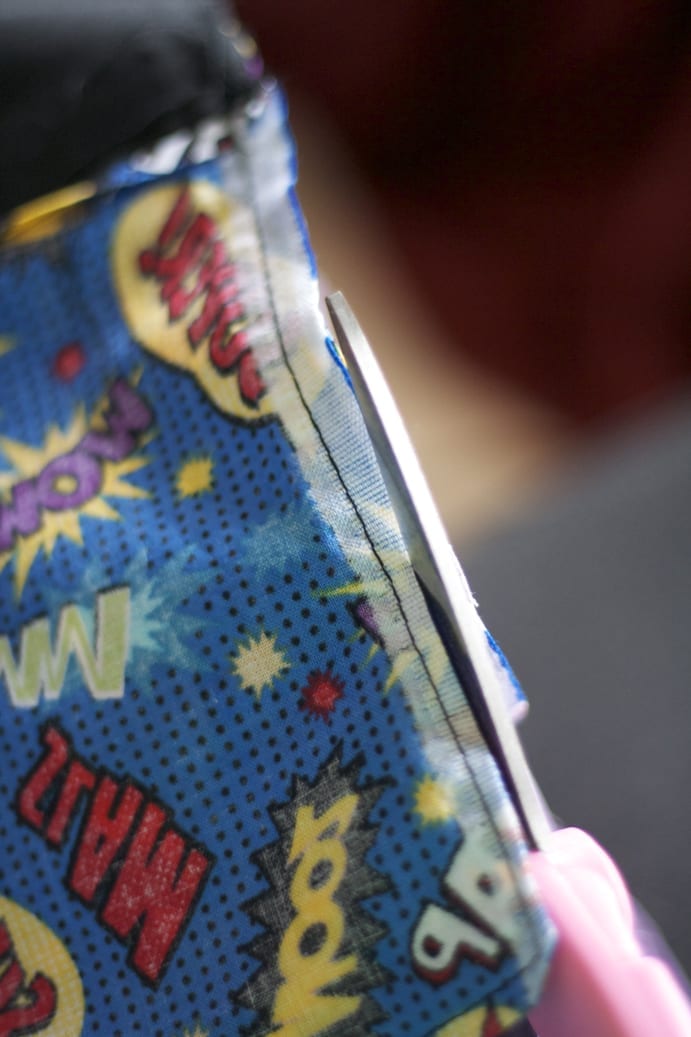
Step 6:
Once you have sewn the sides, trim the edges of your fabric and cut the corners off. Just be careful to not cut too close to your stitching.
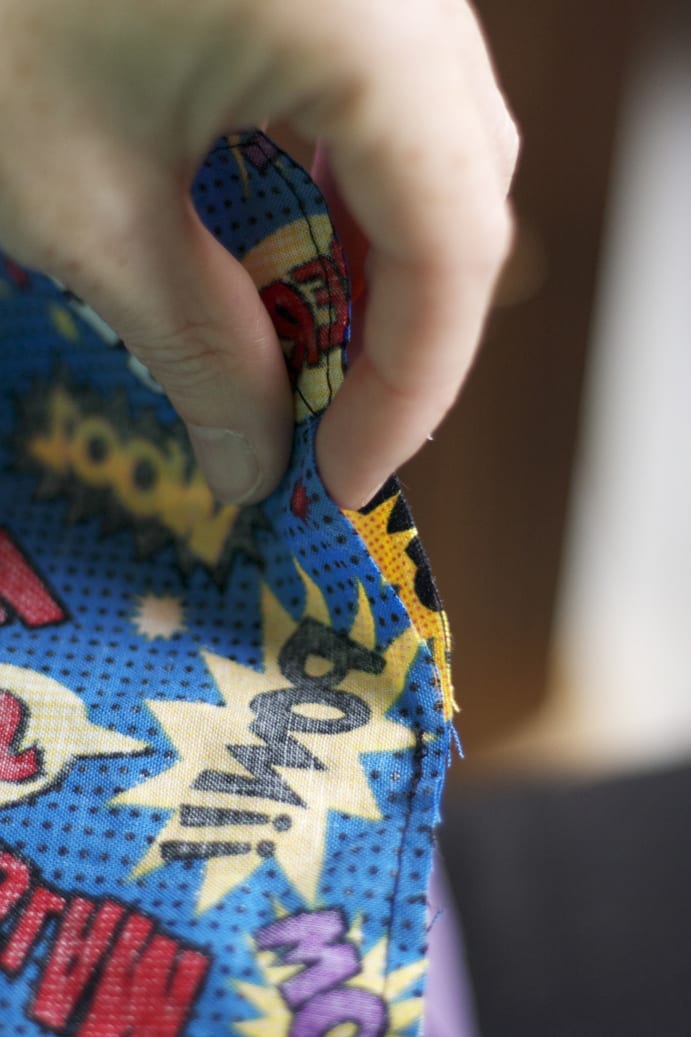
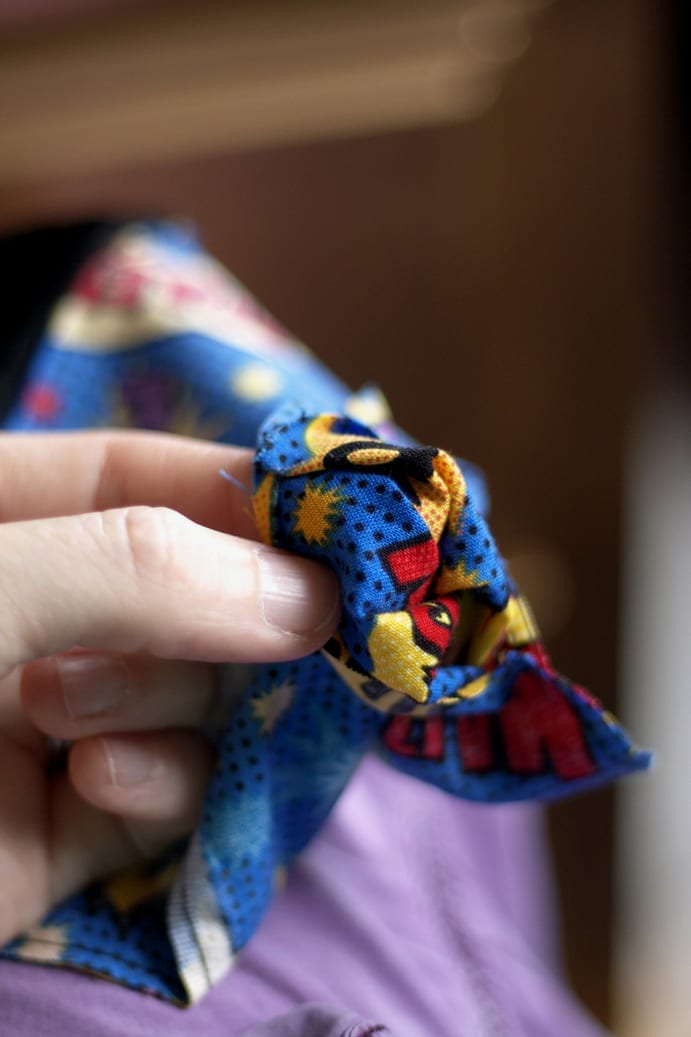
Step 7:
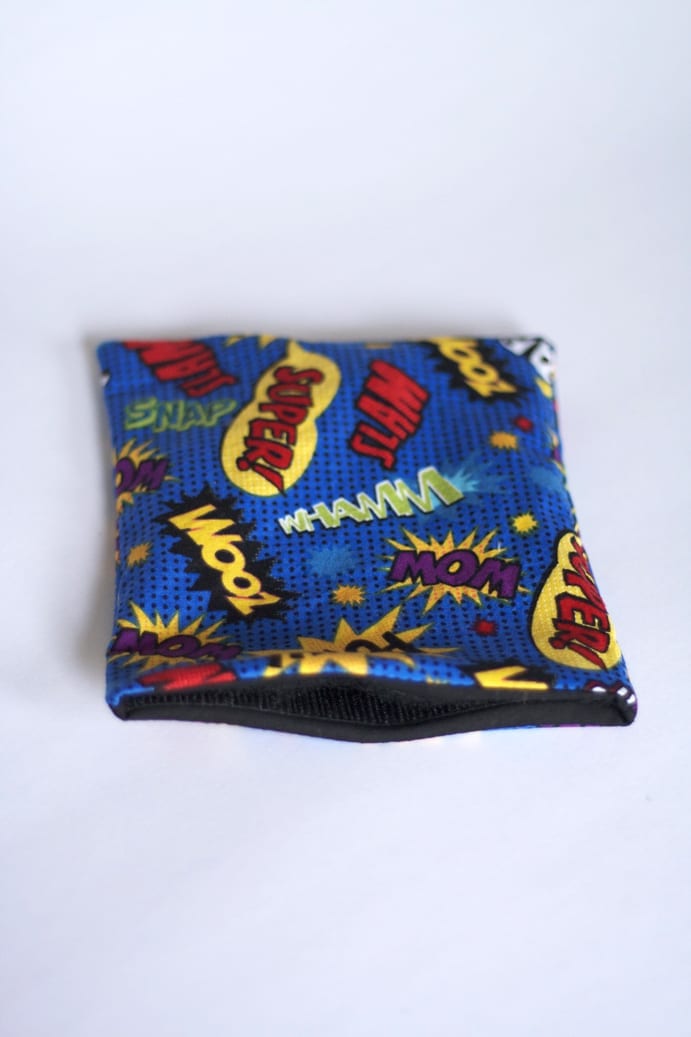
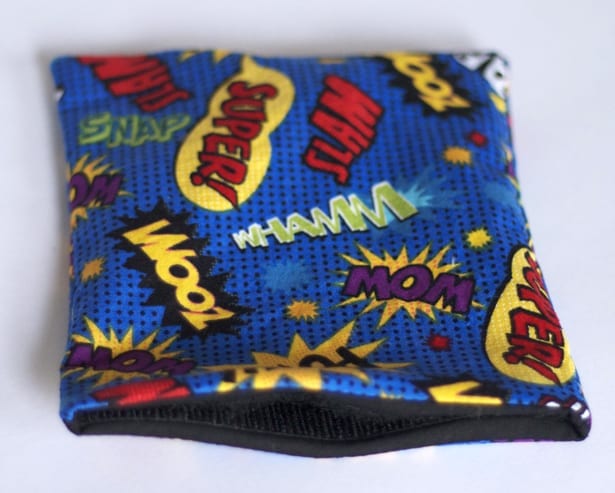
Pull your fabric through the hole you left open. Once you’re fabric is through, you will see the final look of your snack bag. Just stitch together (or use fabric fusion) the opening and you are done! Voila!
As I mentioned earlier, if you would rather purchase one of these cute snack bags – or a bunch! – please visit The Design Parlor on etsy. There are several different designs and she also makes other items including a reusable sandwich bag and custom curtains. Feel free to take a look and see if there is anything you like!
Click on the graphic below to go there:
Originally posted April 23, 2013.


1 COMMENT
Kym
12 years agoWhat kind of material are you using?